
Chocolate Tart

This post may contain affiliate links. Read my full disclosure policy.
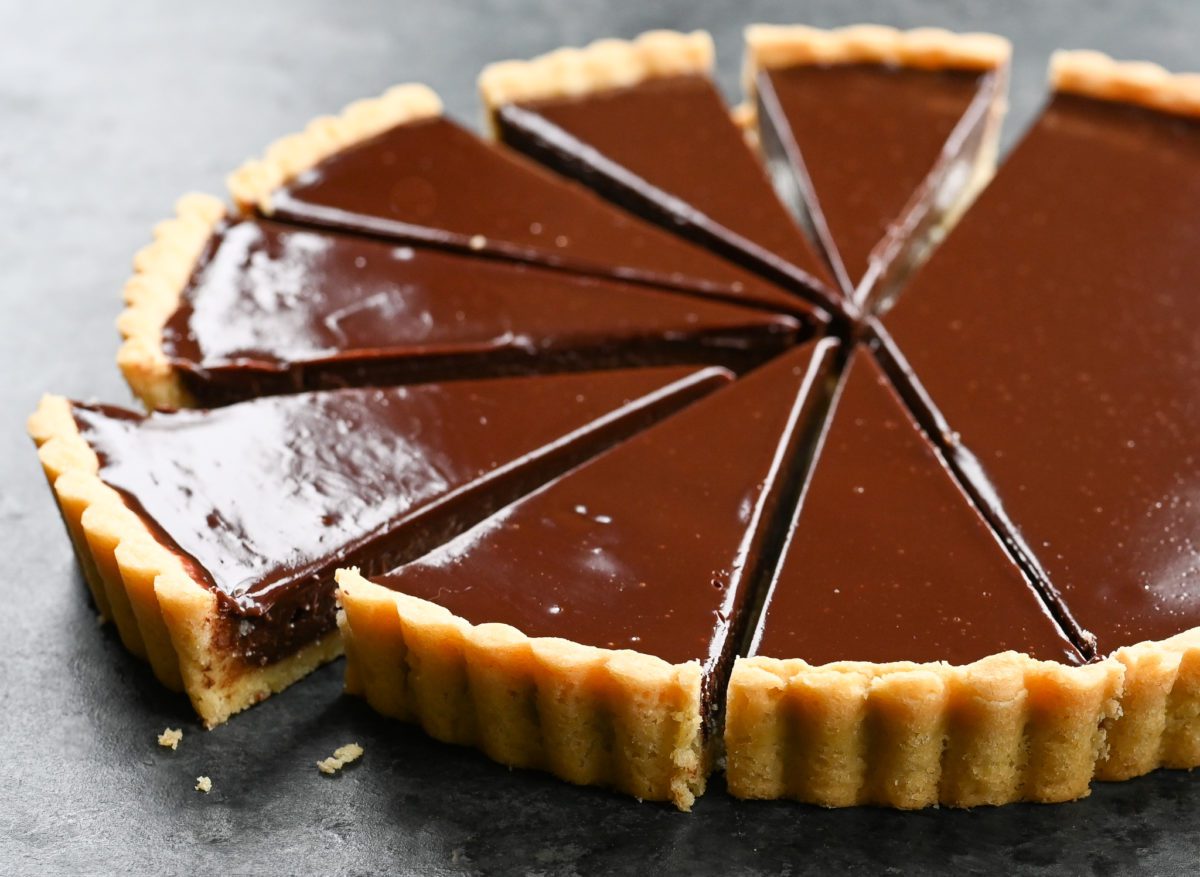
This chocolate tart recipe is rich, elegant, and deeply chocolatey—a beautiful dessert for any special occasion.
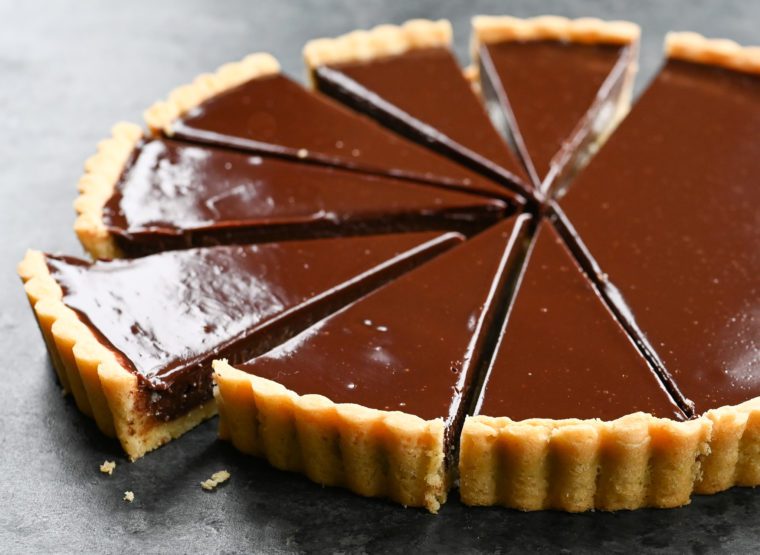
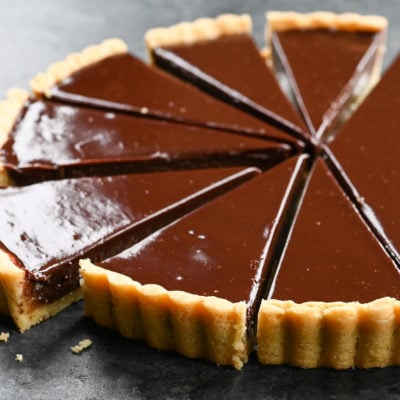
This chocolate tart recipe looks like something you’d find in a fancy pastry shop, with a buttery shortbread crust, a smooth, truffle-like filling, and a glossy chocolate glaze. It takes a little time to make, but none of the steps are particularly difficult, and the result is well worth the effort. The crust is simply pressed into the pan—no rolling required—which makes the whole process a bit more approachable.
“I have made chocolate tarts before, which were much heavier than this, with more of a dense ganache filling. This one was so much nicer, surprisingly light and meltingly delicious.”
Chocolate Tart Ingredients
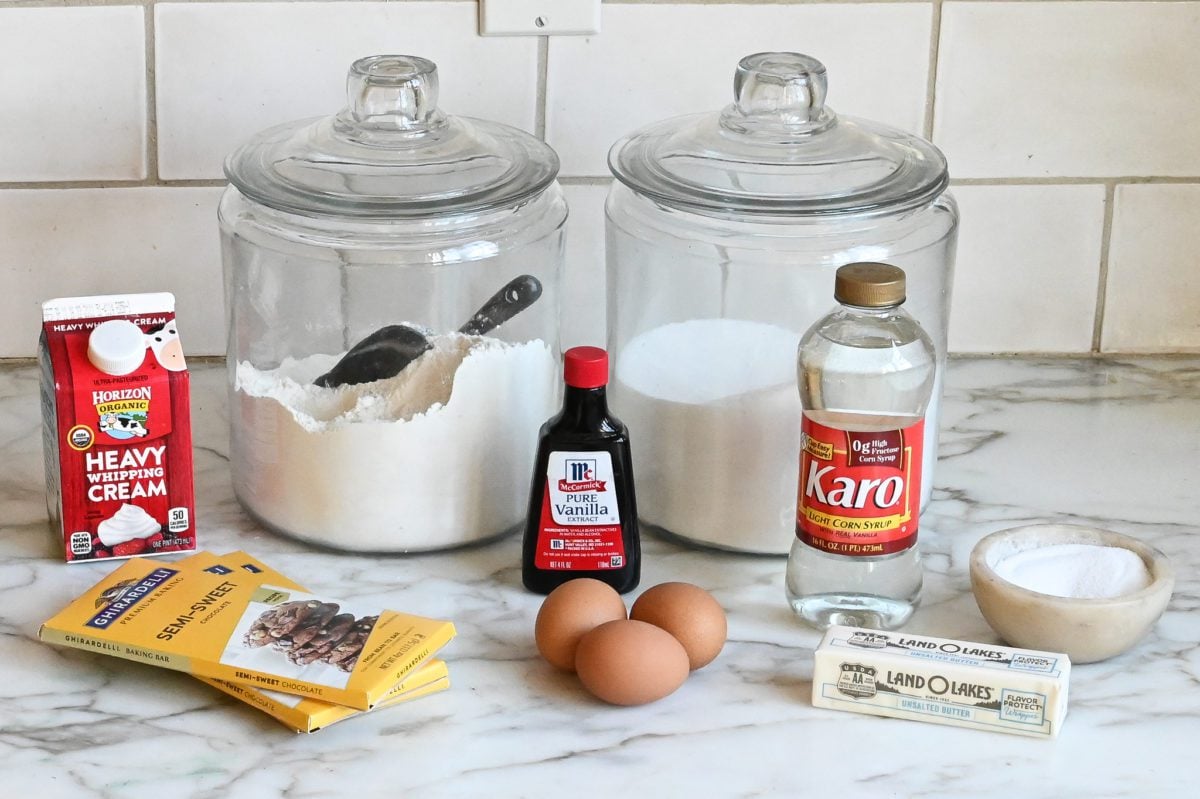
- Crust (unsalted butter, flour, sugar, egg yolk, and salt): These form the buttery, shortbread-style crust. The egg yolk adds richness and helps the dough hold together.
- Semisweet chocolate: Since chocolate is the star of the tart, use a good-quality brand. I like Ghirardelli or Guittard. You’ll use it in both the filling and the glaze.
- Heavy cream: Gives the chocolate filling its smooth, rich texture and is also used to make the glossy glaze.
- Eggs: Give the filling structure so it sets when baked while remaining smooth and truffle-like.
- Vanilla extract: Rounds out and deepens the chocolate flavor.
- Light corn syrup: Just a tablespoon in the glaze helps keep it smooth and gives it that beautiful glossy finish. If you don’t have corn syrup, golden syrup or maple syrup will work, though the glaze may not be quite as shiny.
- Salt: A small amount in both the crust and filling balances the sweetness and brings out the chocolate flavor.
- Jump to the printable recipe for precise measurements
How To Make Chocolate Tart
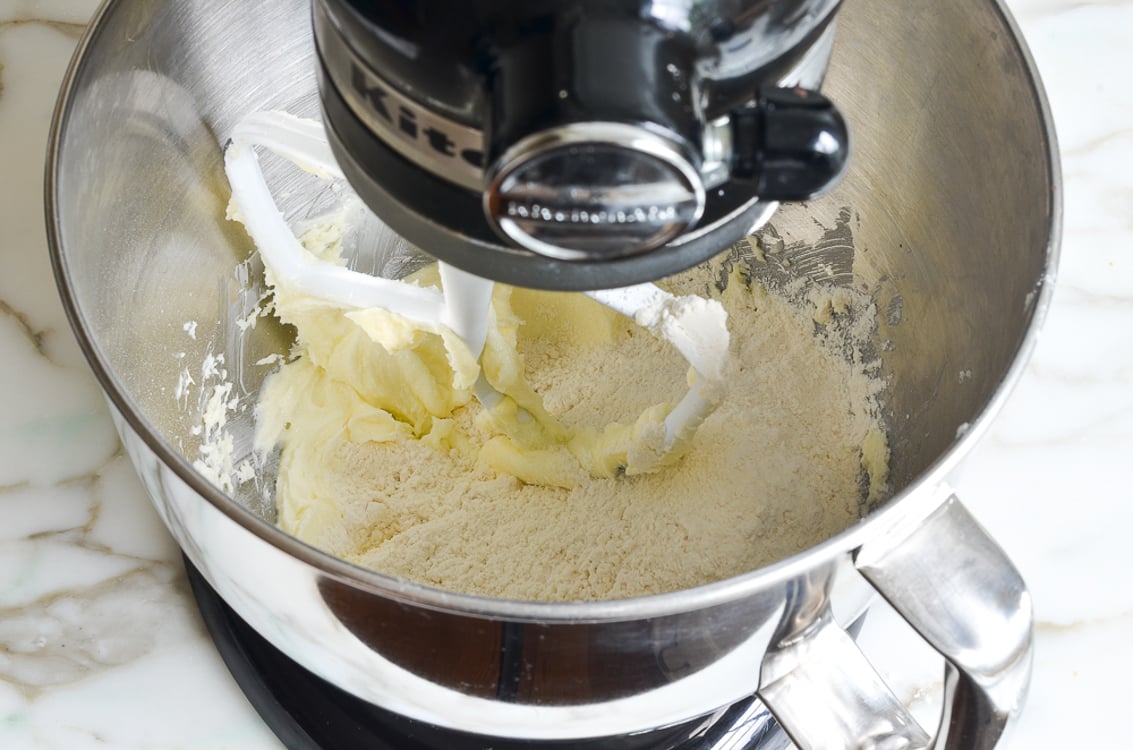
Make the crust: Mix the butter, sugar, and salt until smooth, then add the flour and egg yolk. The dough will look crumbly at first—that’s normal. Use your hand to knead it right in the bowl until it comes together into a ball, then shape it into a disk and chill.
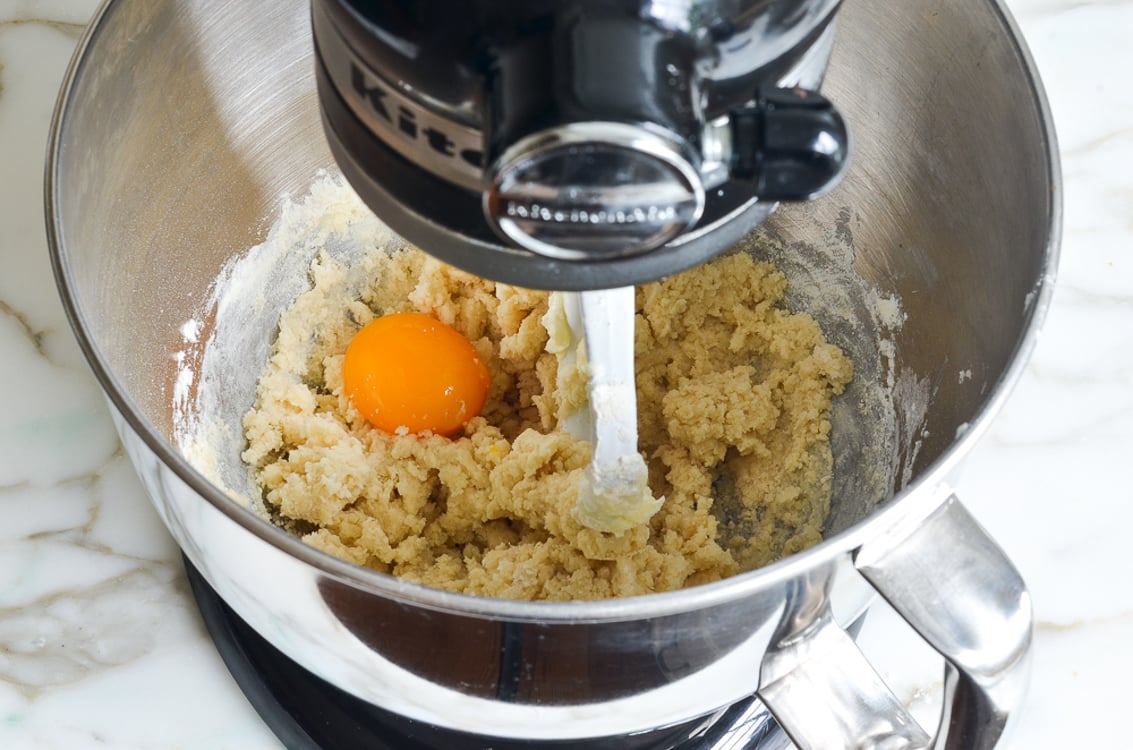
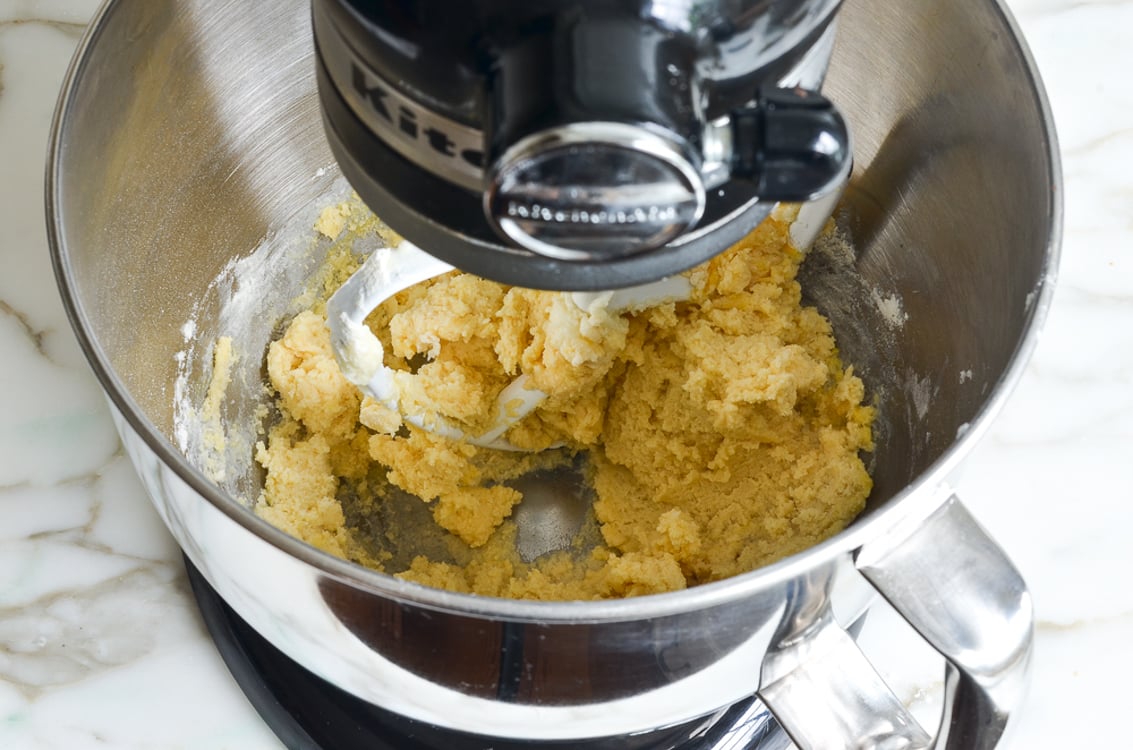
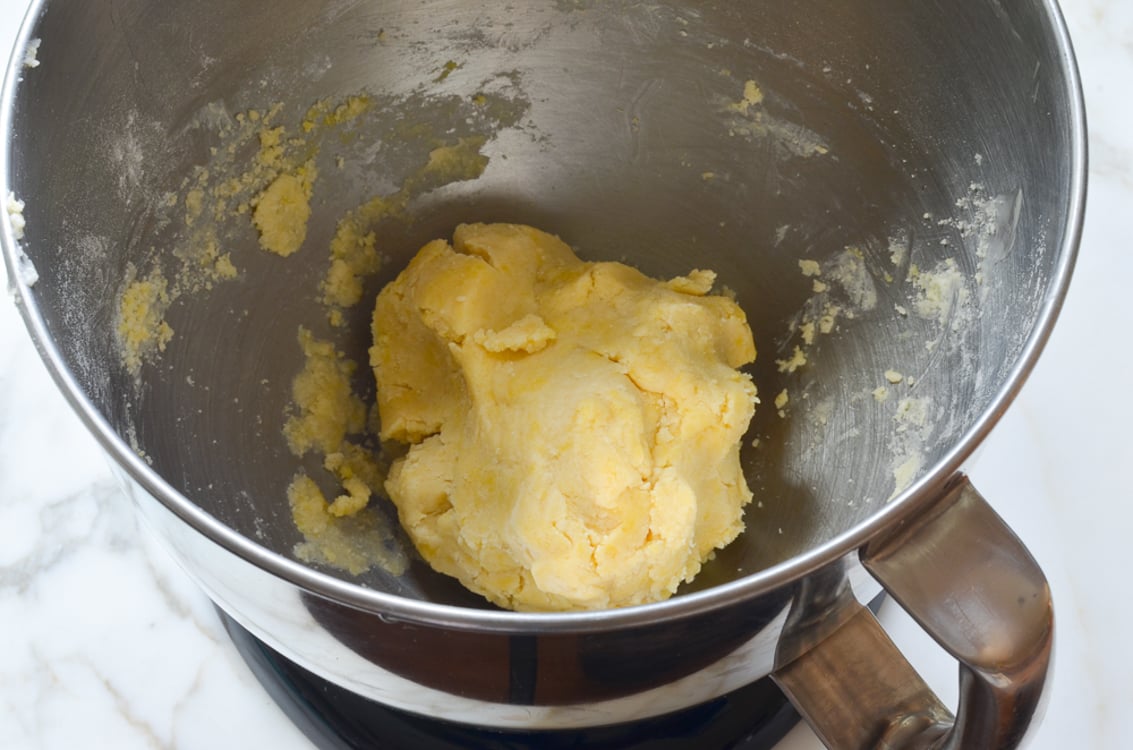
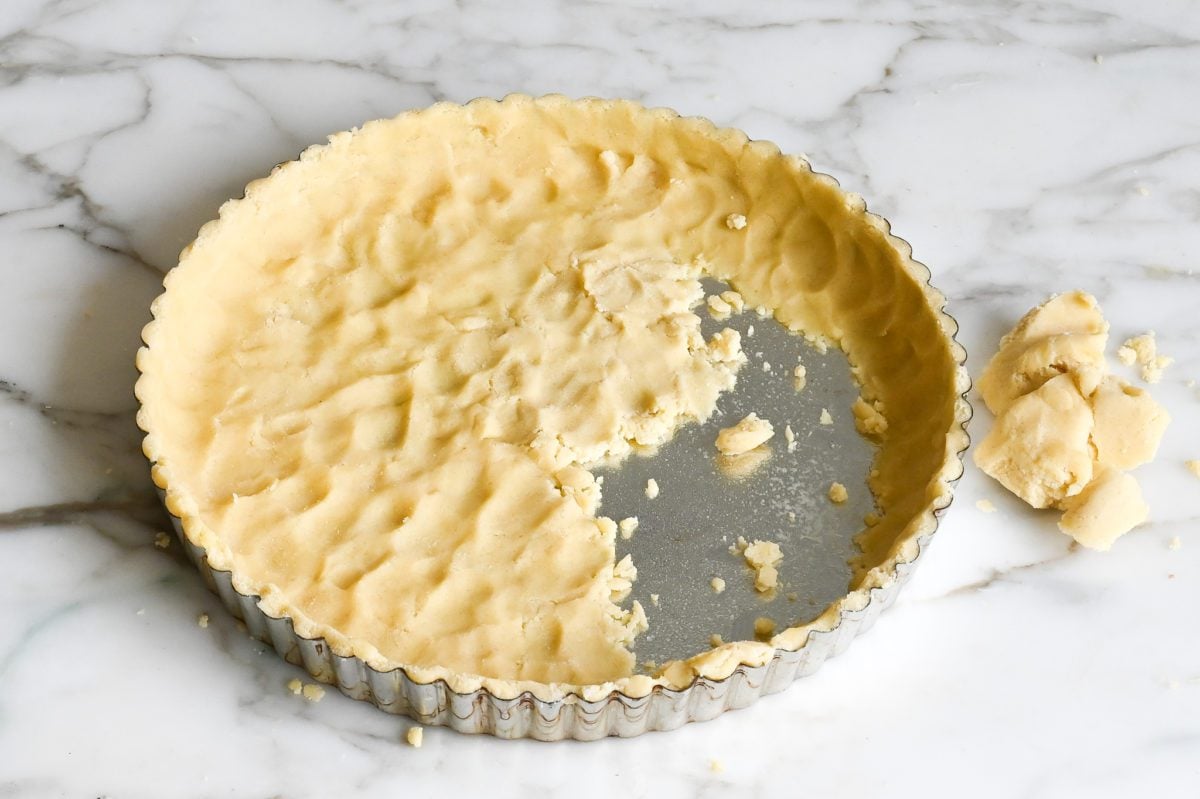
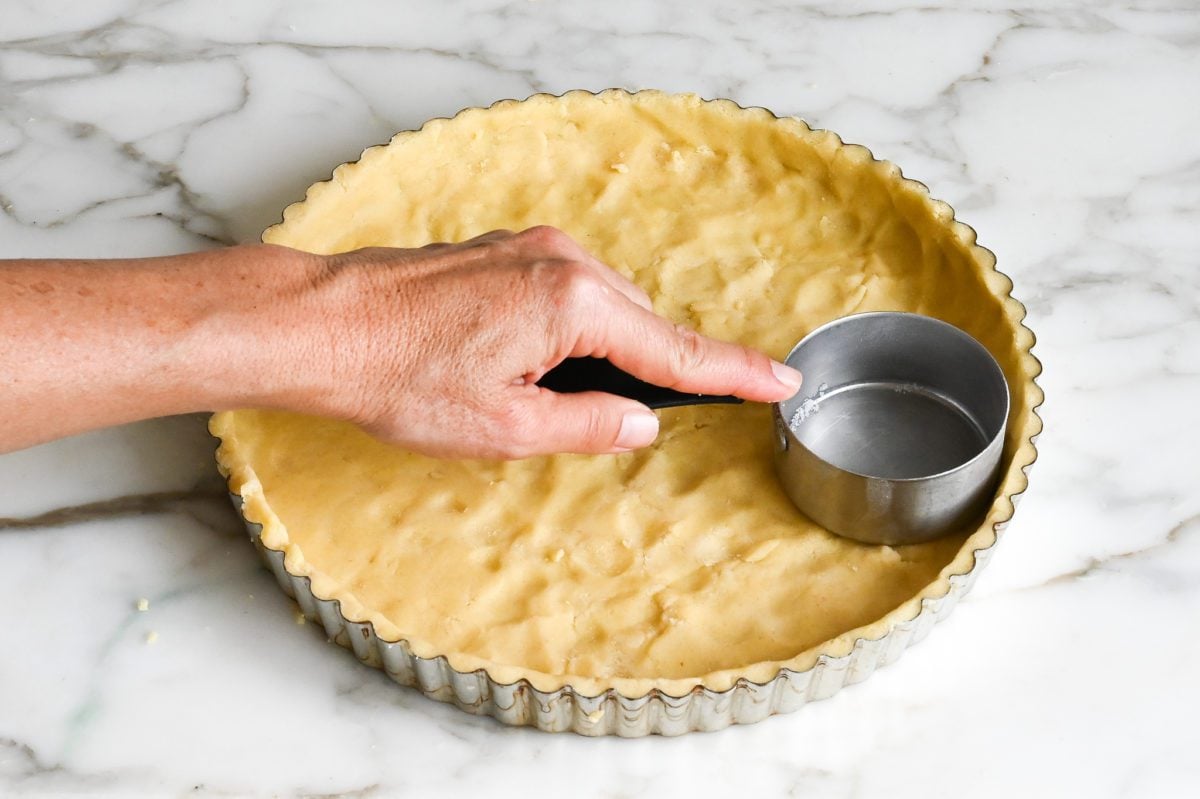
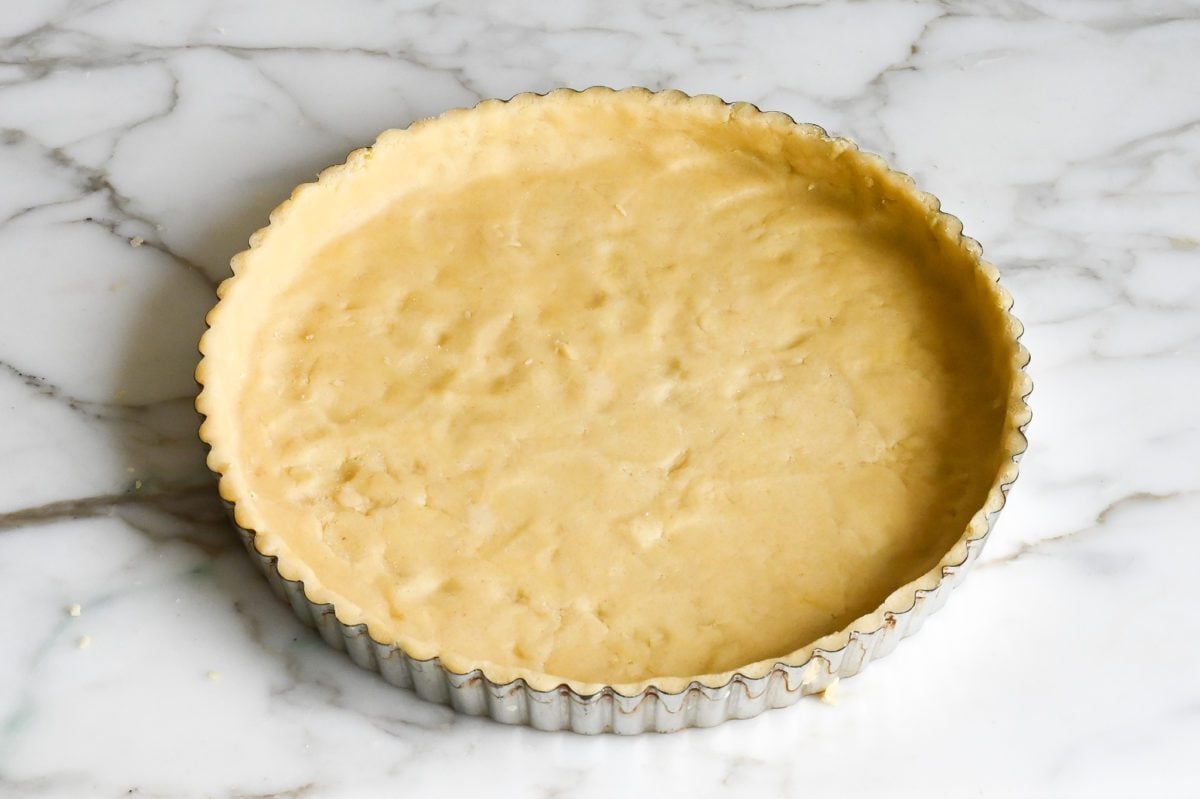
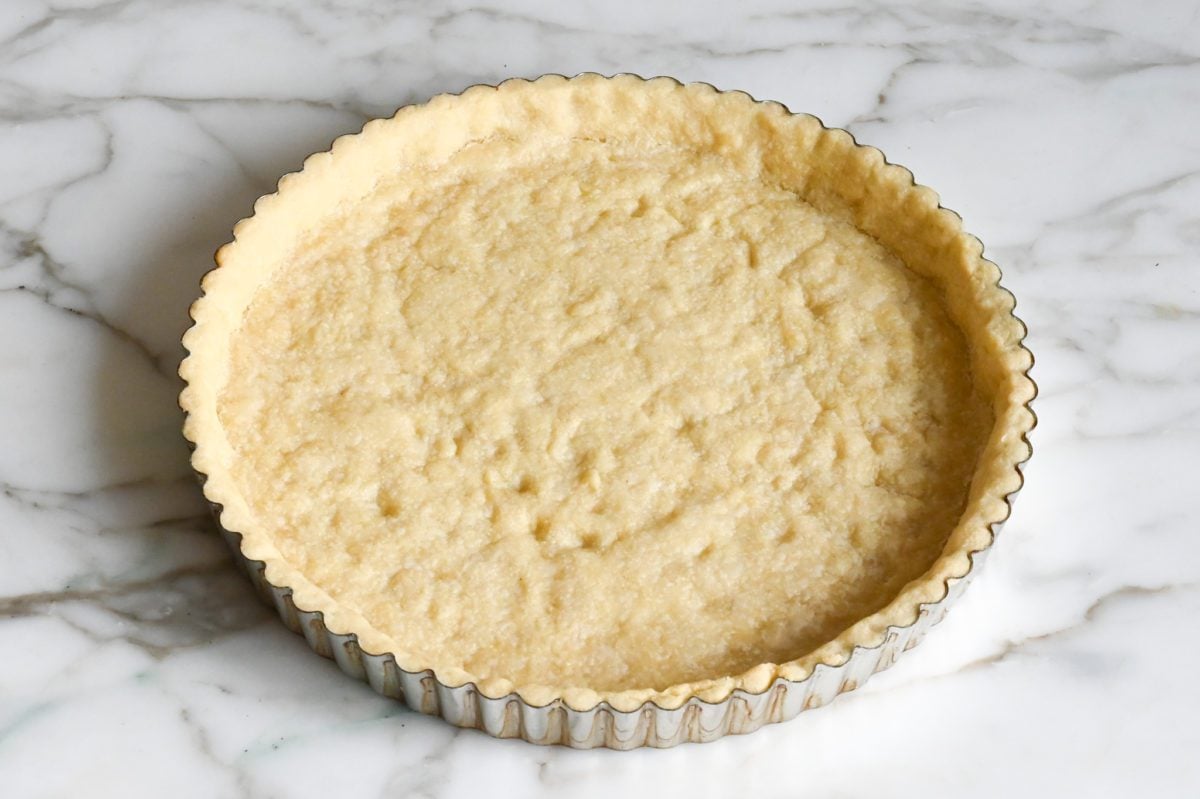
Shape and bake the crust: Press the chilled dough evenly into the tart pan, working it up the sides and across the bottom. It may look like a mess at first, and you may wonder if there’s enough dough, but have faith—it will come together. Chill the shaped crust until firm, then bake until dry and lightly golden.
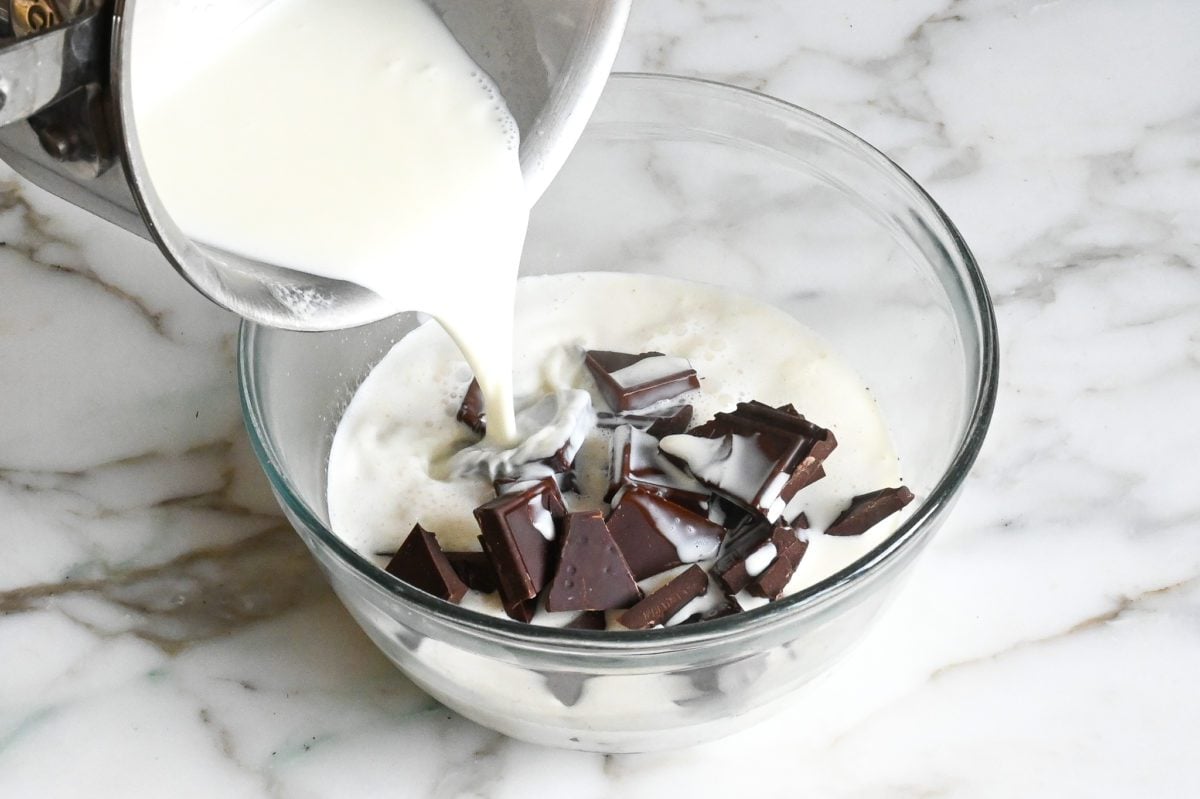
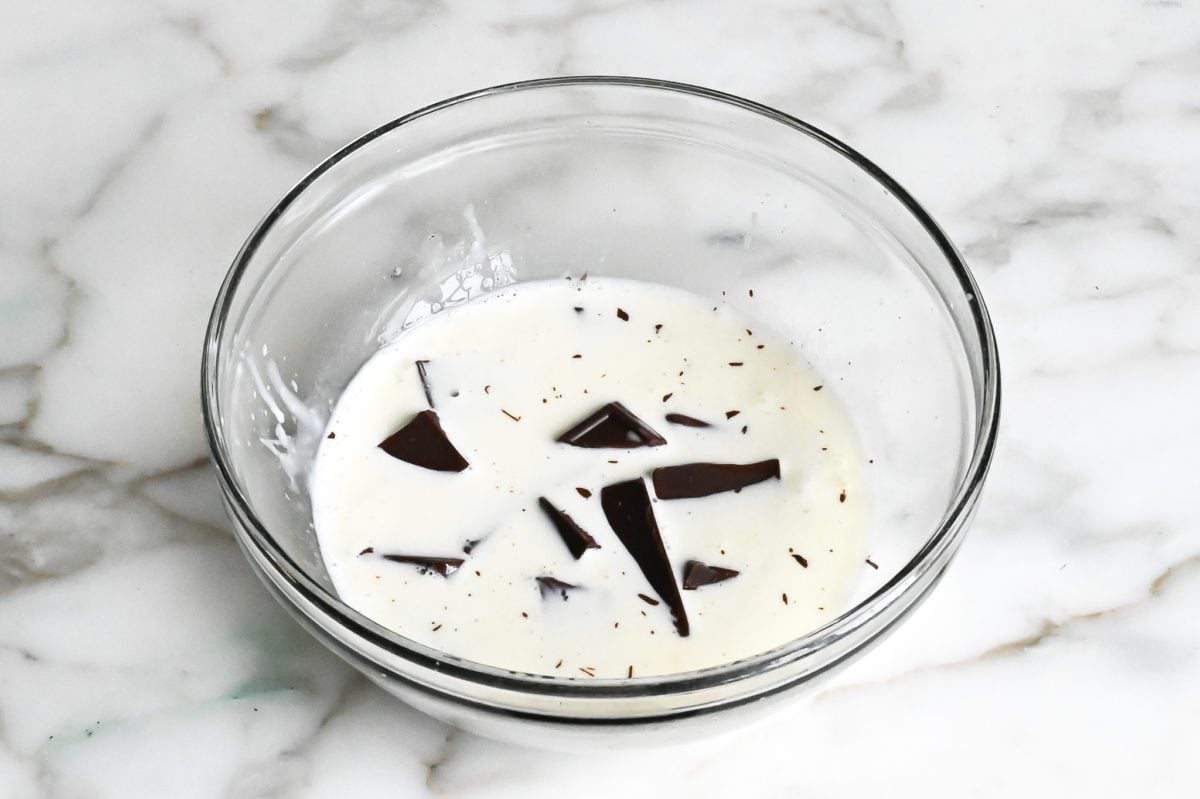
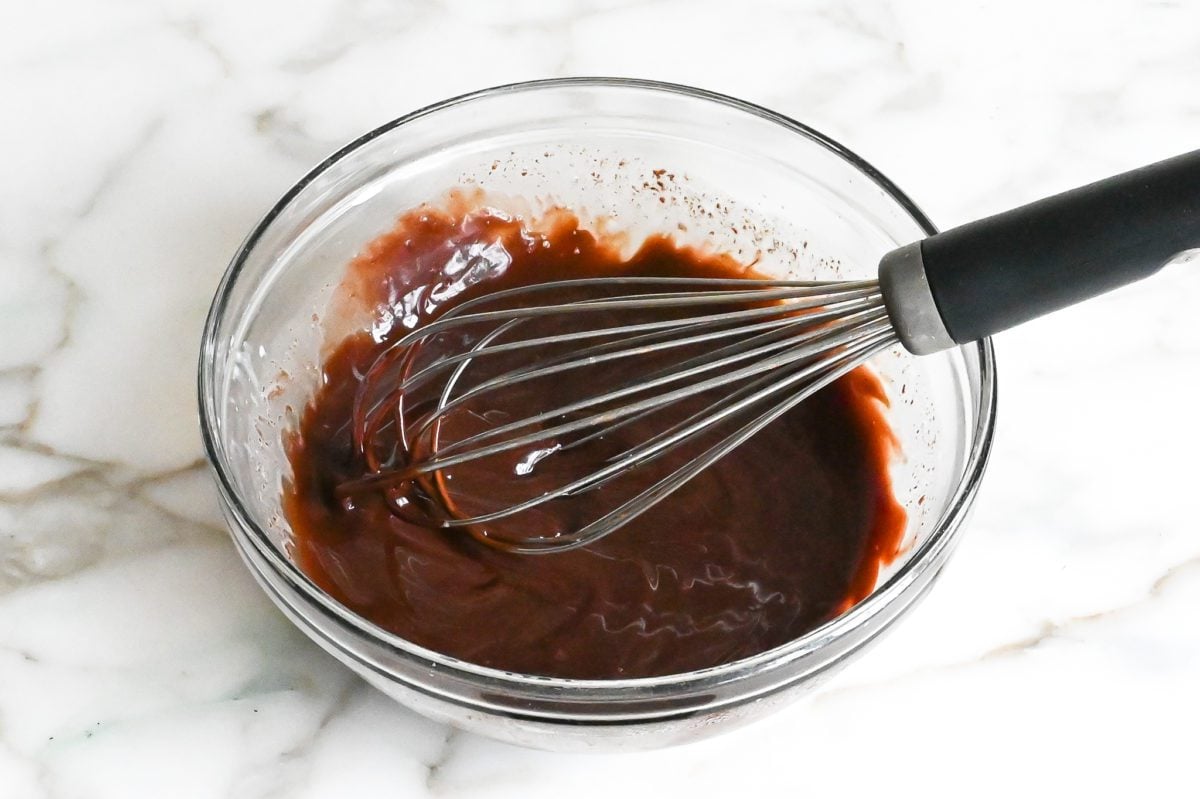
Make the chocolate filling: Pour the hot cream over the chocolate and let it sit for a few minutes, then whisk until smooth. Add the sugar and salt, followed by the eggs and vanilla. The finished filling should be smooth and glossy.
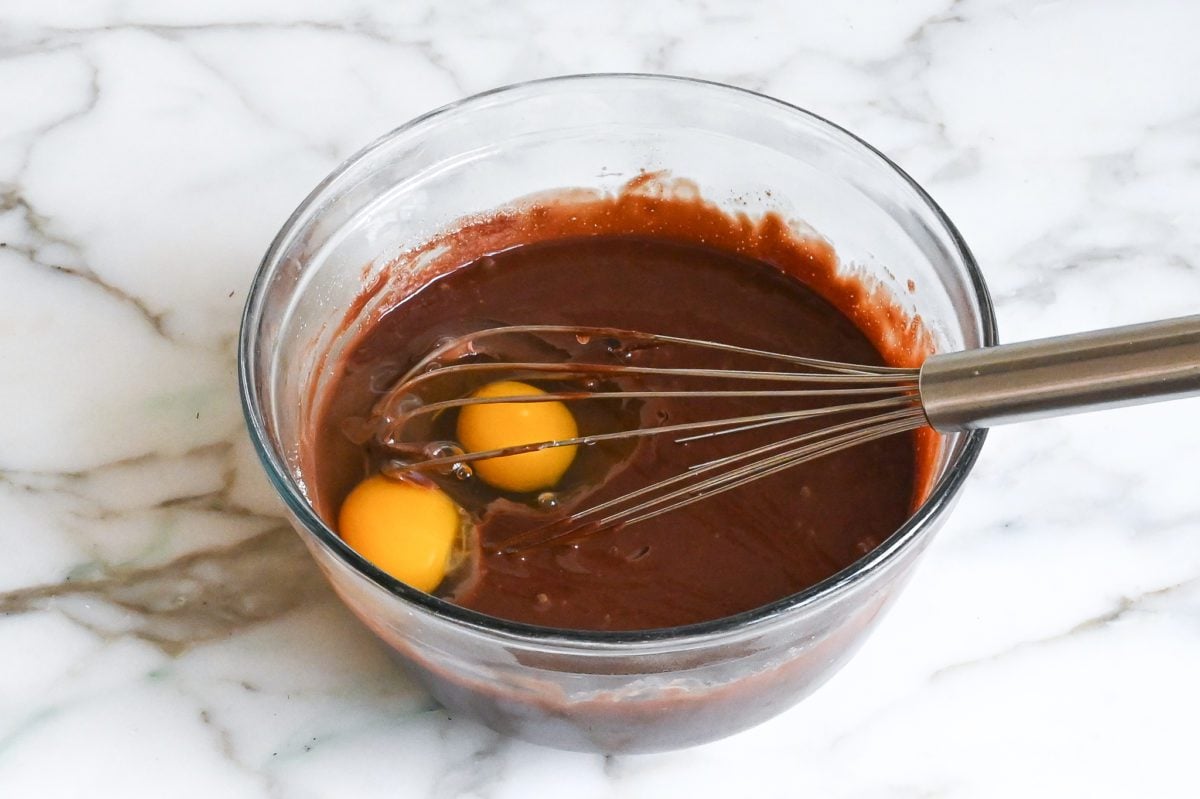
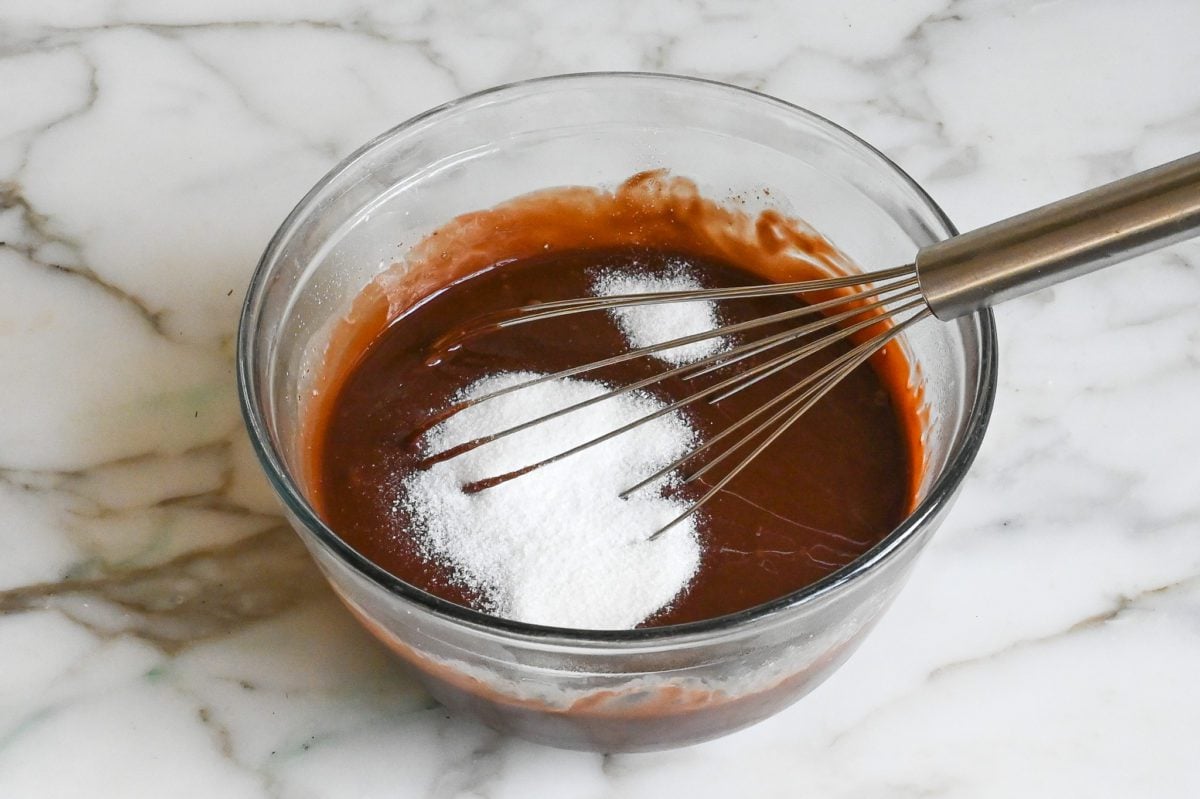
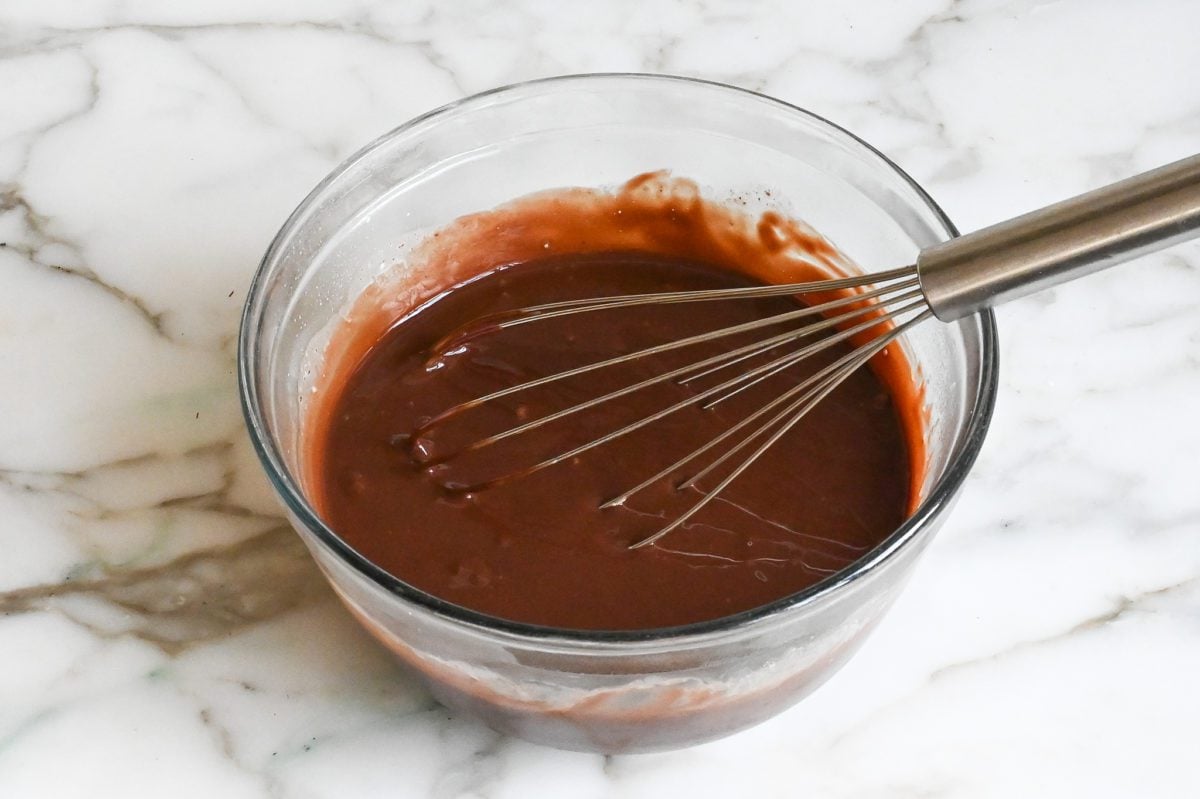
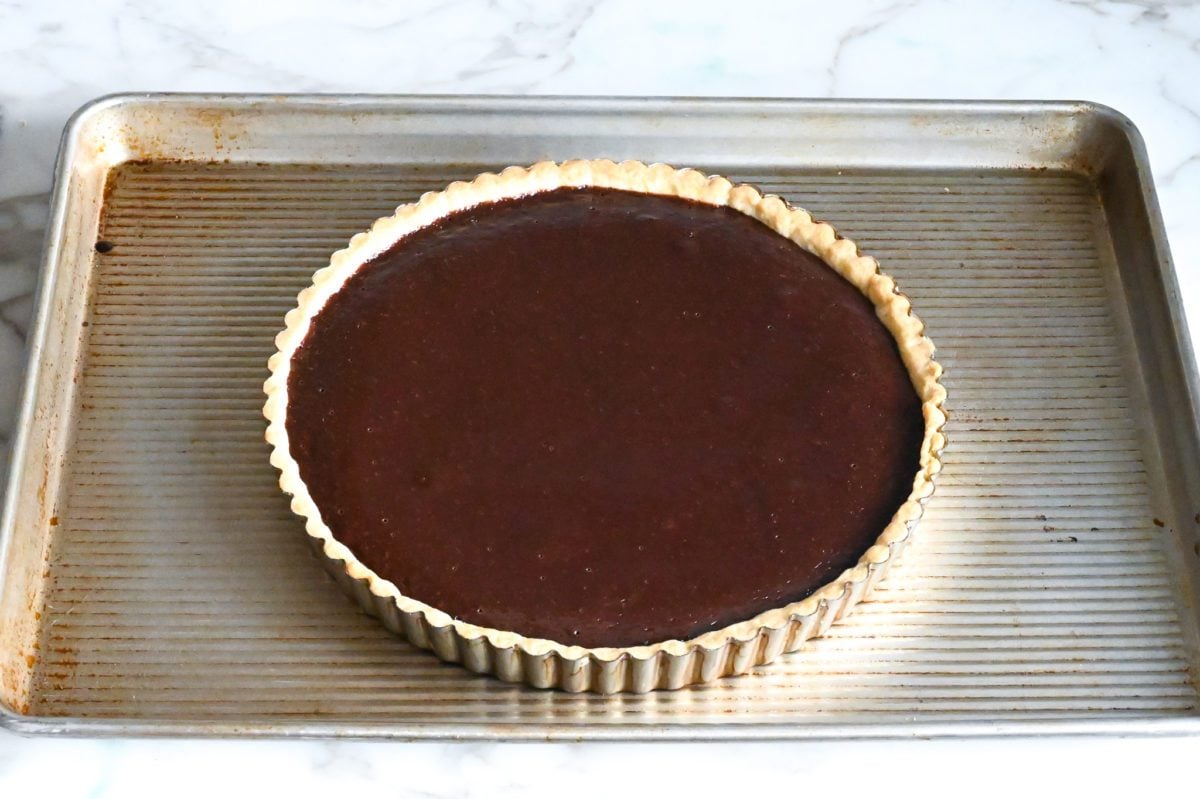
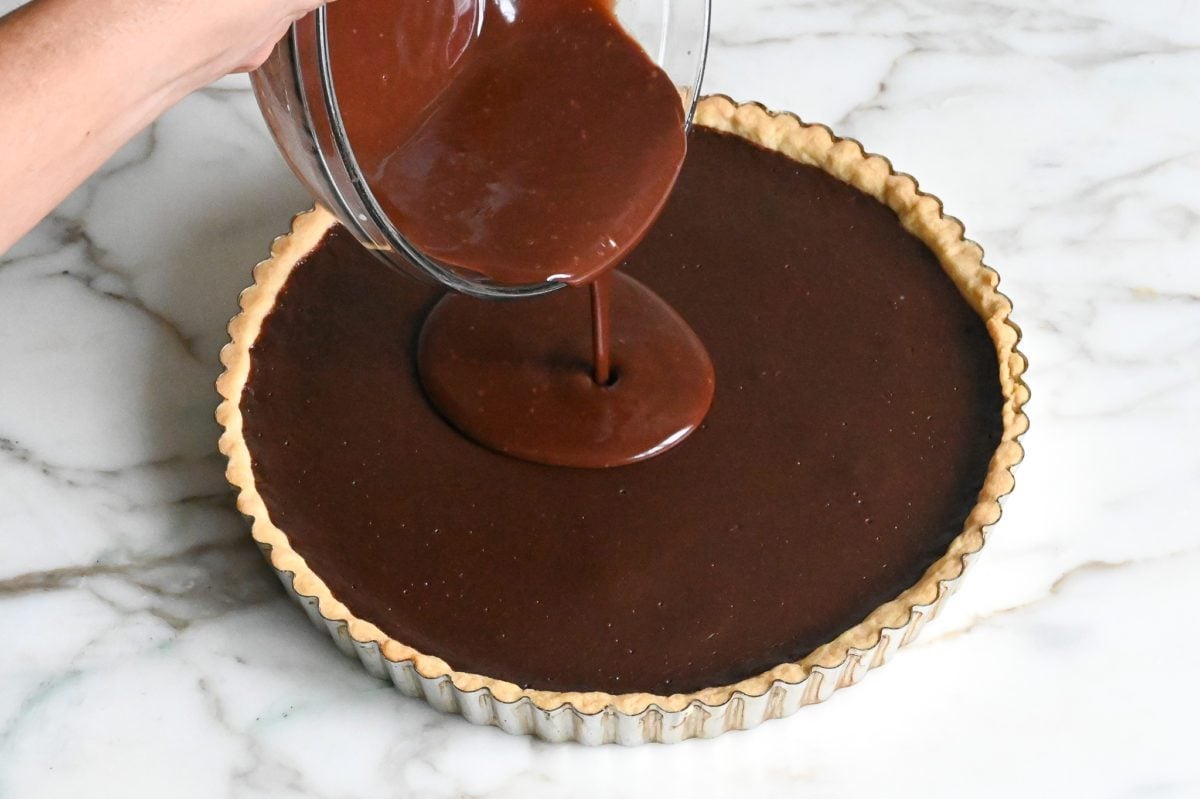
Fill and bake the tart: Pour the chocolate filling into the cooled crust and bake until mostly set but still a little wobbly in the center. Let the tart cool completely before adding the glaze.

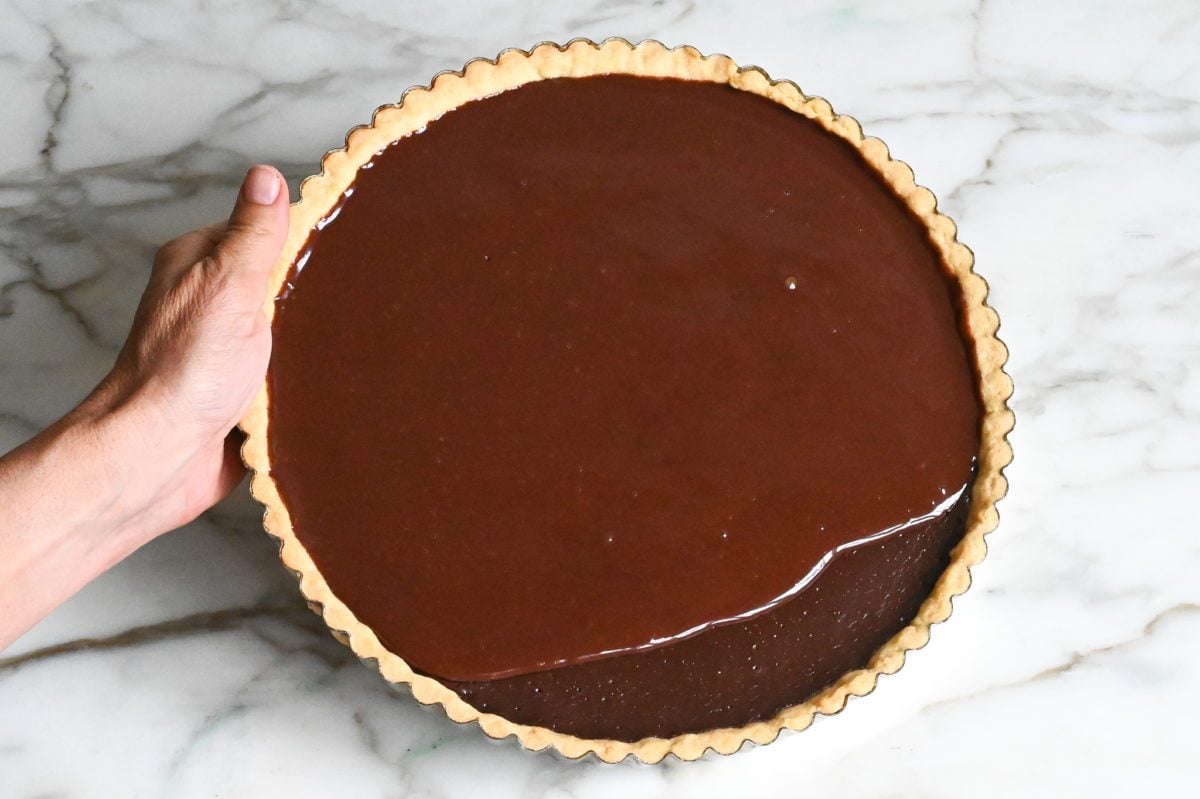
Glaze and finish the tart: Heat the cream and corn syrup, then pour the mixture over the chocolate and let it sit briefly before whisking until smooth. Add the hot water, then pour the glaze over the cooled tart and gently tilt the pan so it spreads evenly to the edges. Let the glaze set before removing the tart from the pan.
Serve: For the best texture, serve the tart at room temperature. The tart is delicious on its own, but a dollop of lightly sweetened whipped cream is especially nice with the rich chocolate filling.
More Rich Chocolate Desserts You’ll Love
Chocolate Tart
Ingredients
For the Crust
- ½ cup (1 stick) unsalted butter, at room temperature
- ¼ cup + 2 tablespoons sugar
- ¼ teaspoon salt
- 1¼ cups all-purpose flour, spooned into measuring cup and leveled-off
- 1 large egg yolk
For the Chocolate Filling
- 8 oz semisweet chocolate, best quality such as Ghiradelli, chopped or broken into small pieces
- 1¼ cups heavy cream
- 2 tablespoons sugar
- ¼ teaspoon salt
- 2 large eggs, at room temperature
- 1 teaspoon vanilla extract
For the Chocolate Glaze
- 3 tablespoons heavy cream
- 1 tablespoon light corn syrup
- 2 oz semisweet chocolate, best quality such as Ghiradelli, chopped or broken into small pieces
- 1 tablespoon hot water
Instructions
For the Crust
- In a stand mixer fitted with a paddle attachment, cream the butter, sugar, and salt on medium speed until pale and creamy, about 2 minutes. Scrape down the sides and bottom of the bowl with a rubber spatula. Add the flour and mix on low speed for about 30 seconds, until the flour is incorporated. The mixture will look like wet, clumpy sand. Add the egg yolk and mix on low speed until the yolk is evenly incorporated and the dough is clumpy, about 30 seconds. Using your hand, lightly knead the dough into a ball inside the bowl. Remove the dough from the bowl, press it into a 6-in (15-cm) disk, wrap it tightly in plastic wrap, and let it rest in the refrigerator for about 30 minutes.
- Lightly spray a 9.5-in (24-cm) tart pan with a removable bottom with nonstick cooking spray. Pinch off pieces of dough and press them against the sides of the pan to reach between ⅛ and ¼-in (3 and 6-mm)-thick. Using the heel of your hand, press the rest of the dough evenly into the bottom of the pan. (It will look like a mess, and it may initially seem like you won't have enough dough, but have faith, it will come together. If you run out of dough, you’ve made the crust too thick.) Be sure there are no seams in the dough and press it squarely along the corners where the bottom meets the sides of the pan to avoid extra-thick edges. Use a paring knife to trim the top edge of the dough so it is even with the rim of the pan. Press any scraps into the bottom crust. Cover with plastic wrap and place in the freezer for at least 30 minutes.
- Preheat the oven to 350°F (175°C) and set an oven rack in the middle position.
- Place the chilled crust on a baking sheet (for easy handling) and bake until dry and very lightly golden, about 20 minutes. Let cool on the baking sheet on a wire rack while you prepare the filling.
For the Chocolate Filling
- Place the chocolate in a medium bowl. In a small saucepan, bring the heavy cream to a boil. Pour over the chocolate and let sit for a few minutes, then whisk until melted and smooth. Add the sugar and salt and whisk until well incorporated. Add the eggs and vanilla and whisk until completely smooth. Pour the filling into the baked tart shell and pop any air bubbles with a toothpick. Bake for 20 to 25 minutes, until the filling is mostly set but still a bit wobbly in the center. Let cool completely in the pan on a wire rack, about 1 hour. The tart can be refrigerated at this point for up to 2 days (but bring to room temperature before glazing).
For the Chocolate Glaze
- On the day of serving, pour the cream and corn syrup into a medium microwave-safe bowl. Microwave on high until boiling, 30 seconds to 1 minute. Add the chocolate and let stand for a few minutes to allow the chocolate to soften. Whisk gently until the chocolate is melted and smooth, then whisk in the hot water. Working quickly so it doesn’t cool and thicken, pour the glaze onto the center of the tart, then carefully tilt the tart around to allow the glaze to run evenly to the edges. Let stand until the glaze is set, about 1 hour, and leave out at room temperature until serving.
- Remove the outer ring from the tart pan. Insert a metal spatula between the crust and pan bottom to loosen the tart and slide it onto a serving platter (or just leave the bottom in place). Cut into wedges, wiping the knife clean between slices, and serve plain or with sweetened whipped cream. Leftovers will keep nicely in a covered container in the refrigerator for up to 4 days (although the glaze will lose its sheen).
Notes
Nutrition Information
This website is written and produced for informational purposes only. I am not a certified nutritionist and the nutritional data on this site has not been evaluated or approved by a nutritionist or the Food and Drug Administration. Nutritional information is offered as a courtesy and should not be construed as a guarantee. The data is calculated through an online nutritional calculator, Edamam.com. Although I do my best to provide accurate nutritional information, these figures should be considered estimates only. Varying factors such as product types or brands purchased, natural fluctuations in fresh produce, and the way ingredients are processed change the effective nutritional information in any given recipe. Furthermore, different online calculators provide different results depending on their own nutrition fact sources and algorithms. To obtain the most accurate nutritional information in a given recipe, you should calculate the nutritional information with the actual ingredients used in your recipe, using your preferred nutrition calculator.
Hi,can I use dark corn syrup instead of light?Thank you!!
Sure, Liza, that should be fine. Enjoy!
This recipe is delicious and so simple and quick to make. I brought it to a friend’s birthday party and everyone loved it.
I used a different recipe for the crust as I needed gluten free. That recipe suggested pressing the crust down immediately after baking since it puffs up a bit. I used the bottom and sides of 1/2 cup dry measuring cup which worked well and made the crust very compact. It held together very well and left plenty of space for the filling. This may be a good tip for the gluten free bakers out there.
Outstanding!! Made the tart for a family birthday and it is divine. Thank you for your detailed instruction and sharing a recipe I’ll be making often!
Made this for Christmas dinner and everyone raved about it! Followed the directions exactly and it turned out picture perfect. Made the tart the evening before and refrigerated until morning. Made the topping the next day and it created a beautiful, shiny glaze. Set the tart on the table for guests to see as they arrived and it received oohs and ahhs! After a big meal, it was the perfect dessert – rich, but not too big or too sweet. The truffle-like filling was creamy, rich and thick. The shortbread crust paired well. Added a star next to this recipe and will definitely make again.
I did this for Christmas and it turned out great! I had it ready (except glaze) in the fridge two days in advance as I had many other preparations to deal with closer to the date and it kept well. The tart pan I had was about an inch larger so the crust felt too thin, next time I’ll make some more. Left overs kept well again room temperature for two more days! Also, for the glaze I used corn syrup instead and it worked fine although I got a little less shinny look than in your photos, I think – corn syrup is not available in my country.
Thanks Jenn for your lovely instructions, your recipes are always clear to follow and they all taste amazing! From Seville, Spain 🙂
SO GOOD! A yummy, rich tart. Pretty easy to make. What really makes it incredible is the shortbread crust. Would totally make this again.
A wonderful dessert! I needed individual tarts, but kept to the recipe. I was able to make 6 5” tartlets; I only needed 1/2 recipe of the filling but all of the crust and glaze. The crust took about the same amount of time – started checking at about 14 minutes so it didn’t brown too much. Baked the filling for about 18 minutes but again kept checking frequently. Husband said it was “something special” which are his high praise words.
Can I use gluten free flour for the crust?
Hi Cathy, I haven’t made this with gluten-free flour, so I can’t say for sure. (Oftentimes, readers will comment that they’ve adapted my baked goods to be gluten-free, but I don’t see any comments mentioning that here, so you’d be the “guinea pig.”) I’d love to hear how it turns out if you try it!
Hi Cathy,
I made this with gluten free flour. For the crust this morning for my mother in law and it seemed to come out okay. I will warn you that it is EXTREMELY fragile coming out of the oven, however. The first time the whole crust collapsed taking it out of the oven, so I tried it again and picked the dough with a fork a few times before I put it in the oven, and it came out fine.
That said, I have made this tart a couple of times as written and it is always gone in a flash.
Amazingly delicious tart. I have made it twice as a full size tart. Do you have any recommendations on changes if I wanted to make mini/individual sized tarts?
Hi Jen, so glad you like it! For individual tarts, I don’t think you’d need to modify anything other than the baking time. I think it will be just a bit shorter so keep a close eye on them.
I’m a pro chef, baker and sometimes pastry chef. This is a solid recipe. I normally wouldn’t consider an internet recipe, but I was in a pinch. Jenn has it going on btw 😉