
Beef Chili


This post may contain affiliate links. Read my full disclosure policy.
Rich, hearty, and loaded with flavor, this beef chili recipe is just the thing for game day, a casual get-together, or a cozy night in.
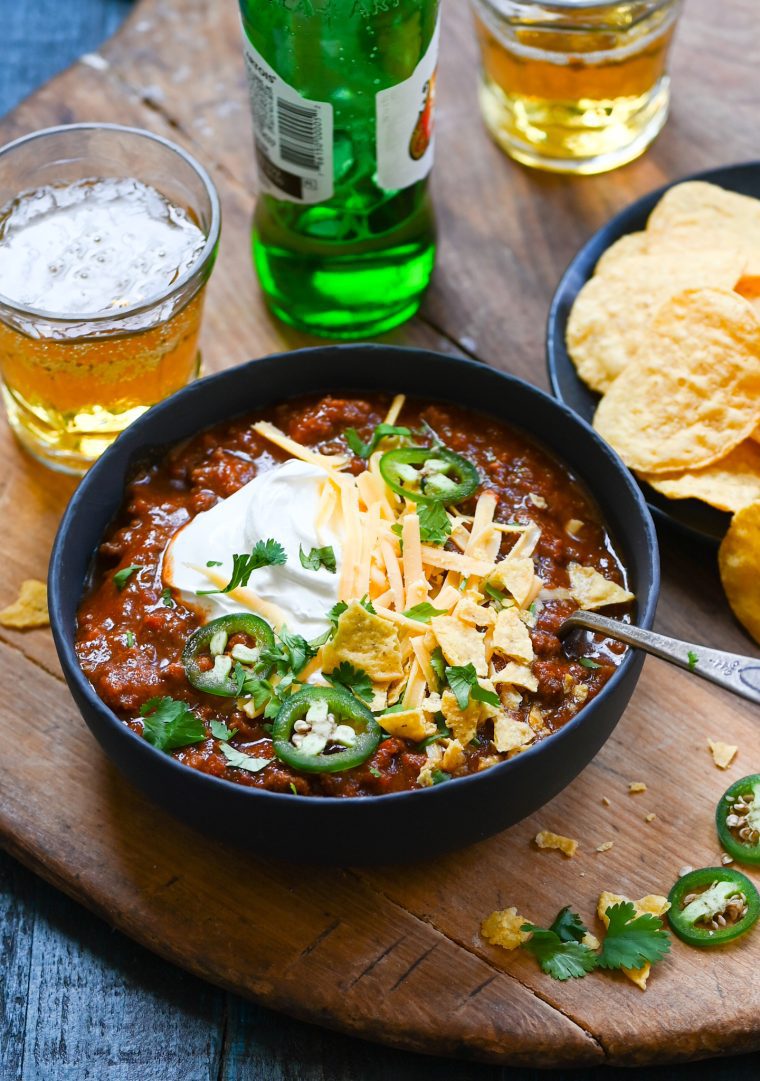
This beef chili recipe is my absolute go-to. It’s everything you want in a classic ground beef chili—rich, flavorful, and perfectly spiced to warm you up. It simmers low and slow until thick and hearty, with tender beef and just the right amount of heat.
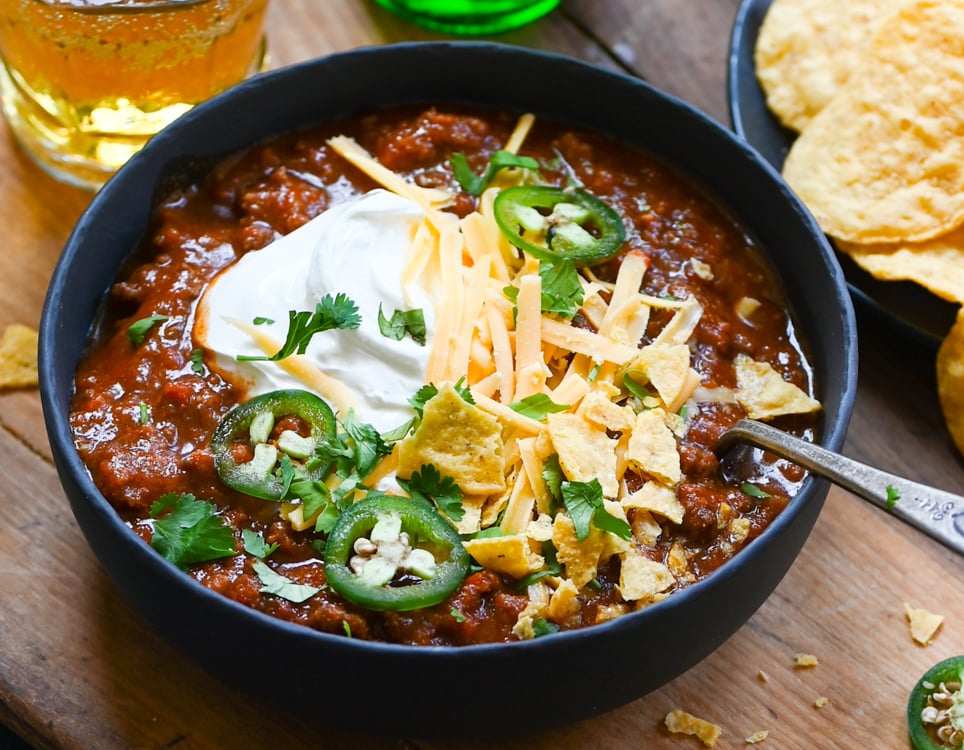
I make my chili without beans—my kids aren’t fans—but if you prefer them, they’re easy to add. Just rinse and drain a can or two of kidney beans, pinto beans, or black beans and stir them into the chili during the last half hour of cooking. Serve the chili with your favorite toppings—shredded cheese, sour cream, scallions, or whatever you like—and cornbread for a cozy, satisfying meal.
“We’re Texans and love your chili! It is so well flavored without being hot…Thank you for another great recipe!”
Video Tutorial
What You’ll Need To Make Beef Chili
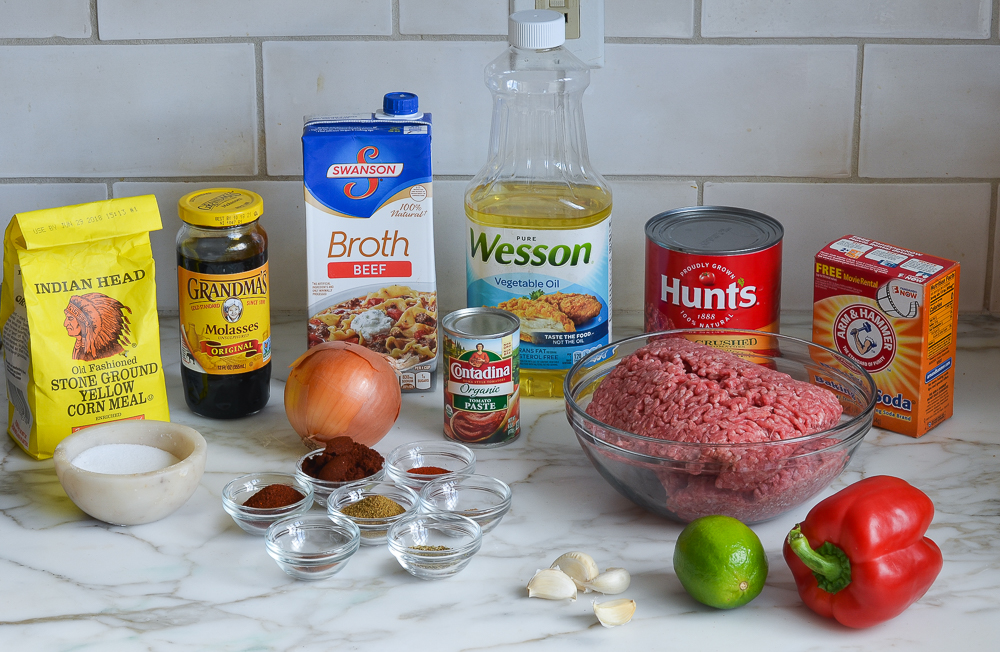
- Ground beef & baking soda: I recommend 85% lean ground beef for the best flavor and texture. Tossing the beef with a little baking soda before cooking raises its pH, helping it retain moisture and brown more effectively rather than releasing all its liquid and steaming. This is a small step that makes a noticeable difference.
- Onion, garlic & red bell pepper: Form the aromatic base of the chili. I mince them fairly finely so they practically melt into the sauce as it simmers.
- Spices & herbs: Ancho and chipotle chile powders, cumin, oregano, coriander, and smoked paprika give the chili its deep, smoky flavor and moderate heat. A bit of cinnamon is optional and adds a subtle hint of sweetness. For a milder chili, cut back on the chipotle; for more heat, add cayenne.
- Beef broth: Adds savory depth and reinforces the beefy flavor of the chili.
- Crushed tomatoes & tomato paste: Give the chili its tomato base; the paste adds extra richness and helps create a thick consistency.
- Cornmeal: A small amount thickens the chili as it simmers without making it heavy.
- Molasses: Optional, but a little helps balance the acidity of the tomatoes and the heat of the chiles.
- Lime juice: Stirred in at the end to add acidity and brighten the rich, slow-cooked flavors.
- Jump to the printable recipe for precise measurements
How To Make Chili
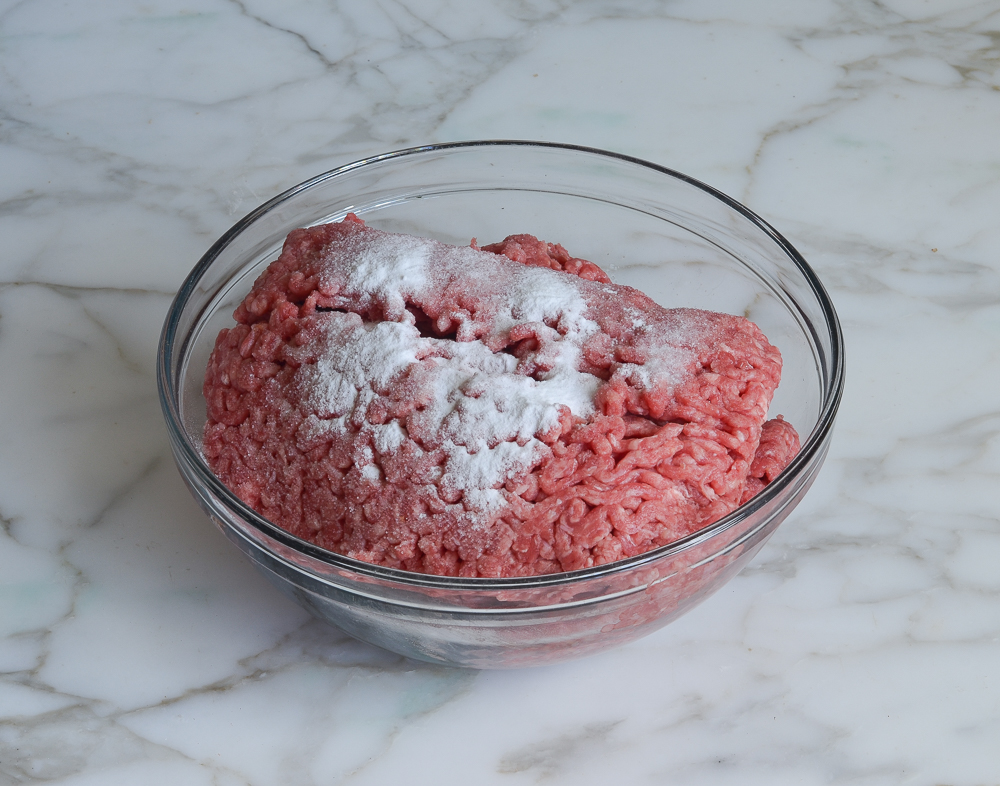
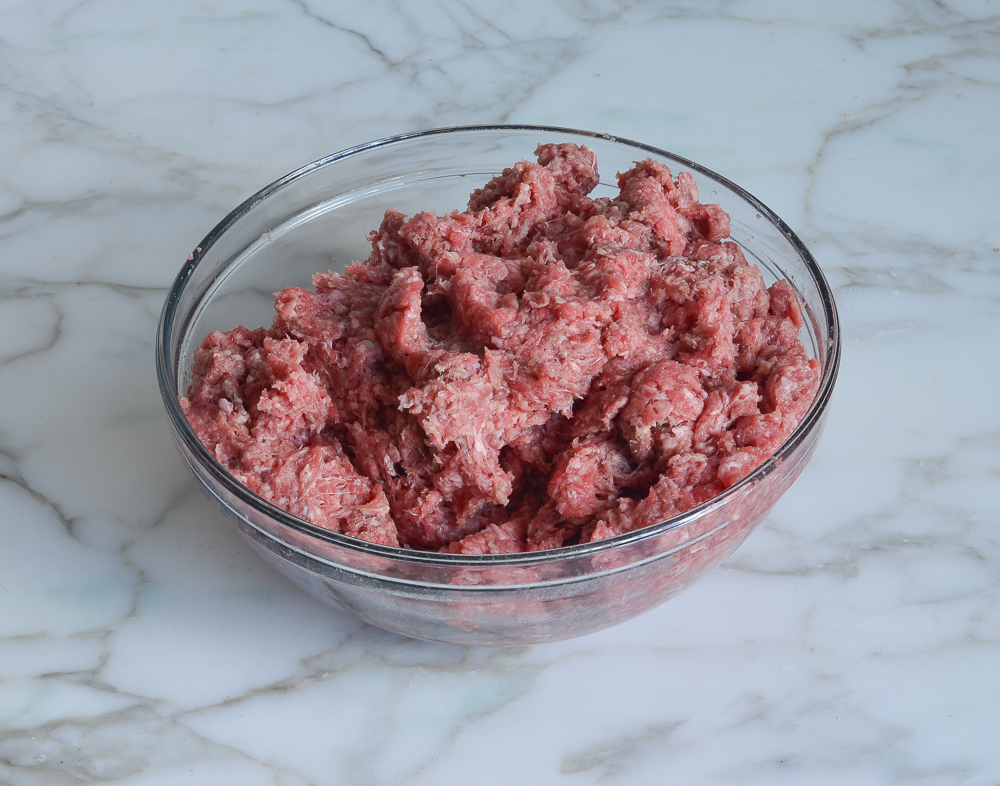
Prep the beef: Toss the ground beef with the baking soda mixture and let it sit while you get everything else ready. The baking soda works its magic by raising the meat’s pH, which helps it stay juicy and brown more quickly.
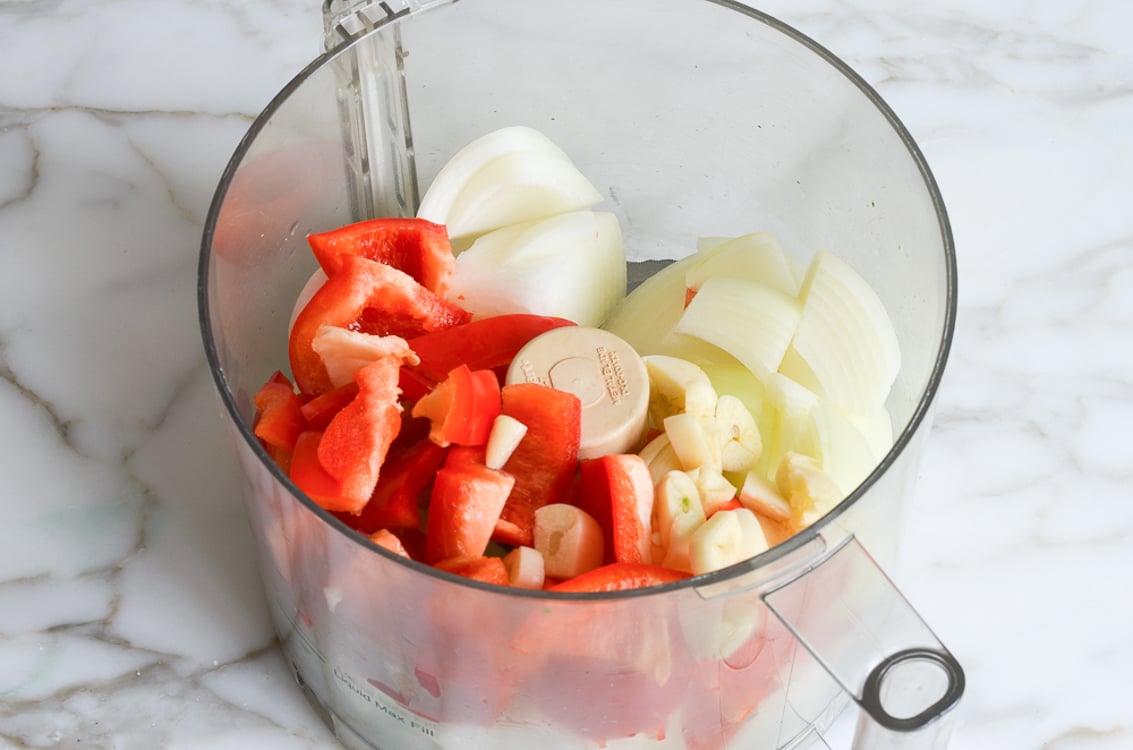
Prep the veggies: I use the food processor to quickly mince the onion, garlic, and bell pepper, but you can certainly do it by hand if you prefer. You want the vegetables quite fine so they practically melt into the chili as it cooks.

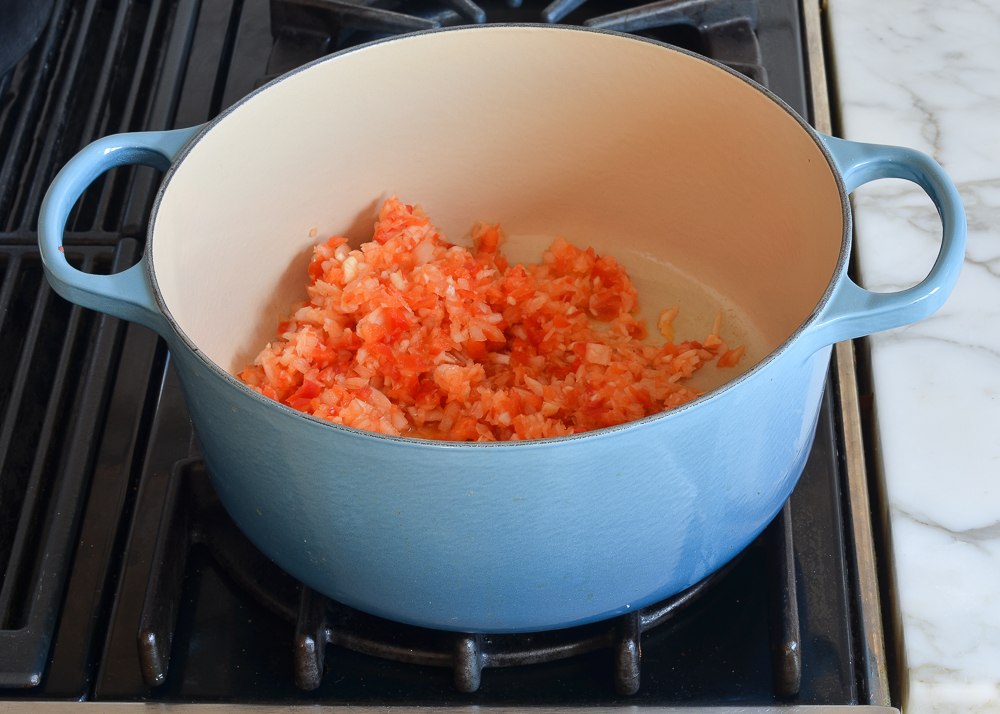
Cook the vegetables and brown the beef: Cook the veggies until softened, then add the beef. Break it up as it cooks, but leave some larger pieces rather than crumbling it too finely—you want the chili to have some texture. Cook until the beef is nicely browned.
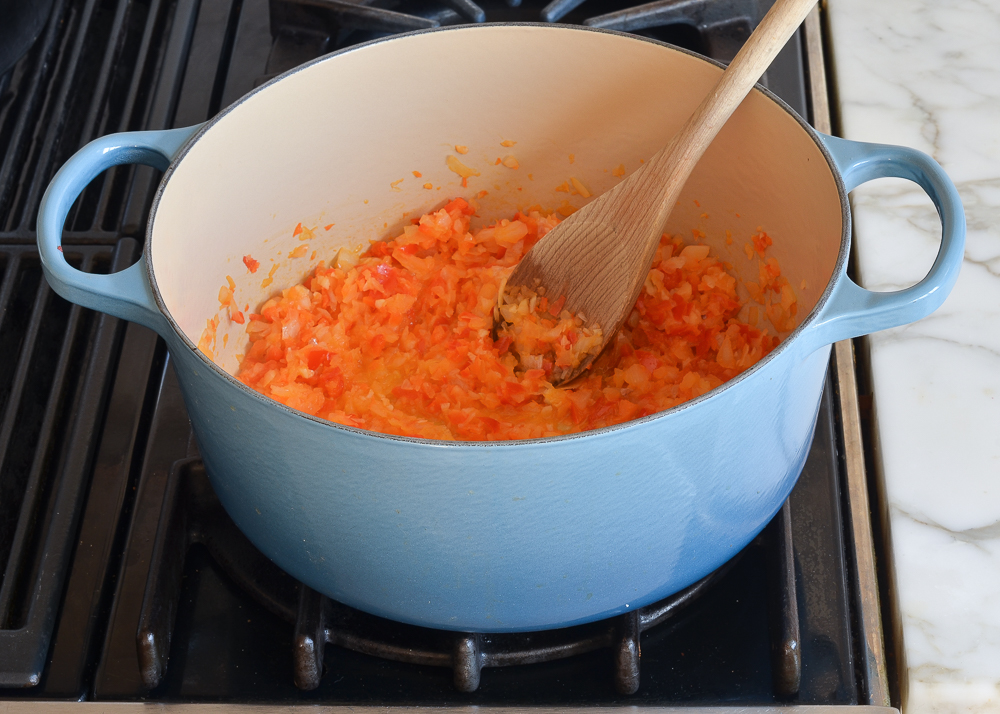
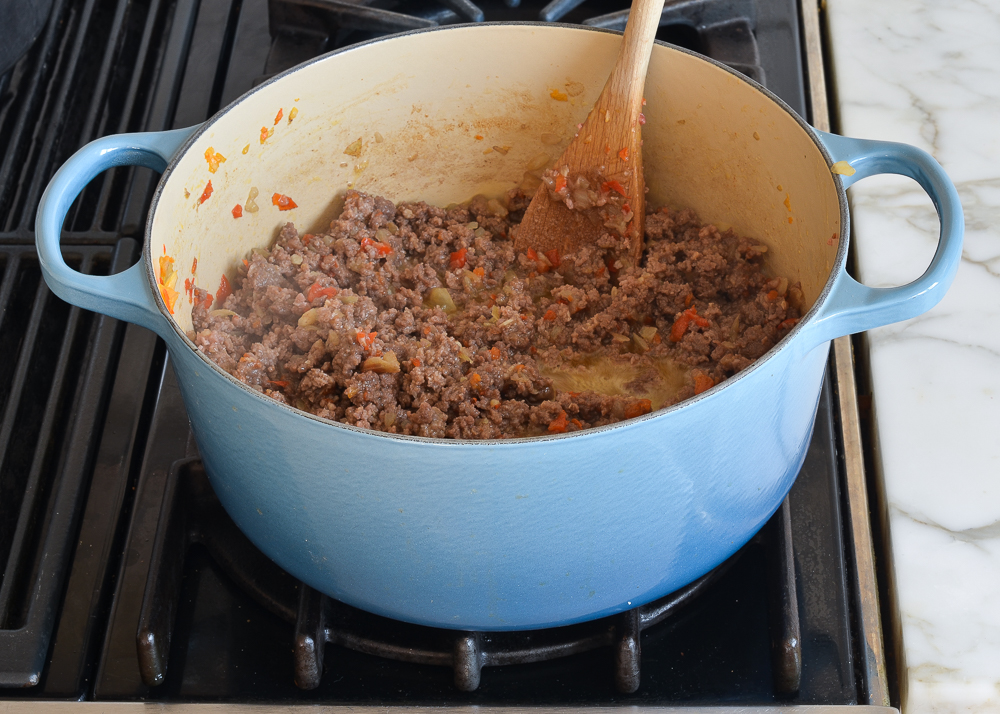
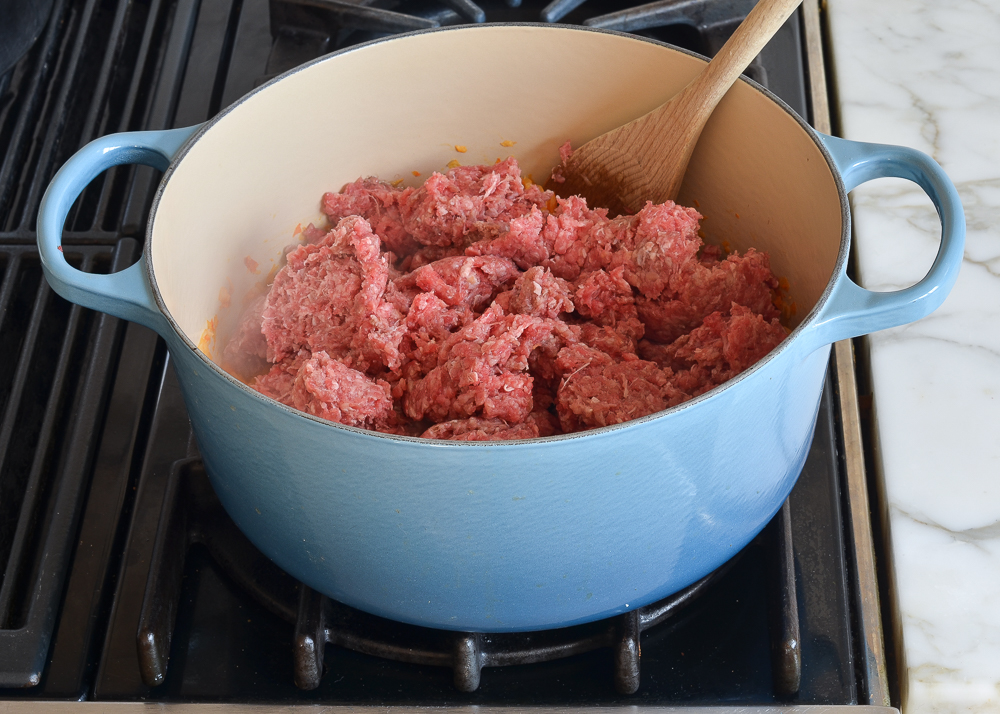
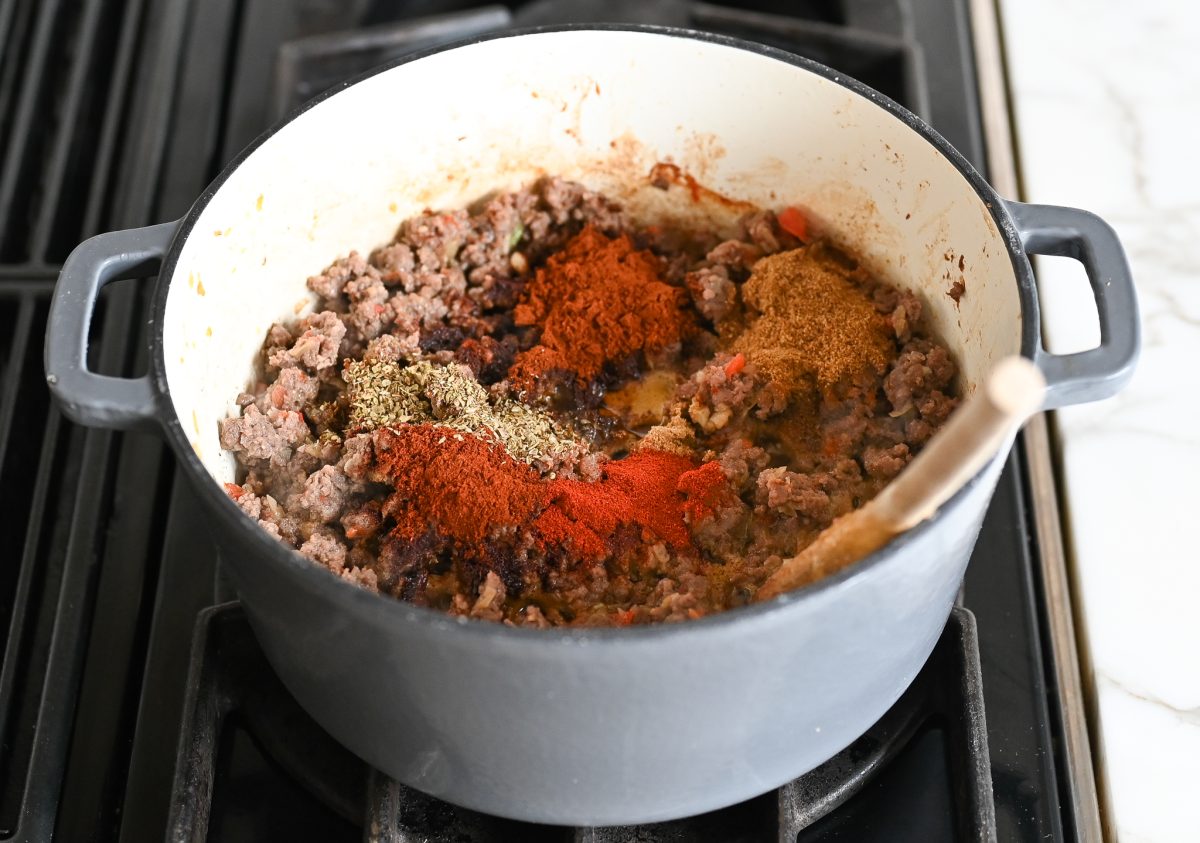
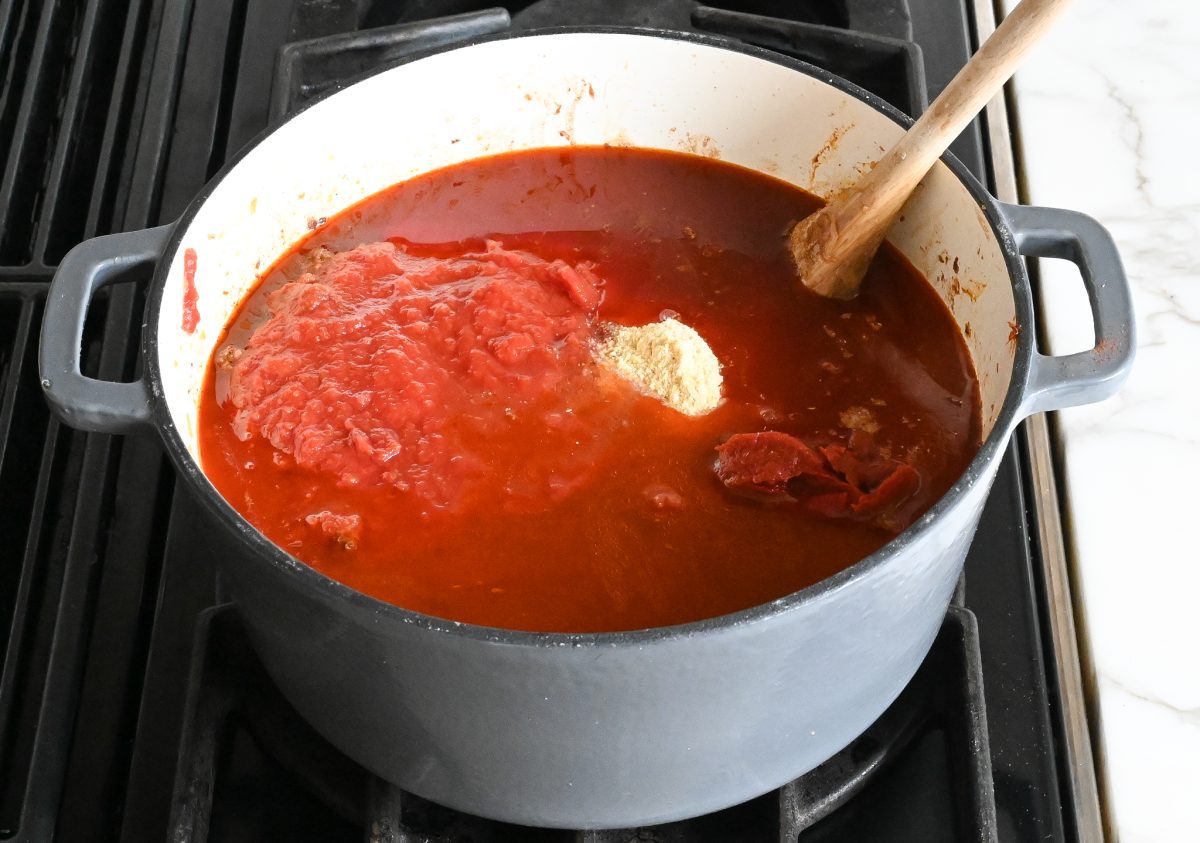
Add the spices and simmer: Stir in the spices and cook briefly, until fragrant—this helps bring out their flavor. Add the cornmeal, broth, crushed tomatoes, tomato paste, and molasses, then let the chili simmer low and slow until thick and flavorful.
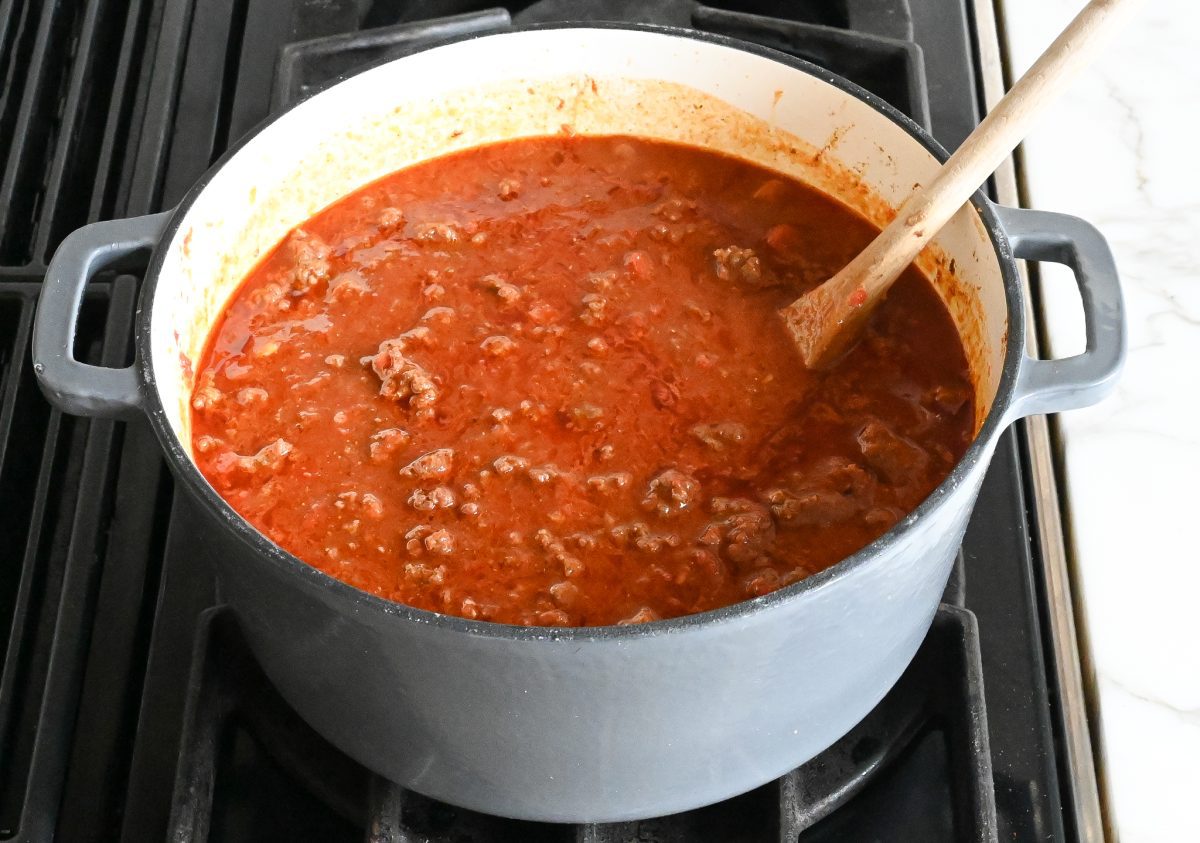
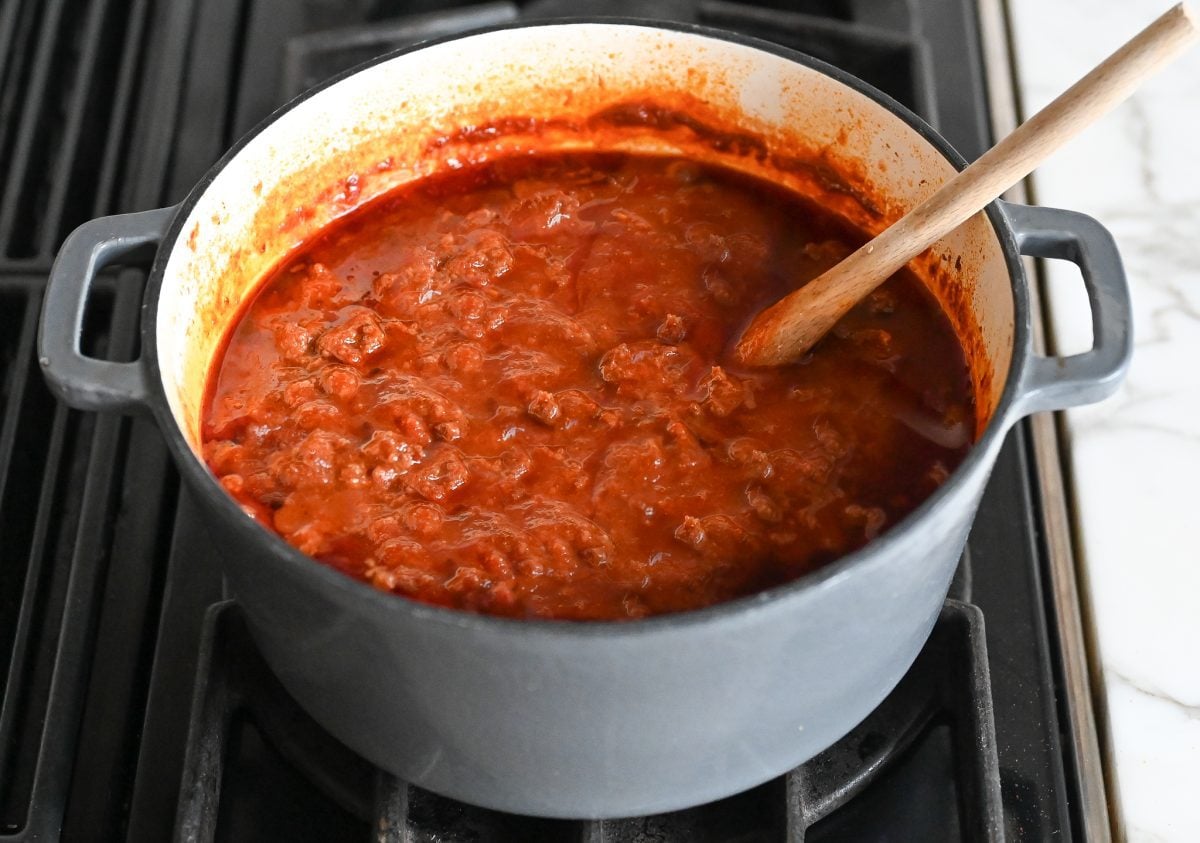
Finish the chili: Skim off any excess fat from the surface—it’ll be a good amount—then stir in the lime juice. Serve the chili with your favorite toppings and cornbread, or spoon it over a baked potato for an especially hearty meal. Like most chilis, it’s even better the next day, so it’s a great make-ahead meal and freezes well, too.
More Chili Recipes You’ll Love



Classic Beef Chili

Ingredients
- 2½ pounds 85% lean ground beef
- 2 teaspoons salt
- ¾ teaspoon baking soda
- 2 tablespoons vegetable oil
- 1 large yellow onion (or 2 small), minced
- 4 cloves garlic, minced
- 1 red bell pepper, minced
- 2 tablespoons ancho chile powder
- 1 tablespoon chipotle chile powder
- 1 tablespoon ground cumin
- 1 teaspoon dried oregano
- ½ teaspoon ground coriander
- 1 teaspoon smoked paprika
- ¼ teaspoon cinnamon, (optional, for a sweeter chili)
- 2 tablespoons cornmeal
- 3 cups beef broth
- 1 (28-oz) can crushed tomatoes
- ¼ cup tomato paste
- 1 tablespoon molasses, such as Grandma's Original (optional, for a sweeter chili)
- 1 tablespoon fresh lime juice, from 1 lime
For Serving (optional)
- Cilantro, lime wedges, sour cream, cheese, scallions
Instructions
- In a large bowl, combine the beef, salt, baking soda, and 1 tablespoon of water. Using your hands, mix until evenly combined. Let the beef mixture sit on the counter for 20 minutes.
- In a large pot over medium heat, heat the oil. Add the onions, garlic, and red pepper; cook, stirring frequently, until softened, 4 to 6 minutes. Add the beef and increase the heat to high; cook, stirring with wooden spoon to break the meat into ¼-inch (6-mm) pieces, until the beef is browned, 10 to 12 minutes. The beef will release a lot of liquid—do not drain it; you'll skim the fat off at the end.
- Add the ancho chile powder, chipotle chile powder, cumin, oregano, coriander, smoked paprika, and cinnamon (if using); cook, stirring frequently, for 1 to 2 minutes, until well combined and fragrant.
- Stir in the cornmeal, broth, crushed tomatoes, tomato paste, and molasses (if using); bring to a boil. Reduce the heat to low and simmer, covered, for 2 hours.
- Skim any excess fat off the surface of the chili. There will be quite a bit; don't worry about getting all of it, as it adds flavor. Stir in the lime juice, then taste and adjust seasoning, if necessary. For a thinner chili, you can add a bit of water. To thicken the chili, continue simmering, uncovered, until desired consistency is reached.
Notes

Nutrition Information
This website is written and produced for informational purposes only. I am not a certified nutritionist and the nutritional data on this site has not been evaluated or approved by a nutritionist or the Food and Drug Administration. Nutritional information is offered as a courtesy and should not be construed as a guarantee. The data is calculated through an online nutritional calculator, Edamam.com. Although I do my best to provide accurate nutritional information, these figures should be considered estimates only. Varying factors such as product types or brands purchased, natural fluctuations in fresh produce, and the way ingredients are processed change the effective nutritional information in any given recipe. Furthermore, different online calculators provide different results depending on their own nutrition fact sources and algorithms. To obtain the most accurate nutritional information in a given recipe, you should calculate the nutritional information with the actual ingredients used in your recipe, using your preferred nutrition calculator.
Jenn,
Is there a reason you don’t drain the fat from the beef/vegetable mixture before adding the remaining ingredients? It seems like it would be easier to remove extra fat at this step rather than skimming off the top of the finished chili.
Hi Christine, the fat from the beef adds a lot of flavor to the chili as it cooks. Hope that clarifies and that you enjoy if you make it!
To put it simply, I’ve never had a better chili. The flavor base is awesome and flexibility is boundless. If you want more heat, add it – beans? add them, thicker, thinner – whatever you want to do. I think I’ll try adding some green chiles next time around.
Hi Jenn love your recipes. Can I use ground chicken instead ground beef
So glad you liked the recipes! Yes, you can use ground chicken here – if you do, you can skip the baking soda, but don’t omit the salt (just add with the other spices). Enjoy!
Hi, Jenn – I don’t have cornmeal on hand. Should I go pick some up, or is there a substitution that would be all right? Thank you!
Hi Laura, You can omit it (the chili will just be a little thinner). If you happen to have corn tortillas on hand, you can grind a few up in a food processor and use them instead. Enjoy!
I’ve been reading over your chili recipes and have never come across adding baking soda to the beef to help tenderize it. Our household rarely eats beef; we usually sub in ground turkey or use Impossible Beef. My usual method of tenderizing ground turkey in soups/chili is to add 1/2 of a light beer (i.e. Corona) to the cooked meat & spices and cook until reduced by at least half. Question: if I use ground turkey, do you recommend adding the baking soda?
Thanks – Kelley
Hi Kelley, you can skip the baking soda if using ground turkey. Hope you enjoy the chili!
I am a big fan of your recipes/methods but found this chili just too spicy for my taste. The flavors were definitely balanced but, for my taste, that ‘balance’ was undercut by the strong spice/heat of the chili. Again, this is ‘my taste’ and this recipe may be perfect for those who look for a strong spice/heat profile.
Hi Jen!
Excited to give this recipe a try! Curious if you have ever swapped the ground beef for whole chuck meat (like in your beef stew, which is fantastic) or did a mix of the two to switch up the meat textures? I’m a bit of a weirdo and don’t love the texture of ground meat, so I am always on the prowl for a good chili recipe using whole pieces of chuck meat vs. ground.
Thanks!
Hi Ryin, I haven’t tried that here, but I have a chili con carne recipe that uses chuck. You may prefer that one. Hope you enjoy if you make it!
Love this recipe, but I have a hard time eating fat. It took a while to skim the fat off but worth it as it tasted great.
Probably one of the best chili recipes I’ve made. Only thing different is I didn’t add as much heat as the recipe calls for (we cant handle the heat.) Otherwise it is delicious!
Hi Jen! If I want to add a can of beans, what kind would you recommend and at what point should them? Also, do I need to make any other modifications to the ingredients? e.g more seasoning etc
Hi Amy, it’s fine to add a can of beans with no other modifications. I’d add them near the end of the 2 hours of simmering so they get warmed through. Enjoy!