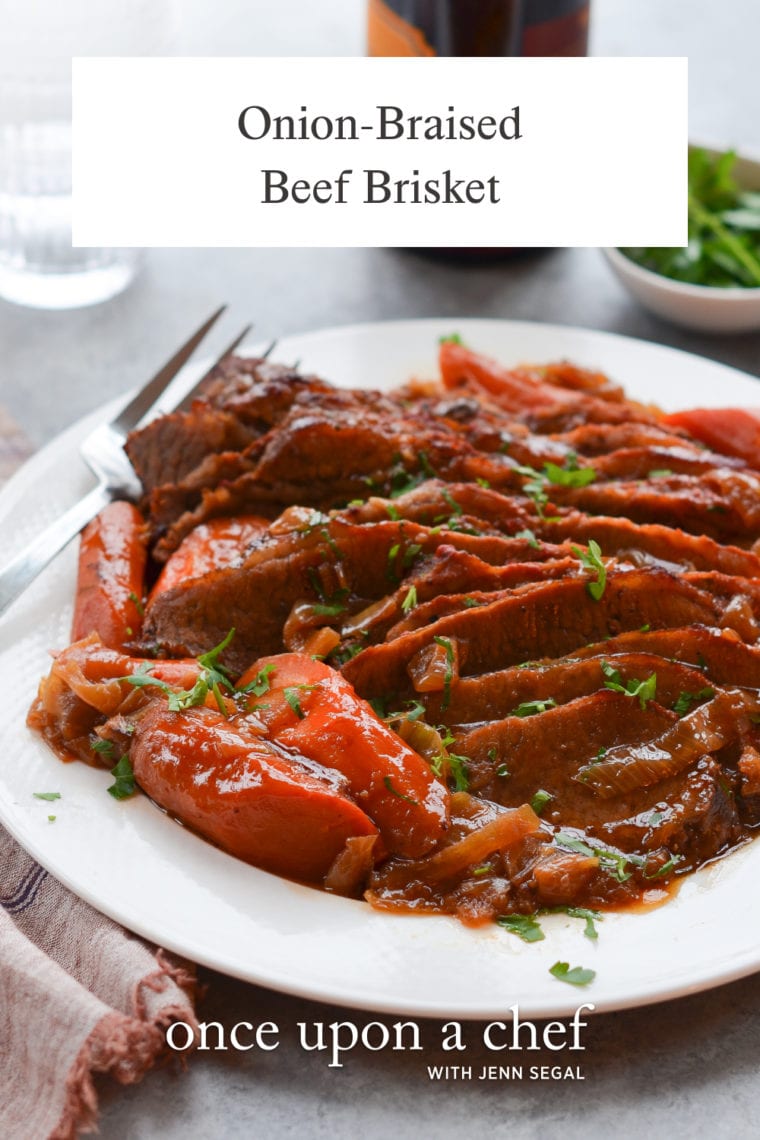
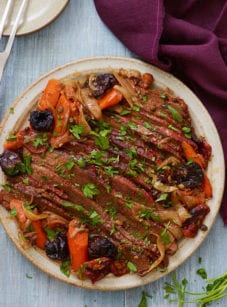
Classic Braised Brisket with Onions

This post may contain affiliate links. Read my full disclosure policy.
This iconic brisket recipe is famous for a reason: it’s easy to make, packed with flavor, and perfect for any special occasion. No wine or stock needed—the onions do all the work, melting into a rich, flavorful gravy. Best of all, it can be made entirely in advance, making hosting a breeze!

This celebrated beef brisket recipe comes from the late Nach Waxman, owner of the beloved New York City cookbook shop Kitchen Arts & Letters. First published in The Silver Palette New Basics Cookbook in 1989, it’s said to be the world’s most Googled brisket recipe. It’s surprisingly simple: the brisket roasts on a bed of onions that slowly caramelize into a deeply savory sauce, reminiscent of French onion soup.
Over the years, I’ve made a few tweaks to the recipe, but you can still find the original here. It’s ideal for preparing ahead of time, as the flavors deepen when served the following day. For me, it’s a Jewish holiday staple, alongside classics like matzo ball soup, challah, and latkes. (For Passover, swap the flour for matzo meal.)
“Goodness, this is a magical meal.”
What You’ll Need To Make Classic Braised Brisket With Onions
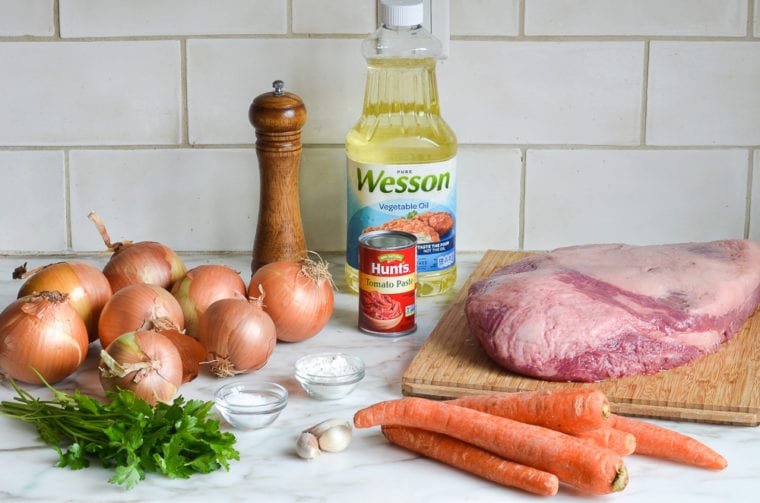
- Beef Brisket: Turns meltingly tender when slow-braised, soaking up all the rich sauce. This recipe uses a first-cut (flat-cut) brisket—it’s lean but has just enough fat to keep the meat juicy and flavorful.
- Kosher Salt, Ground Black Pepper & All-Purpose Flour: Season the meat and help create a nice crust when searing; the flour also thickens the sauce as it cooks.
- Vegetable Oil: Used to sear the brisket, giving it a golden, flavorful crust.
- Yellow Onions, Garlic & Carrots: The onions cook down into a sweet, caramelized base for the sauce; the garlic adds savory flavor, and the carrots soften as they braise, soaking up all the flavor and adding a subtle sweetness.
- Tomato Paste: Adds a rich, concentrated tomato flavor that deepens the sauce.
- Fresh Chopped Parsley (Optional): Sprinkled on at the end for a bit of fresh, herby color.
- Jump to the printable recipe for precise measurements
Braised Brisket Video Tutorial
Step-by-Step Instructions
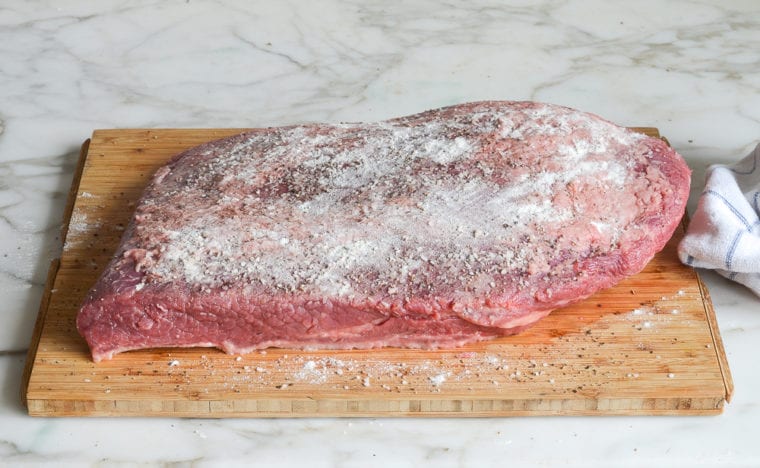
Step 1: Season and flour the brisket. Generously season the brisket with salt and pepper, then dust both sides lightly with flour.
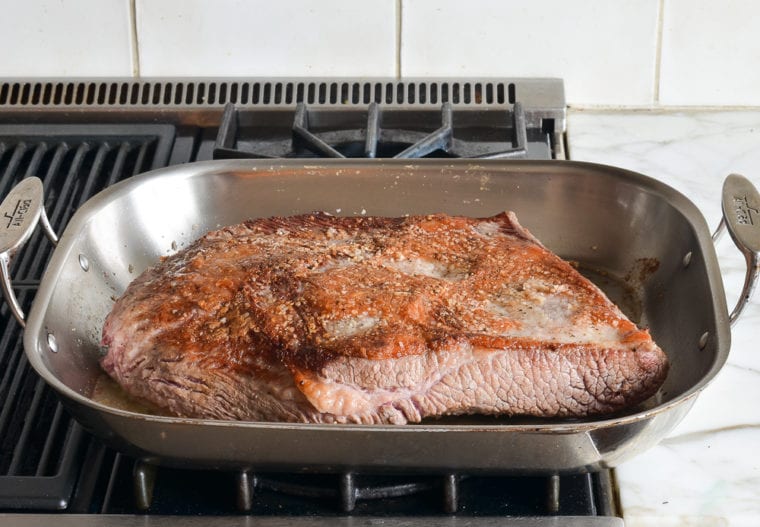
Step 2: Sear the meat. Heat the oil in a heavy roasting pan or Dutch oven until shimmering, then sear the brisket on both sides until browned and crusty in spots. Transfer it to a platter.
Pro Tip: Take your time when searing—proper browning means deeper flavor in the final dish, so don’t rush it.
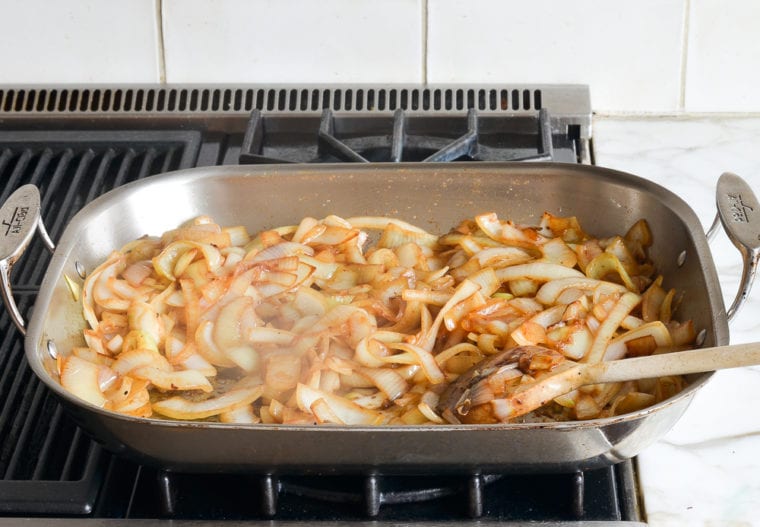
Step 3: Cook the onions. Add the onions to the pan and cook, stirring and scraping up all those browned bits (which add tons of flavor to the braising liquid), until they’re soft and golden brown, about 15 minutes.
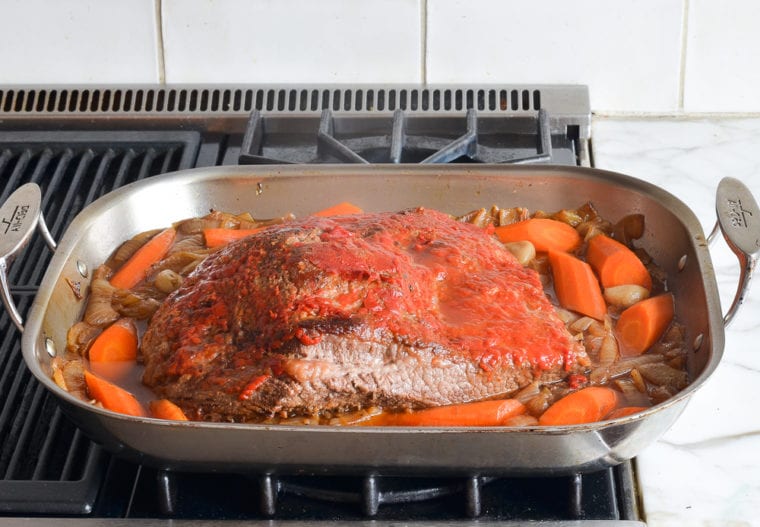
Step 4: Add everything back. Nestle the brisket on top of the onions, spread the tomato paste over the meat, and scatter the carrots and garlic around the edges. Cover tightly with aluminum foil or a lid and bake for 1½ hours.
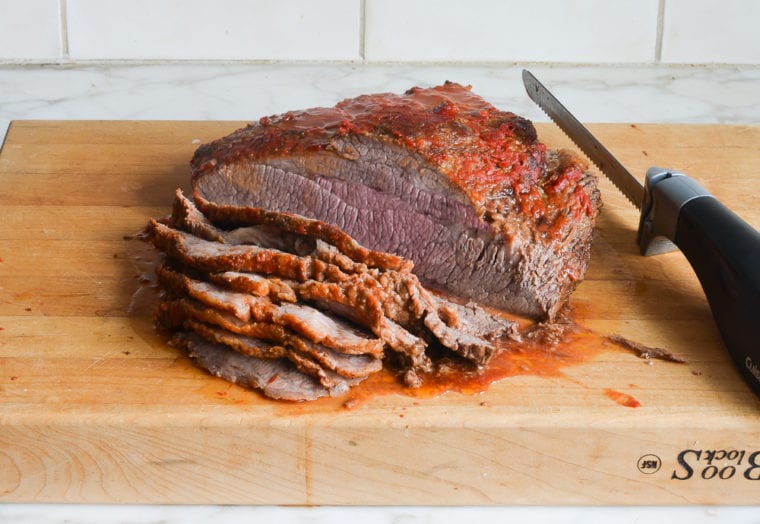
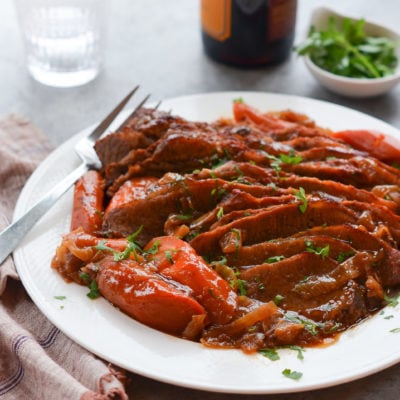
Step 5: Slice the brisket. Take the brisket out and transfer it to a cutting board. Slice it thinly—about ⅛ to ¼ inch thick—against the grain (it’s easier to slice now than later, and the second braise allows the slices to soak up lots of juice, keeping the meat moist and flavorful).
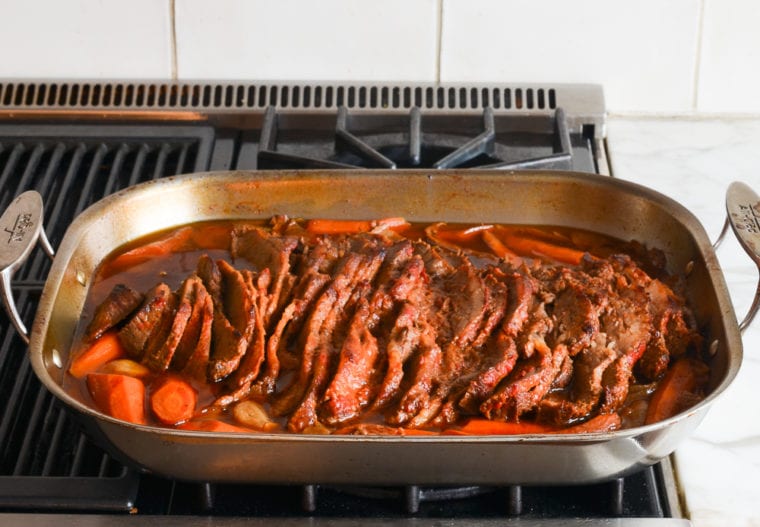
Step 6: Finish cooking. Return the slices to the pan, overlapping slightly, and baste with the pan juices. Pop it back in the oven and bake for a few more hours until tender. Cooking brisket can be an exercise in patience, but it’s worth it—it takes time to break down the meat’s connective tissue and get that melt-in-your-mouth texture.
Step 7: Serve or store. You can serve the brisket right away, but it’s even better if you chill it overnight and reheat the next day. It also freezes beautifully.
Tips for Making The Best Brisket
- Use the right cut. Brisket comes in two cuts: flat-cut (also called first-cut) and point cut (this recipe uses flat-cut). The flat-cut is lean but has a fat cap that adds flavor and moisture—keep some of that fat on for the best results.
- Season generously. Brisket is a big cut, so don’t be shy with the salt and pepper—they help create a flavorful crust and bring out the meat’s depth.
- Pick the right pan. You want a pan that holds the brisket and veggies snugly—too much empty space can cause the liquid to evaporate too fast and burn.
- Keep it covered. Covering the pan well traps steam and keeps the meat nice and tender.
- Slice against the grain. Look for the lines running through the meat—cut across those lines, not with them, for the most tender bites.
- Check liquid levels as it cooks. Make sure there’s always enough braising liquid in the pan so the brisket stays moist; add a splash of broth or water if it’s getting low.
- Make it Ahead. Brisket tastes even better the next day as the flavors deepen. If you can, make it a day ahead and reheat gently before serving.
Brisket is typically prepared one of two ways: braised in the oven, like this version, or smoked BBQ-style. If you’re looking for the BBQ version, head over to my smoked brisket recipe—it’s cooked low and slow in a smoker until tender and juicy with a crusty bark.
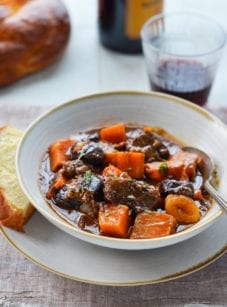
More Crowd-Pleasing Recipes You’ll Love

Classic Braised Brisket with Onions
Ingredients
- 5 to 6 lb first-cut (or flat-cut) beef brisket, trimmed so a thin layer of fat remains in some spots (do not over trim!)
- 1½ tablespoons kosher salt
- 1 teaspoon freshly ground black pepper
- 2 tablespoons all-purpose flour (okay to substitute matzo cake meal for Passover)
- 3 tablespoons vegetable oil
- 8 medium yellow onions, peeled and sliced ½-in (13-mm) thick
- 3 tablespoons tomato paste
- 3 cloves garlic, roughly chopped
- 6 carrots, peeled and sliced into large chunks on a diagonal
- Handful fresh chopped parsley, for garnish (optional)
Instructions
- Set an oven rack in the middle position and preheat the oven to 350°F (175°C).
- Season the brisket on both sides with the salt and pepper. Lightly dust the brisket with the flour, then shake and turn to coat evenly. Heat the oil over medium-high heat in a heavy flameproof roasting pan or ovenproof enameled cast-iron pot just large enough to hold the brisket and carrots snugly. Add the brisket to the pan and sear on both sides until crusty brown areas appear on the surface, 5 to 7 minutes per side.
- Transfer the brisket to a platter, then add the onions to the pan and stir constantly with a wooden spoon, scraping up any browned bits stuck to the bottom of the pan. Cook until the onions are softened and golden brown, about 15 minutes. (If browned bits stick to the bottom of the pan and start to burn, add a few tablespoons of water and scrape with a wooden spoon to release them.)
- Turn off the heat and place the brisket, fatty side up, and any accumulated juices on top of the onions. Spread the tomato paste evenly over the brisket, then scatter the garlic and carrots around the edges of the pan. Cover the pan very tightly with aluminum foil (preferably heavy-duty or two layers) or a lid, then transfer to the oven and cook for 1½ hours.
- Transfer the brisket to a cutting board and, using an electric or very sharp knife, slice the meat across the grain into approximately ⅛ to ¼-in (3 to 6-mm)-thick slices. Return the slices to the pan, overlapping them at an angle so that you can see a bit of the top edge of each slice. The end result should resemble the original unsliced brisket, leaning slightly backward. Cover the pan tightly and return to the oven.
- Lower the heat to 325°F (165°C) and cook the brisket until it is fork-tender, 1¾ to 2½ hours, or longer if necessary. The brisket is ready to serve with its juices, but it is even better the second day. (Note: If the sauce seems greasy, transfer the meat and vegetables to a platter and cover with foil to keep warm. Pour the sauce into a bowl and let sit until the fat rises to the top. Using a small ladle, spoon out the fat. Pour the skimmed gravy back over the meat.)
Notes
- Nutritional information was calculated for a 5-lb (2.25-kg) brisket.
- Make-Ahead/Freezing Instructions: The brisket can be made up to 3 days ahead of time and refrigerated. Reheat the brisket in a 300°F (150°C) oven until hot, about 45 minutes. The brisket also freezes well for up to 2 months; defrost in the refrigerator 2 days ahead of time.
Nutrition Information
This website is written and produced for informational purposes only. I am not a certified nutritionist and the nutritional data on this site has not been evaluated or approved by a nutritionist or the Food and Drug Administration. Nutritional information is offered as a courtesy and should not be construed as a guarantee. The data is calculated through an online nutritional calculator, Edamam.com. Although I do my best to provide accurate nutritional information, these figures should be considered estimates only. Varying factors such as product types or brands purchased, natural fluctuations in fresh produce, and the way ingredients are processed change the effective nutritional information in any given recipe. Furthermore, different online calculators provide different results depending on their own nutrition fact sources and algorithms. To obtain the most accurate nutritional information in a given recipe, you should calculate the nutritional information with the actual ingredients used in your recipe, using your preferred nutrition calculator.
Why slice it before it’s fully cooked?
Slicing the brisket partially through cooking it exposes more of the meat to the braising liquid allowing it to absorb more flavor. (And, at that point, it’s firm enough to slice neatly.)
The best brisket recipe you’ll ever find.
Forget about the smoker, this is so tender and delicious. Everyone I make it for asks for the recipe!
Made this before and it’s great.
Need to make it gluten free this time. Can/should I use corn starch in place of the flour?
Thanks.
Sure, Matt, cornstarch is fine to use (and glad you like it)!
I make this every year for Passover – mine just came out of the oven and I am using all my self control not to have more than the bite I took to make sure it was tender enough. My house smells amazing! I highly recommend this and confirm that it is a great make ahead dish. I’ve made it up to 3 days in advance and it heats up beautifully.
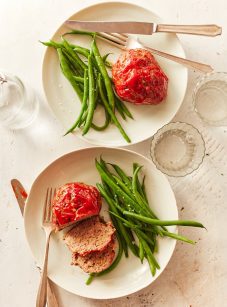
Wow that was really tender and delicious. I’ve never made brisket before. Served it with your mashed red potatoes recipe and green beans with cranberries (substituted craisins) and walnuts. You are my go-to, Jen. I have two of your cookbooks. I’m going to see if there is another. Thank you! You make me look good 😉
I made this for Christmas dinner for 11 adults and 4 children using a 7.5lb brisket. It was mouth-watering delicious! My husband was skeptical that the meat would stay juicy-boy he was pleasantly surprised! It was so dang good!! He claimed this recipe as our new go-to Christmas meal and everyone agreed. Thanks for posting a fabulous recipe with video to match. Happy New Year!