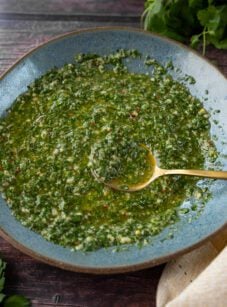
Pesto Sauce

This post may contain affiliate links. Read my full disclosure policy.
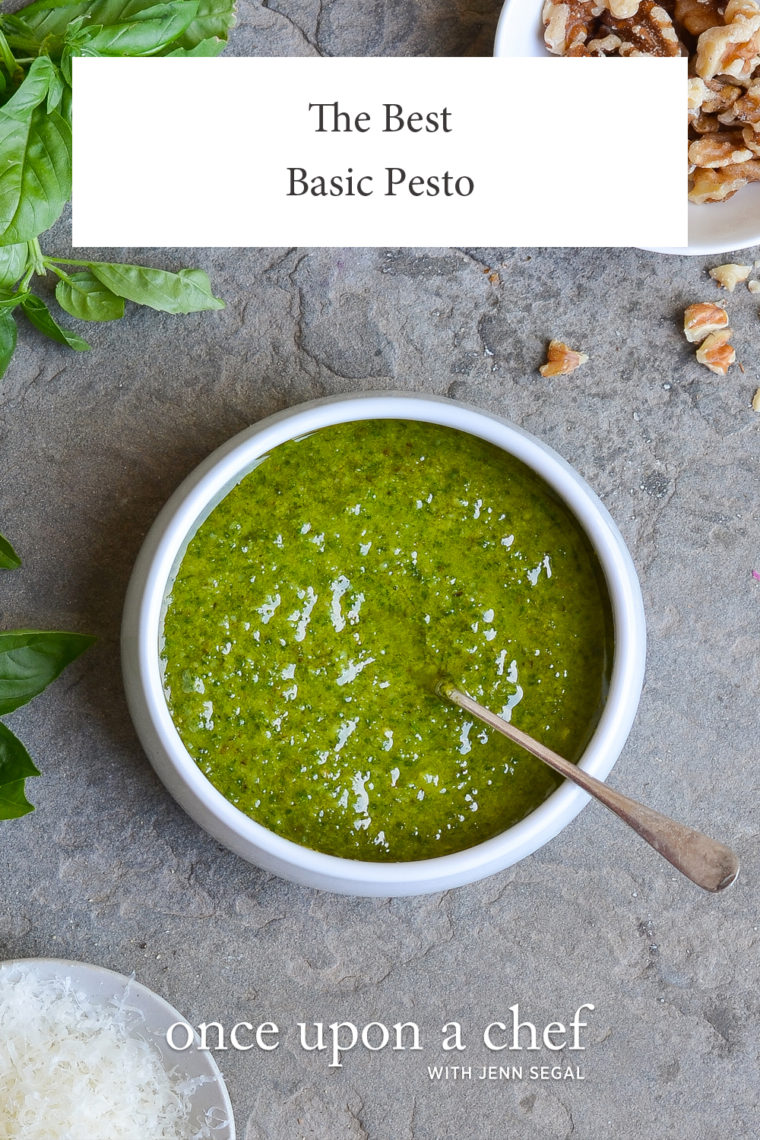
Homemade pesto sauce is easy to whip up and delicious on just about everything—from pastas and pizzas to salads and sandwiches.
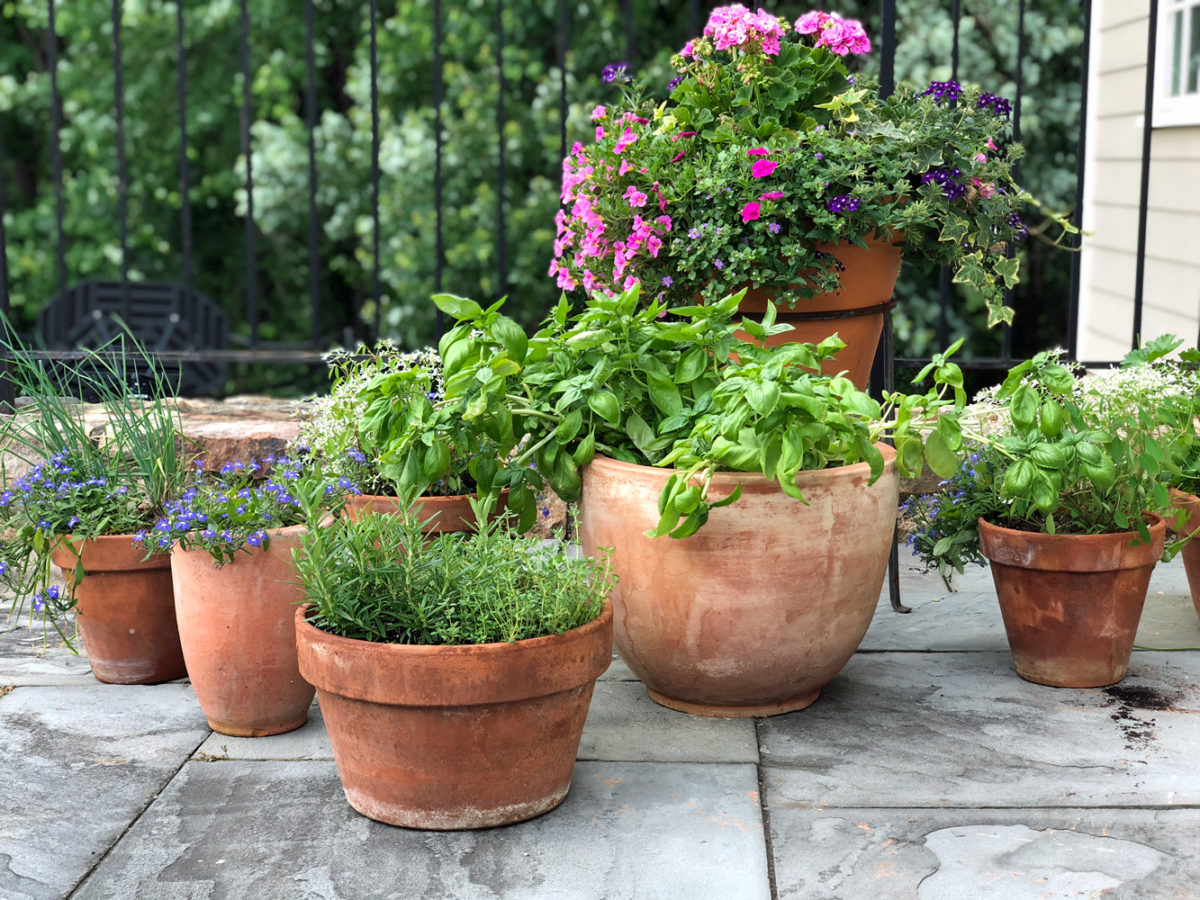
One of my favorite things about summer cooking is stepping out my back door to pick fresh herbs from my potted herb garden. It always amazes me how the tiny seedlings I plant in May grow into more herbs than I can possibly use up by August. When the basil is overflowing, it’s pesto sauce time!
Pesto, or pesto alla Genovese, is a vibrant, garlicky green sauce from Genoa, Italy. While the traditional method uses a mortar and pestle, these days, a food processor makes it a breeze. This versatile sauce is fantastic on everything—from homemade pasta and pizzas to salads, vegetable soup, and sandwiches. What’s even better? It freezes like a dream, so you can enjoy a taste of summer all year long! Try it in my favorite pesto pasta.
“Simply, my favorite pesto recipe!”
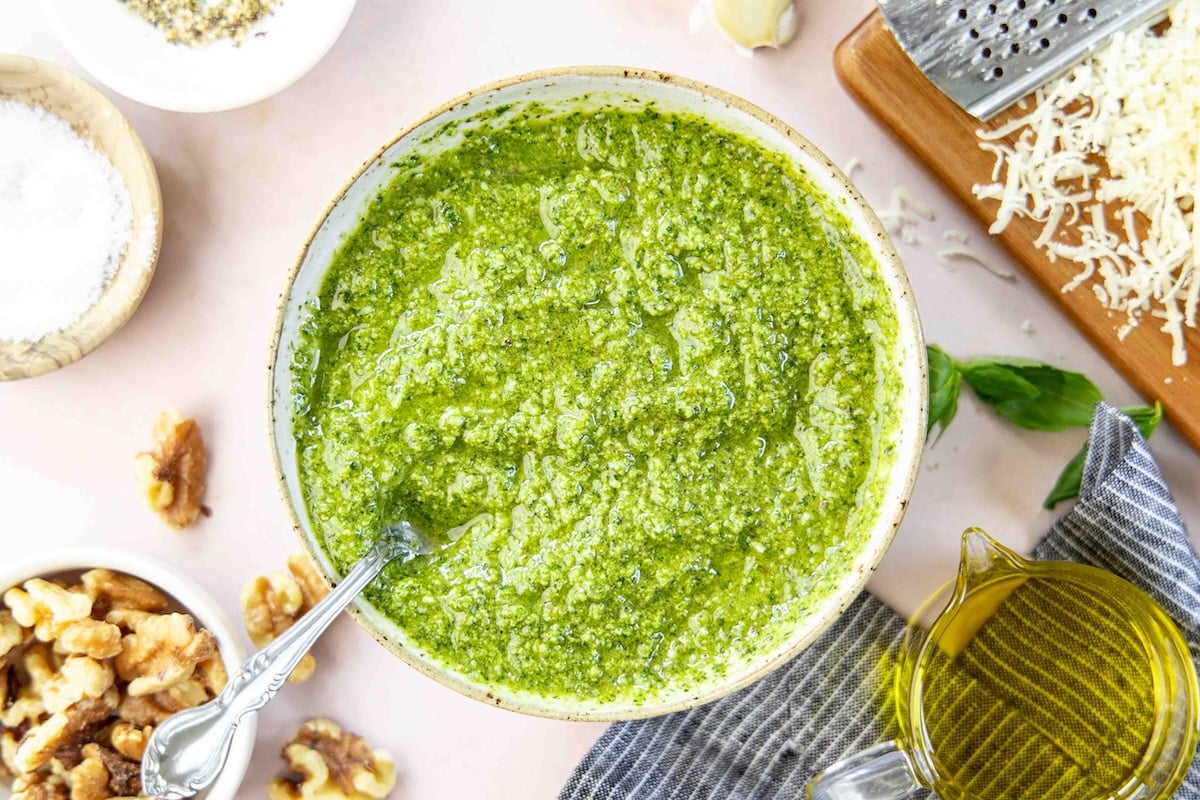
What You’ll Need To Make Pesto Sauce
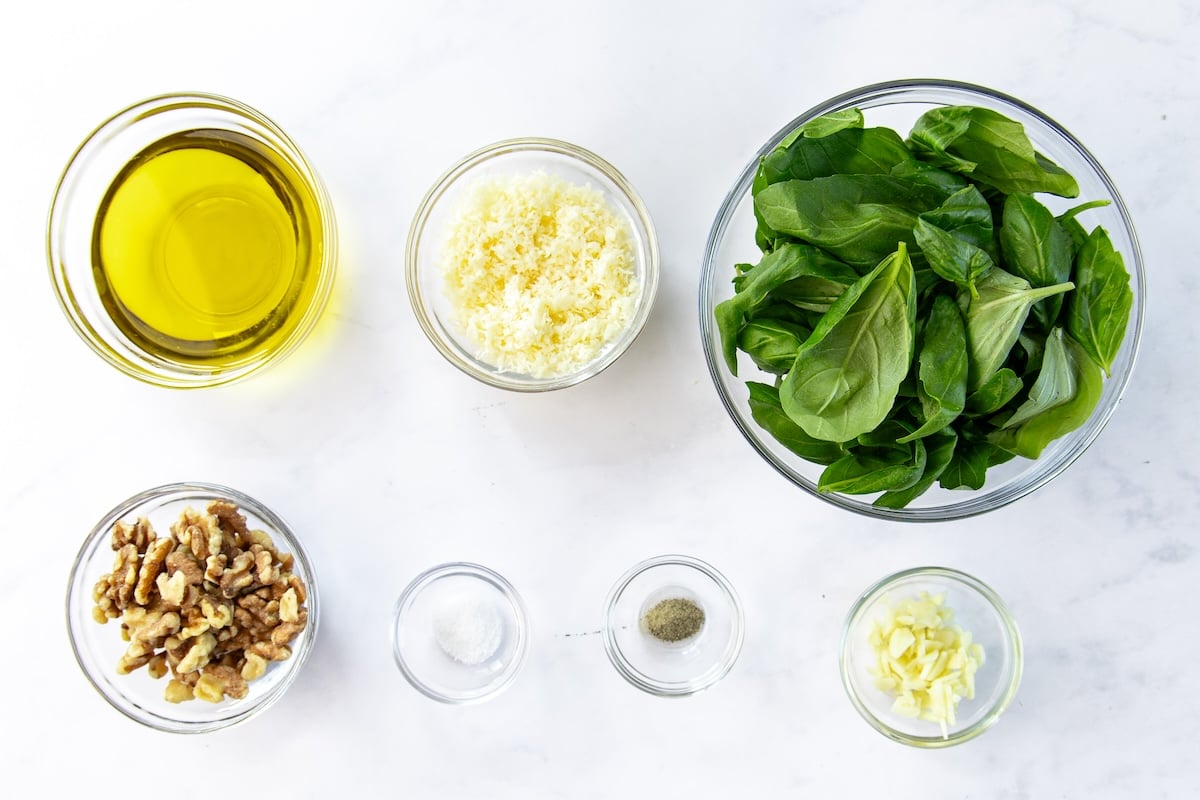
- Walnuts: Add richness, nutty flavor, and help create a creamy texture. I use them instead of traditional pine nuts because they’re more affordable, always in my pantry, and don’t come with the risk of Pine Mouth Syndrome—a strange metallic taste that can linger for weeks after eating certain pine nuts. Almonds, pecans, and pistachios work well too. Pro tip: Toast the nuts in the oven or a dry skillet for a few minutes to deepen their flavor.
- Garlic Cloves: Bring bold, punchy flavor that is key to the flavor of pesto.
- Fresh Basil Leaves: The heart of any classic pesto—fresh, fragrant, and full of vibrant flavor. If your basil is freshly washed, make sure it’s completely dry before adding it to the food processor—excess water can make the pesto too loose or dull the flavor.
- Extra Virgin Olive Oil: Binds everything together and adds smooth, fruity richness.
- Grated Parmigiano-Reggiano: Adds salty, nutty flavor. Always use authentic Parmigiano-Reggiano from Italy—look for the name stamped on the rind or clearly labeled on pre-grated packages. Avoid anything simply labeled “Parmesan” or “Parmesan cheese.”
- Jump to the printable recipe for precise measurements
Step-by-Step Instructions
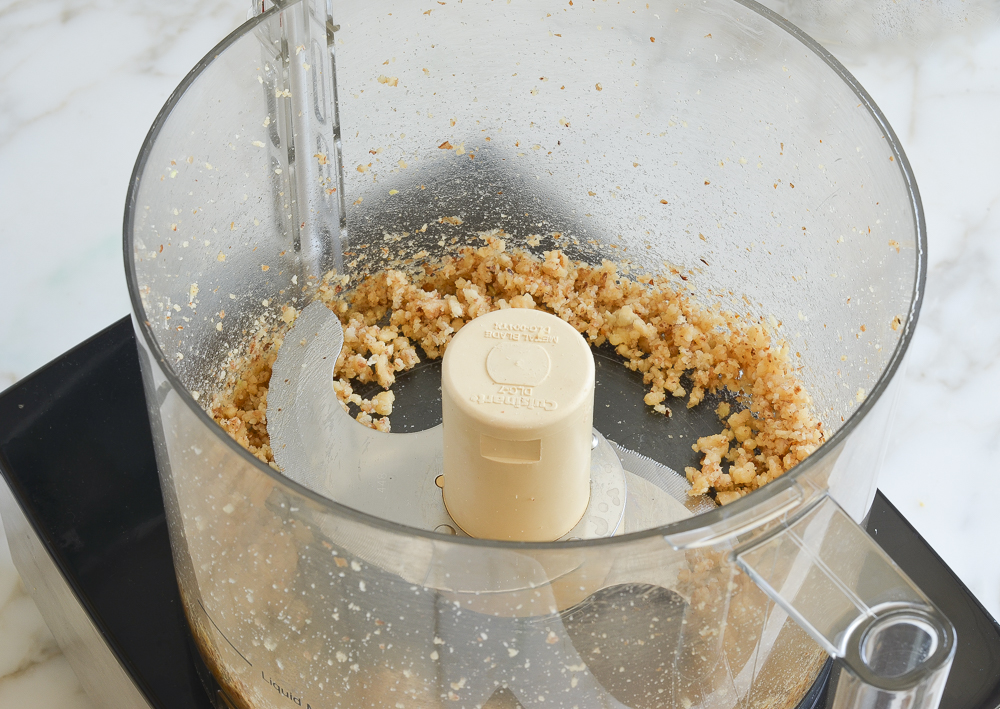
Step 1: Chop the walnuts and garlic. Add the walnuts and garlic to the bowl of a food processor and pulse until coarsely chopped. Pulsing instead of processing continuously helps prevent the mixture from turning into a paste too early—this gives your pesto better texture.
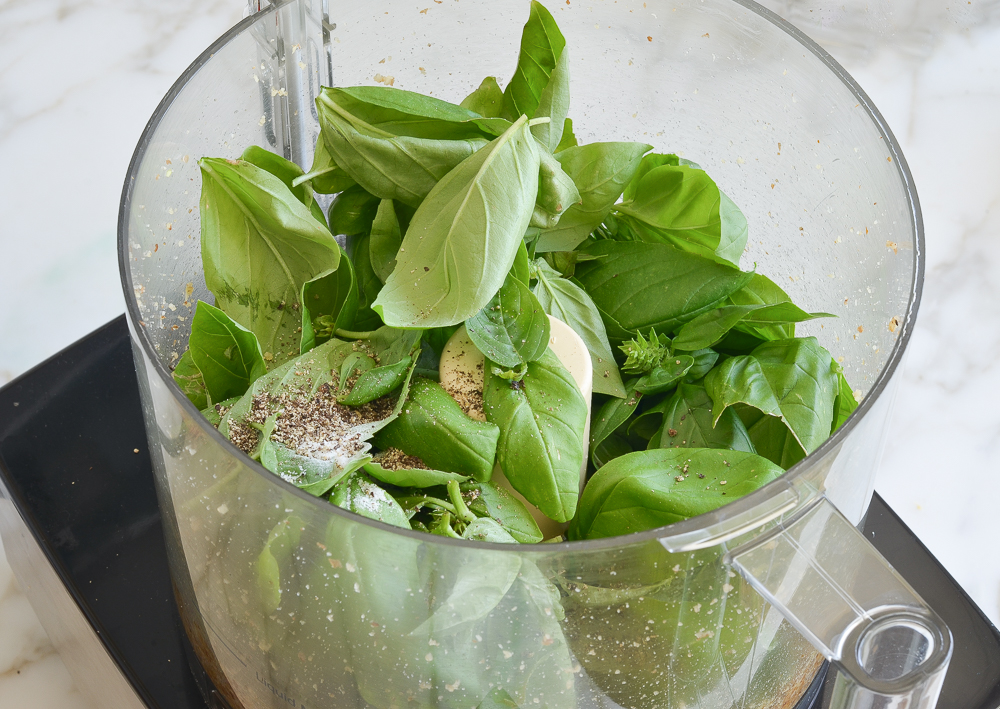
Step 2: Add the basil and seasonings. Toss in the fresh basil leaves, salt, and pepper.
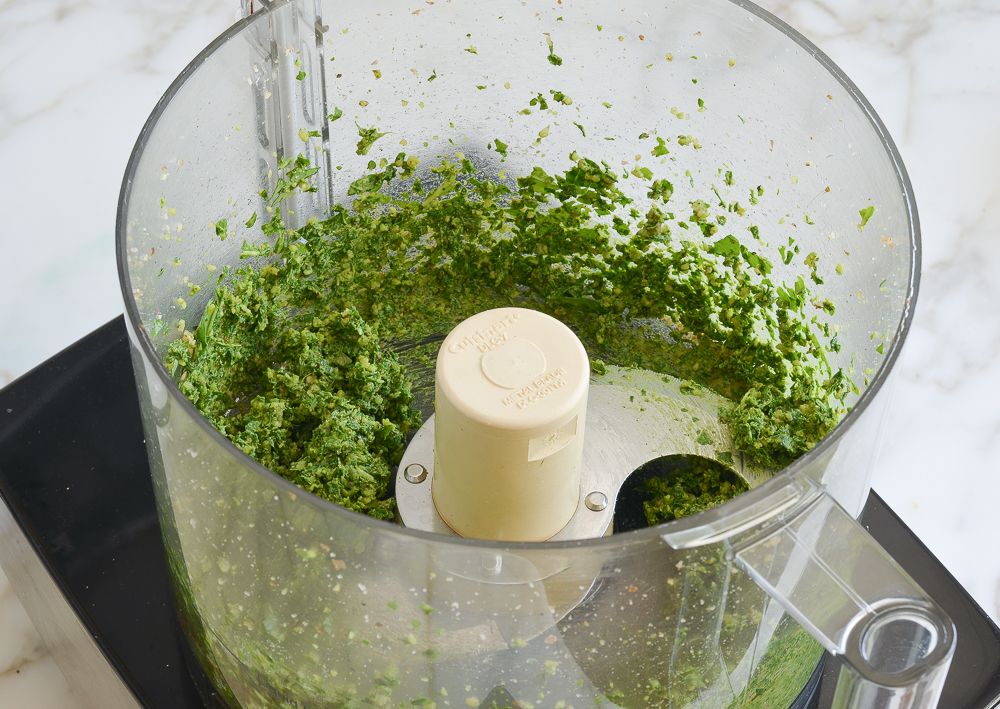
Step 3: Process. Blend until everything is finely chopped.
Step 4: Stream in the olive oil. With the machine running, slowly pour the olive oil through the feed tube and let it blend into a sauce. Adding the oil gradually while the machine is running helps emulsify the sauce, giving your pesto a smooth, cohesive consistency.
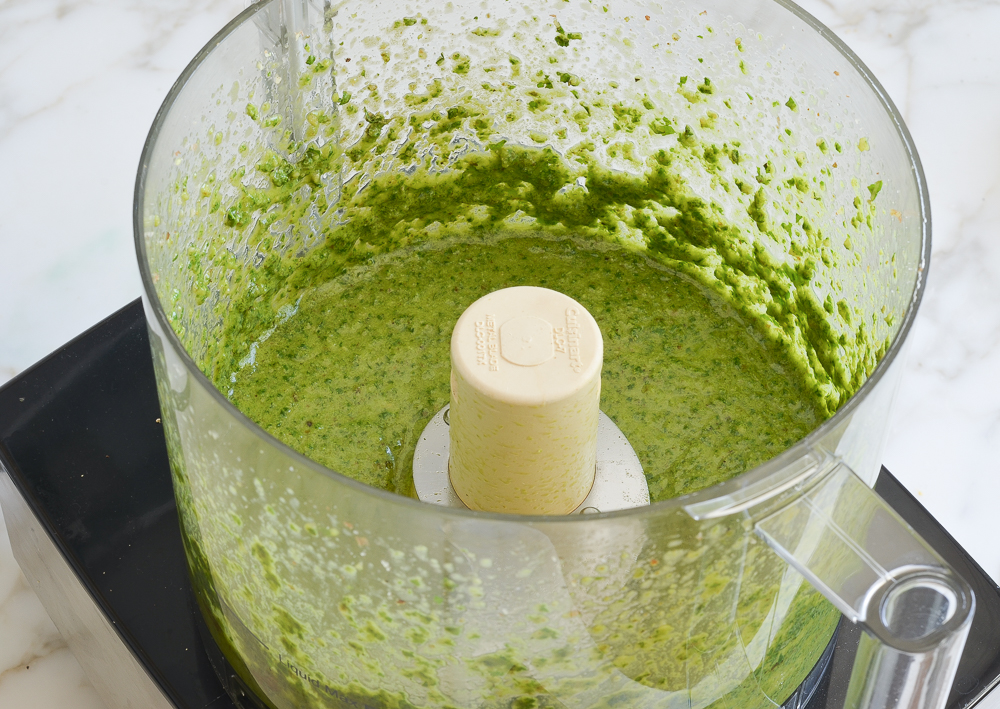
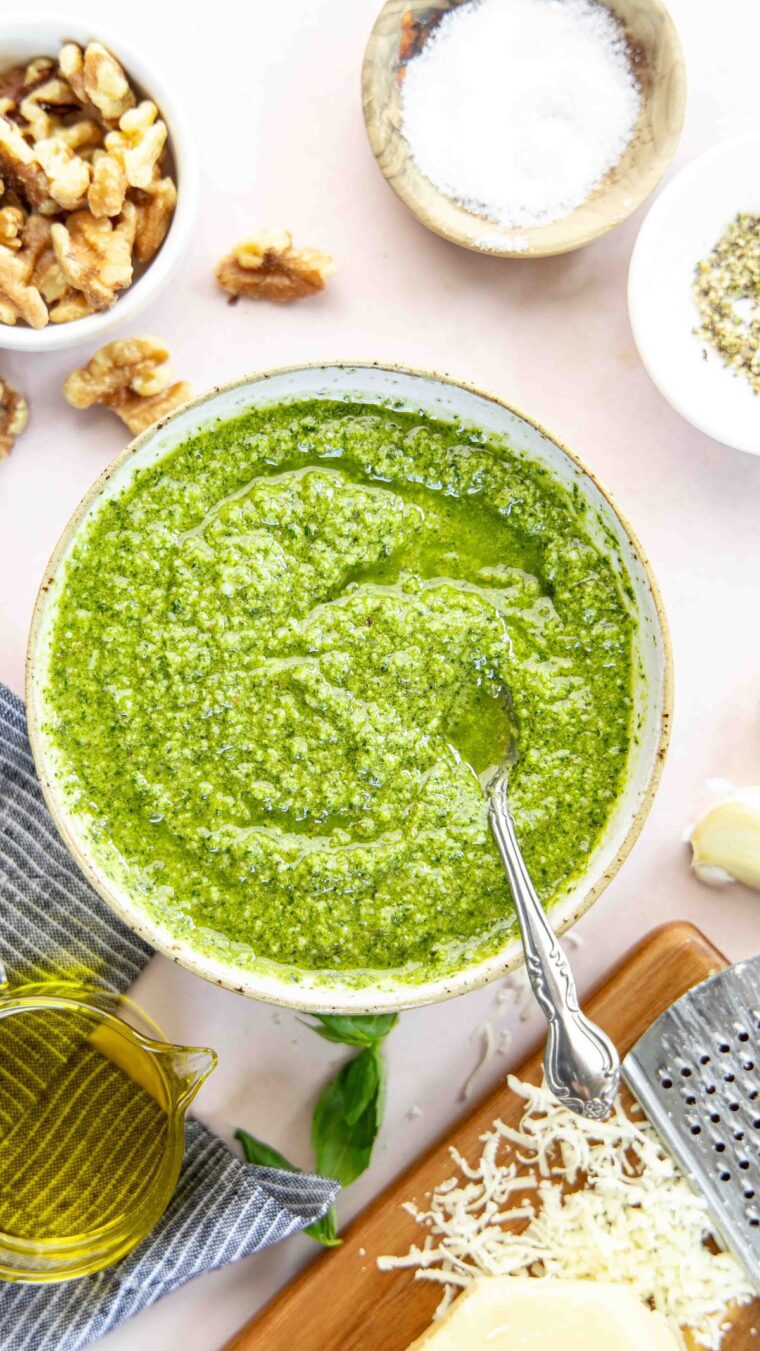
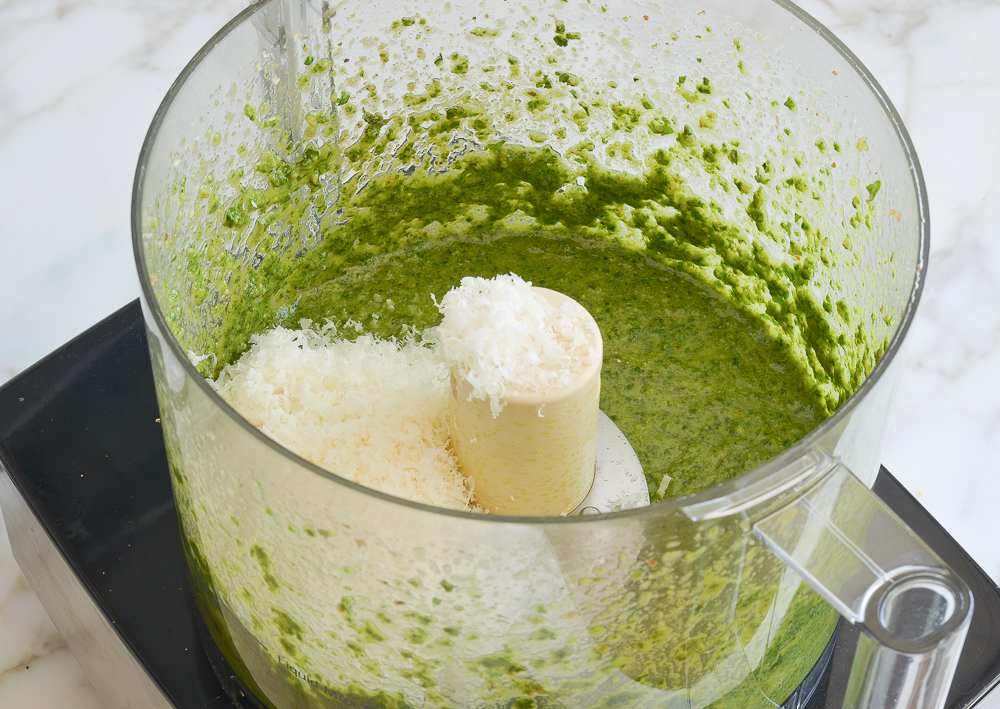
Step 5: Add the cheese. Add the Parmigiano-Reggiano and process again until the cheese is combined with the remainder of the ingredients and the pesto is smooth.
How To Store & Freeze Pesto
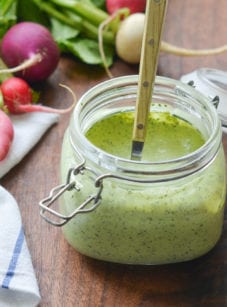
Use the pesto immediately or store it in a tightly sealed jar or air-tight plastic container, covered with a thin layer of olive oil (this seals out the air and prevents the sauce from oxidizing, which would turn it an unappetizing brown color). It will keep in the refrigerator for about a week.
Pesto can also be frozen in an airtight container for up to 6 months. I suggest dividing it into the compartments of an ice cube tray and freezing. Once frozen, remove the cubes from the tray and put in a sealable plastic bag or airtight container. You can add the defrosted cubes to pasta salad with pesto, zucchini noodles, pesto pizza, scrambled eggs, sandwiches, or baked potatoes.
Video Tutorial
You May Also Like


The Best Basic Pesto

Homemade pesto is easy to make and so much better than store-bought—perfect for pasta, sandwiches, soups, or the freezer.
Ingredients
- ⅓ cup walnuts, toasted if desired (see note)
- 2 large garlic cloves, roughly chopped
- 2 cups packed fresh basil leaves
- ½ teaspoon salt
- ¼ teaspoon ground black pepper
- ⅔ cup extra virgin olive oil
- ½ cup grated Parmigiano-Reggiano
Instructions
- Place the walnuts and garlic in the bowl of a food processor fitted with a steel blade. Process until coarsely chopped, about 10 seconds. Add the basil leaves, salt, and pepper and process until mixture resembles a paste, about 1 minute. With the processor running, slowly pour the olive oil through the feed tube and process until the pesto is thoroughly blended. Add the Parmesan and process a minute more. Use pesto immediately or store in a tightly sealed jar or air-tight plastic container, covered with a thin layer of olive oil (this seals out the air and prevents the pesto from oxidizing, which would turn it an unappetizing brown color). It will keep in the refrigerator for about a week.
- Freezer-Friendly Instructions: Pesto can be frozen in an airtight container for up to 6 months. You can also divide your prepared pesto into the compartments of an ice cube tray and freeze. Once it’s frozen, remove the pesto cubes from the tray and put in a sealable plastic bag or airtight container. You can add the defrosted pesto cubes to soups, pasta dishes, eggs, sandwiches, and potatoes.
- Note: Toasting the walnuts isn't essential, but it brings out their flavor. To toast them, preheat the oven to 350°F. Arrange the walnuts on a baking sheet in a single layer. Bake, checking frequently, until lightly toasted and fragrant, 6 to 8 minutes. Transfer immediately to a plate to cool.
Nutrition Information
Powered by ![]()
- Serving size: 2 Tbsp.
- Calories: 159
- Fat: 17 g
- Saturated fat: 3 g
- Carbohydrates: 1 g
- Sugar: 0 g
- Fiber: 0 g
- Protein: 3 g
- Sodium: 161 mg
- Cholesterol: 4 mg
This website is written and produced for informational purposes only. I am not a certified nutritionist and the nutritional data on this site has not been evaluated or approved by a nutritionist or the Food and Drug Administration. Nutritional information is offered as a courtesy and should not be construed as a guarantee. The data is calculated through an online nutritional calculator, Edamam.com. Although I do my best to provide accurate nutritional information, these figures should be considered estimates only. Varying factors such as product types or brands purchased, natural fluctuations in fresh produce, and the way ingredients are processed change the effective nutritional information in any given recipe. Furthermore, different online calculators provide different results depending on their own nutrition fact sources and algorithms. To obtain the most accurate nutritional information in a given recipe, you should calculate the nutritional information with the actual ingredients used in your recipe, using your preferred nutrition calculator.
Gluten-Free Adaptable Note
To the best of my knowledge, all of the ingredients used in this recipe are gluten-free or widely available in gluten-free versions. There is hidden gluten in many foods; if you're following a gluten-free diet or cooking for someone with gluten allergies, always read the labels of your ingredients to verify that they are gluten-free.
I doubled this recipe and came out not thick enough. Flavor not tested yet, but something in the quantities not right when doubled.
Hi Peg, sorry you had a problem with doubling this. Is there any chance you could have made a measuring error?
I made this and it was so amazingly good. I keep it in a small mason jar in the fridge and its ready anytime for a quick stir into pasta, veggies, a dallop in my power bowl, or just a little extra seasoning in sauces or as a condiment on sandwiches. Makes me want to try versions of pesto with maybe sundried tomatoes instead of basil, or roasted peppers. I love this!
I generally feel like all pesto recipes are generally the same. Pesto is pesto after all. But this recipe is diffeeent. I can’t quite put my finger in it but every time I bring this pesto to a potluck, I get compliments on it. It also freezes well with a little extra oil and doesn’t turn brown/oxidize, so bonus points for that!
I have been meaning to write this review all summer, each time I make this pesto. I had never made pesto before and this recipe is both simple and delicious! It takes minutes to throw together and tastes wonderful on pasta and chicken. Thanks for another keeper!!
I’ve been making Basil Pesto for years, BUT this recipe makes the very BEST Pesto. I love it on my breakfast sandwich of English muffin, pesto, scrambled egg and roasted bell pepper.
This recipe is how I discovered once upon a chef! It’s my go to pesto recipe. I like the tip about freezing the pesto without adding the cheese. I keep half in the refrigerator and half in the freezer and it never turns brown.
Made this last night to throw on some pasta (I did farfalle with tomatoes and chicken). My husband told me it’s the best thing I’ve ever made. So easy and delicious!
PERFECT!! The ONLY thing I changed was the times it took to process….was much quicker than stated. Used my fresh basil from the garden and can’t get over how delicious this is. I even finger swiped the food processor bowl 😀 THANKYOU
The bitterness some people have experienced is the garlic. I’ve made this with sharp garlic and milder garlic. My first time screamed “bitter,” but I knew at once what happened. I bought fresher garlic.
Delicious. I add just a dash of lemon for some freshness.