Pumpkin Cheesecake
- By Jennifer Segal
- Updated September 15, 2024
- 666 Comments
- Leave a Review

This post may contain affiliate links. Read my full disclosure policy.
This pumpkin cheesecake is the ultimate sweet ending to your Thanksgiving feast—and no one will miss the pumpkin pie!
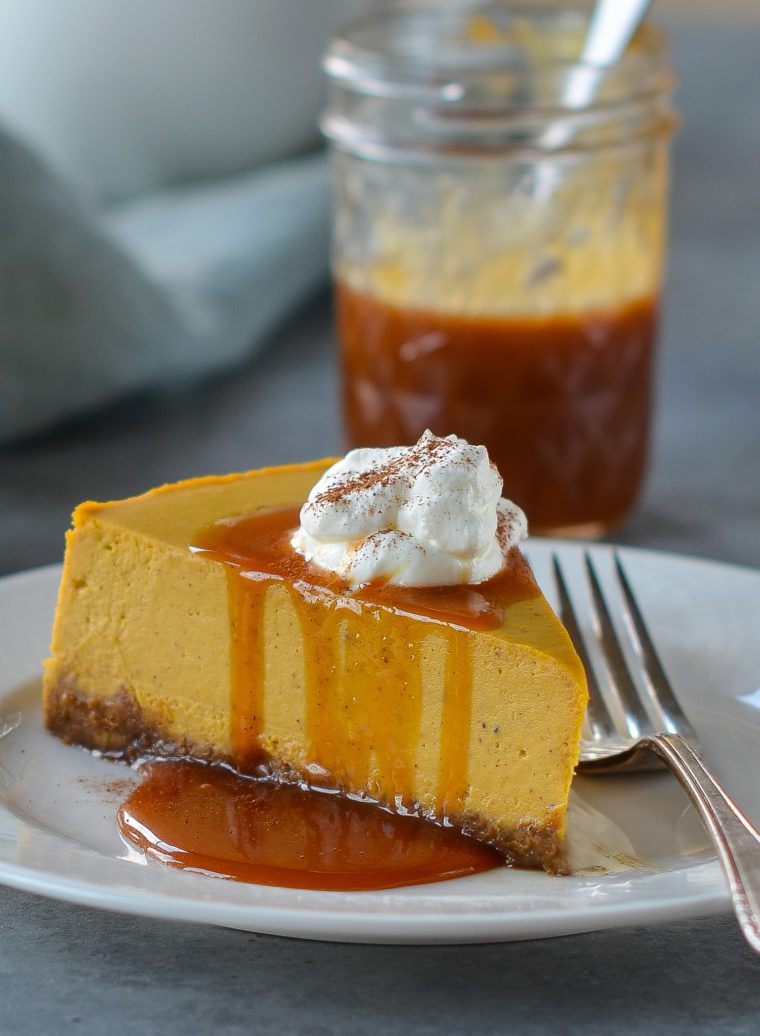
Pumpkin pie is a classic Thanksgiving dessert, but pumpkin cheesecake is just as festive and, honestly, even more delicious. This recipe combines the rich creaminess of classic cheesecake with the warm spices of pumpkin pie. Instead of the traditional graham cracker crust, I use a gingersnap crust to complement the spiced filling and bring out the pumpkin flavor. The homemade caramel sauce is optional, but absolutely worth making. Plus, it takes less than 10 minutes in the microwave!
While cheesecake might seem intimidating, it’s actually quite simple to make with only a few ingredients. The key is baking it in a water bath to ensure even cooking and prevent cracks. It might sound fussy, but it’s really not—just place the cake pan in a larger pan and fill the larger one with water. I’ll guide you through the whole process below. Let’s get started!
Table of Contents
“I love pumpkin, but not pumpkin pie. This cheesecake was the perfect answer! It was delicious and everyone enjoyed it.”
What You’ll Need to Make Pumpkin Cheesecake
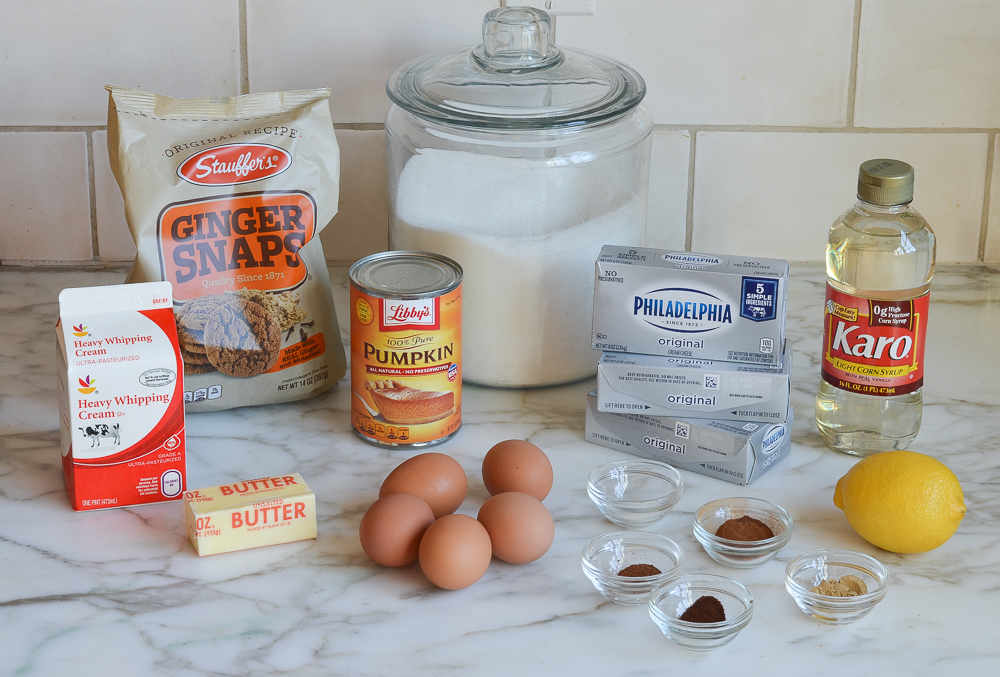
- Gingersnaps – Ground to create a spicy, flavorful base that perfectly complements the pumpkin filling.
- Melted butter – Binds the crust together and adds a rich, buttery flavor.
- Pumpkin purée – The key to the filling, providing rich pumpkin flavor and moisture.
- Granulated sugar – Sweetens both the filling and crust, balancing the spices and enhancing the overall flavor.
- Ground cinnamon, ginger, nutmeg, cloves – Classic pumpkin pie spices that add depth and complement the pumpkin flavor.
- Salt – Balances the sweetness and enhances the flavors of the filling.
- Heavy cream – Adds richness and a creamy texture to the cheesecake filling.
- Cream cheese – The smooth, creamy base of the cheesecake that gives it its signature texture.
- Large eggs – Bind the filling, helping it set while adding richness to the cheesecake.
- Caramel sauce – Drizzled on top for a sweet, indulgent finish that pairs beautifully with the warm spices and pumpkin flavor.
- Jump to the printable recipe for precise measurements
Step-by-Step Instructions
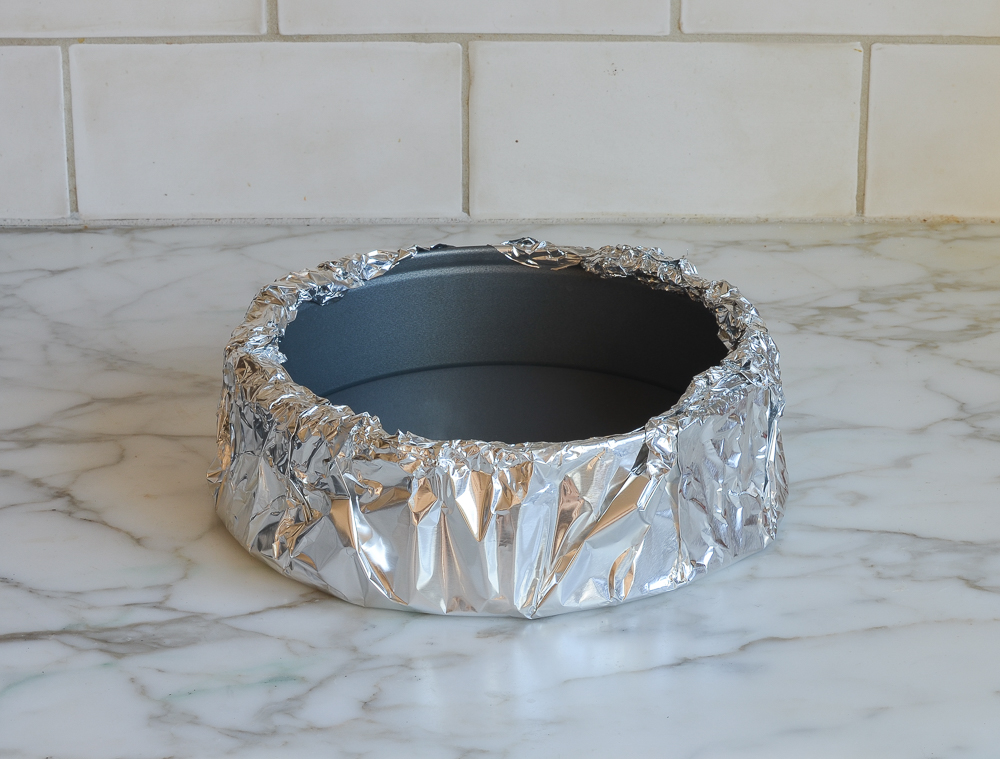
Begin by wrapping a 9-inch or 10-inch springform pan with a double layer of aluminum foil. It’s important to use heavy-duty foil because it comes in wider sheets and does a better job of preventing water from seeping into the pan. (If you’d like to try another technique that doesn’t require wrapping the pan in foil, get more guidance here.) Spray the pan with nonstick cooking spray.
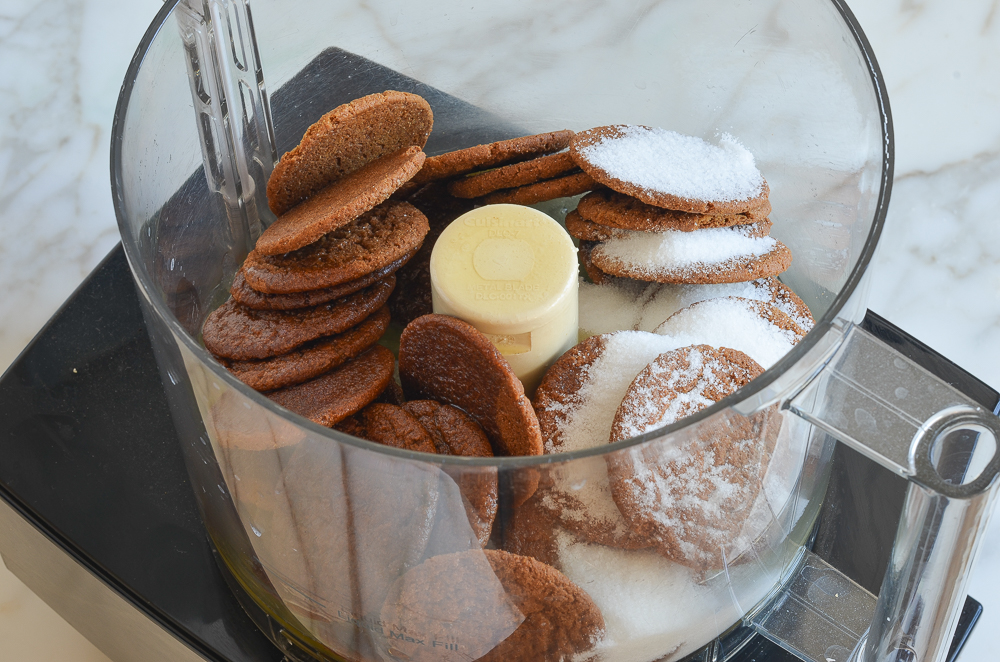
Next, make the crust: combine the gingersnap cookies, sugar, and melted butter in the bowl of a food processor.
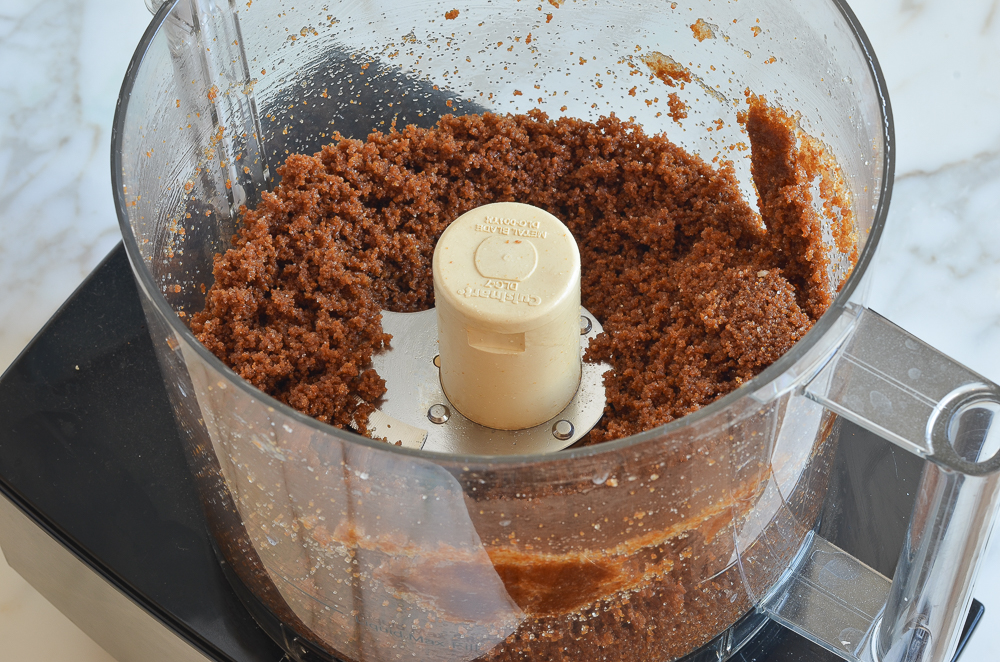
Pulse until the crumbs are fine.
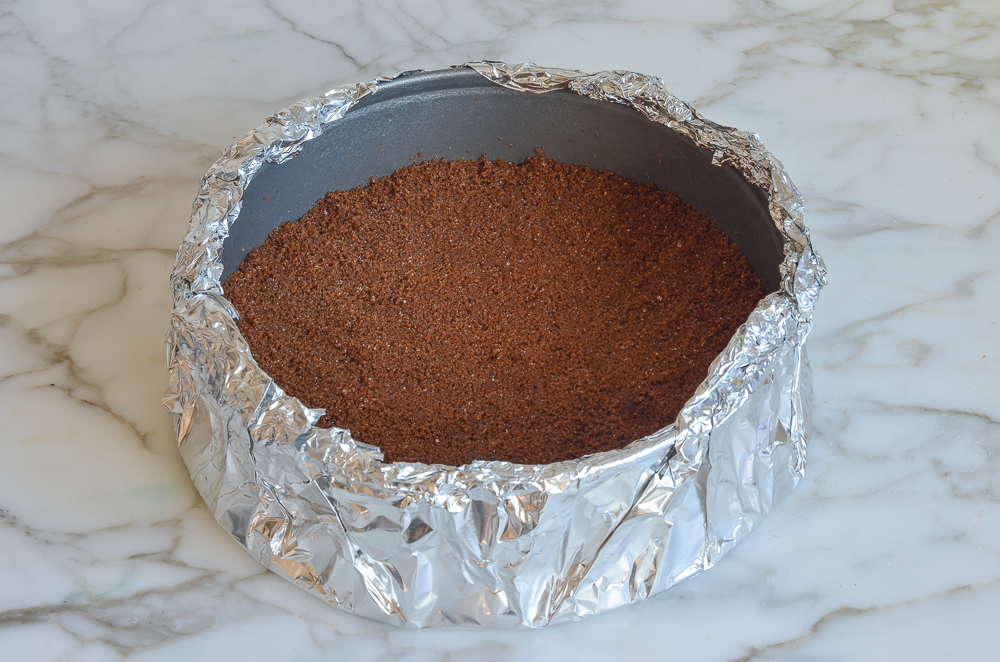
Transfer the crumbs to the prepared pan. Press the crumbs into an even layer, then bake for 15 minutes.
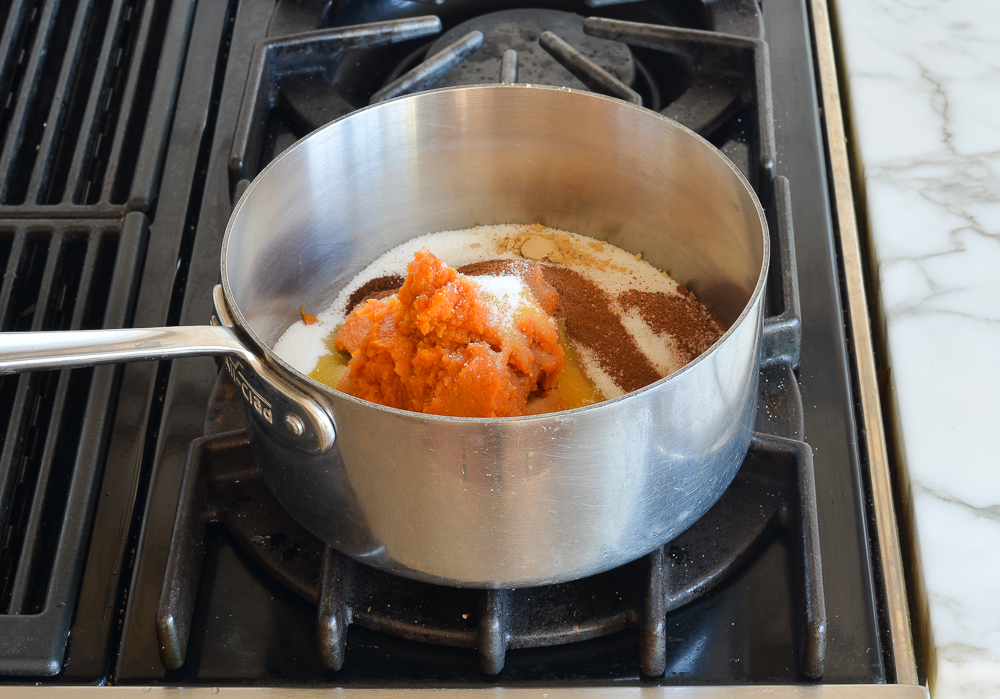
Set the crust aside to cool, and move on to the filling. Combine the pumpkin, sugar and spices in a medium saucepan.
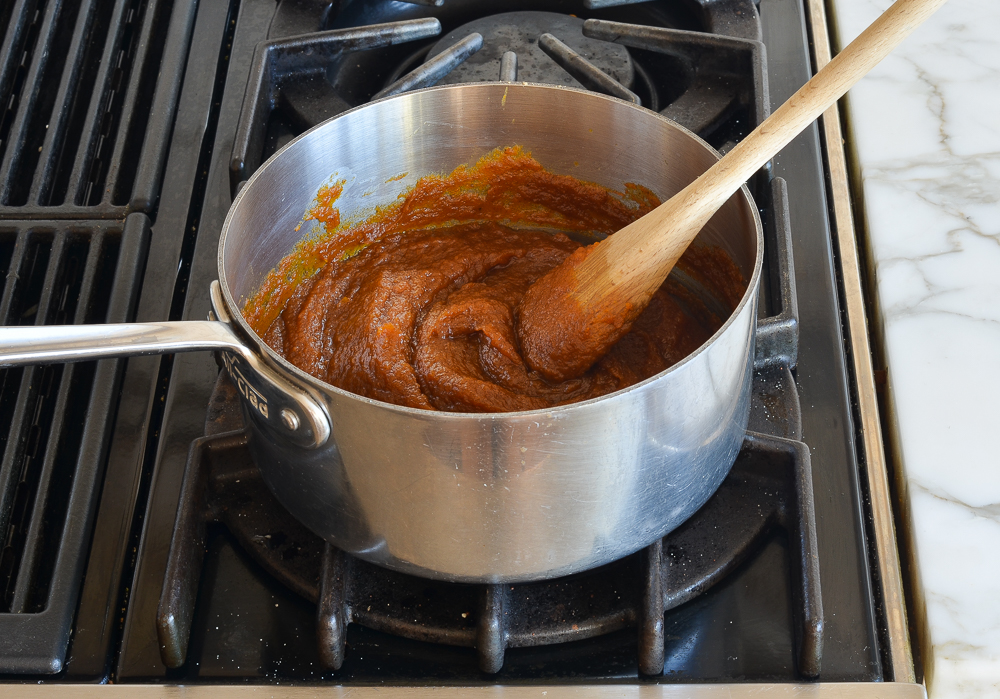
Stir over medium heat until shiny, bronze, and thickened. This step, borrowed from Rose Levy Beranbaum’s recipe, both intensifies the pumpkin flavor and dries the pumpkin out.
Next, transfer the pumpkin mixture to a food processor and run for one minute to smooth and cool the mixture.
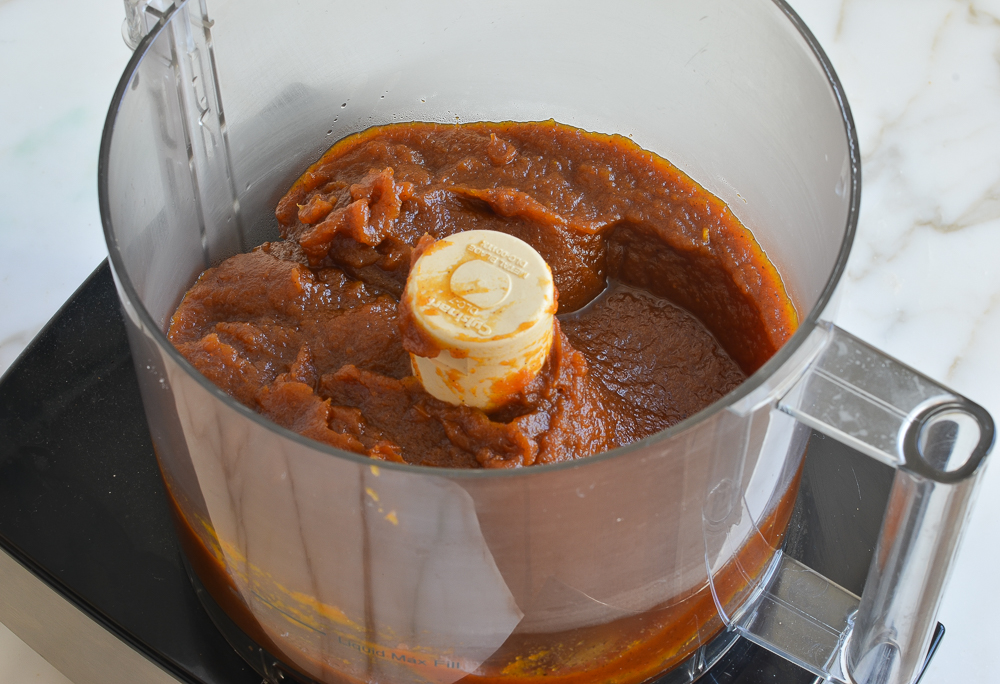
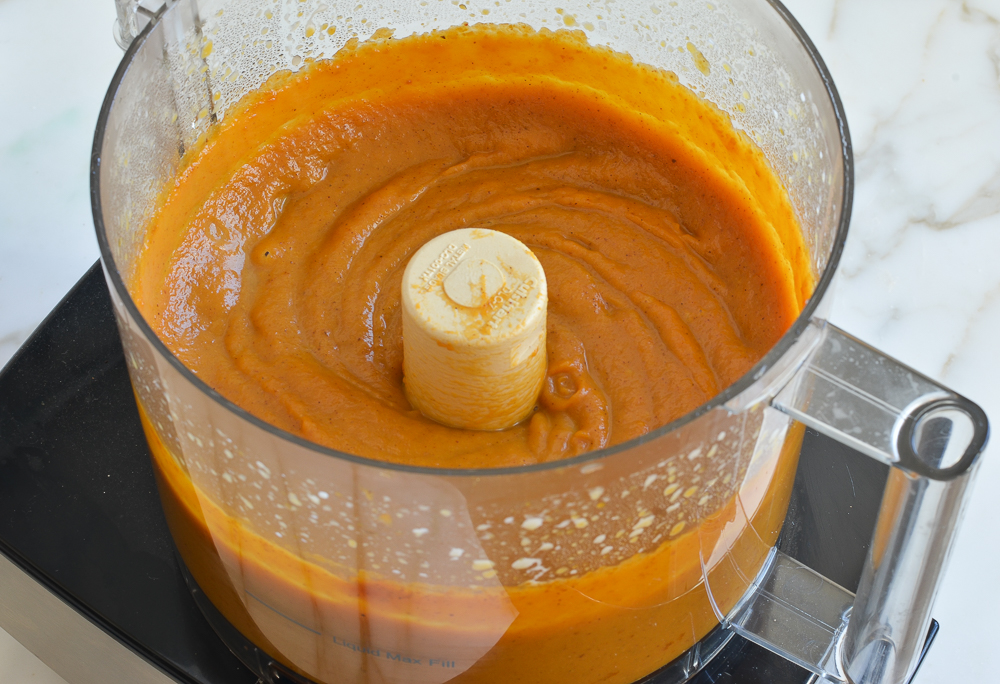
With the motor running, add the cold heavy cream. The mixture will look like this.
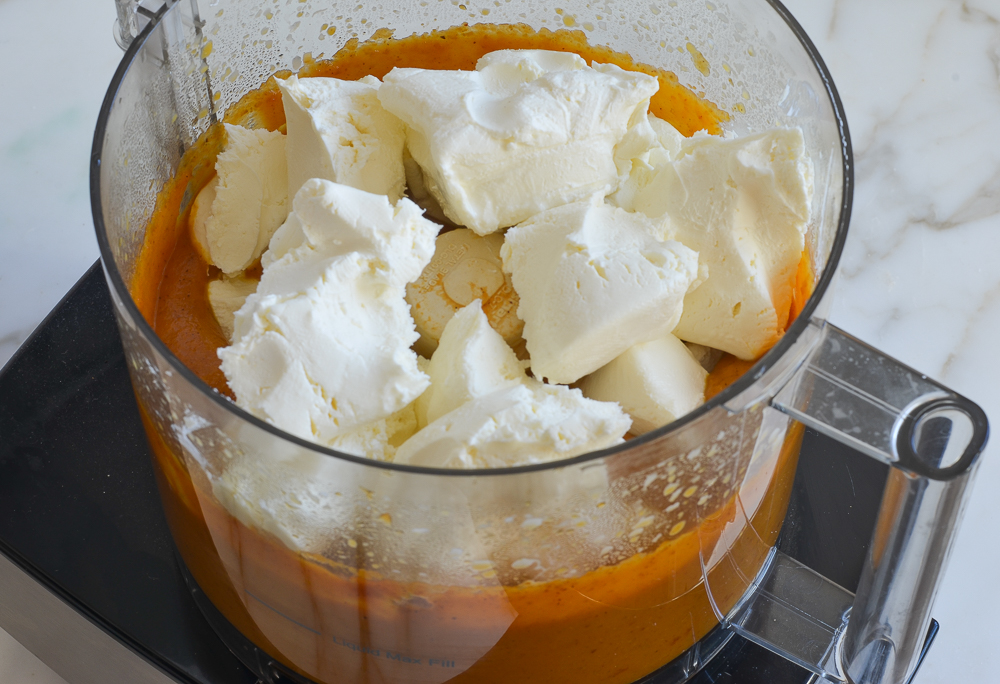
Add the cream cheese in large chunks.
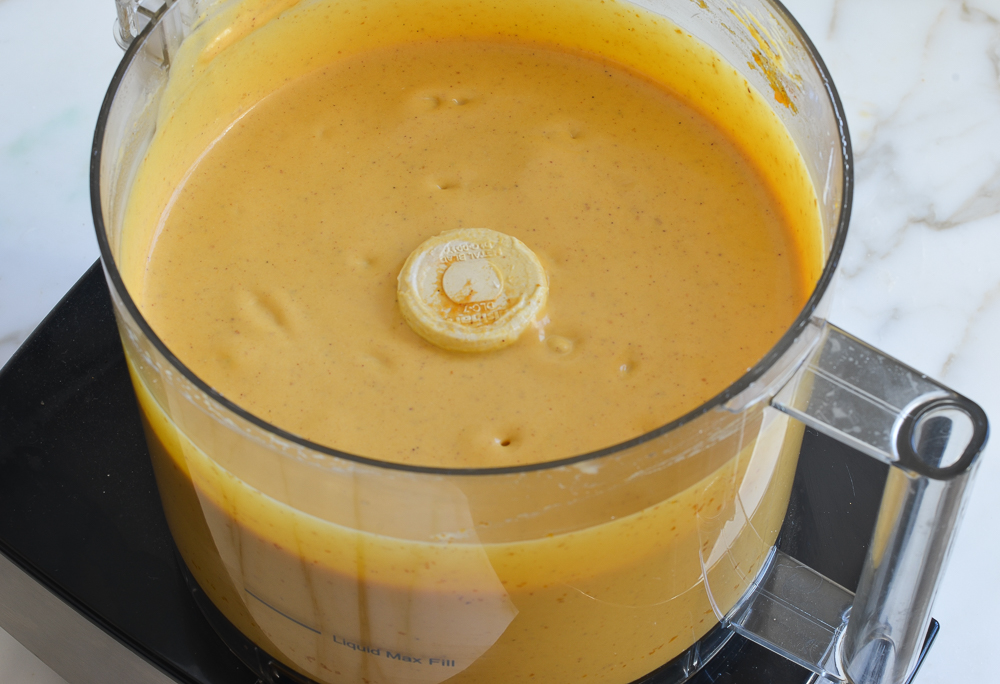
Process until the batter is smooth.
Finally, add the eggs.
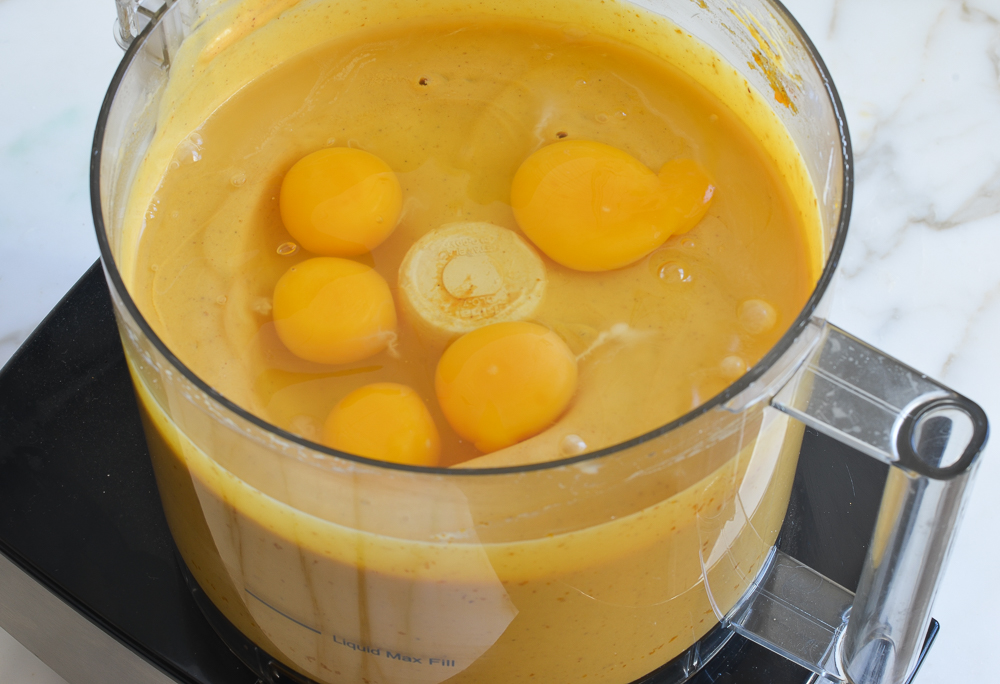
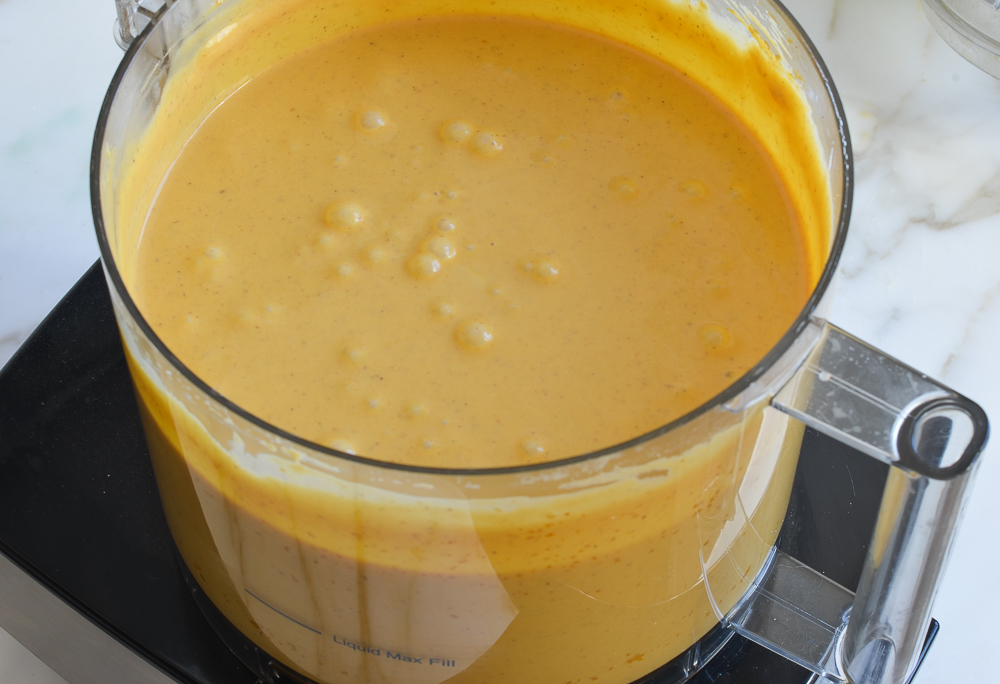
Pulse until just combined. It’s important not to over-mix — if you incorporate too much air into the filling, it will rise and crack or fall when it bakes.
Set the cake pan in a large roasting pan, then pour the pumpkin cheesecake filling into the cooled crust.
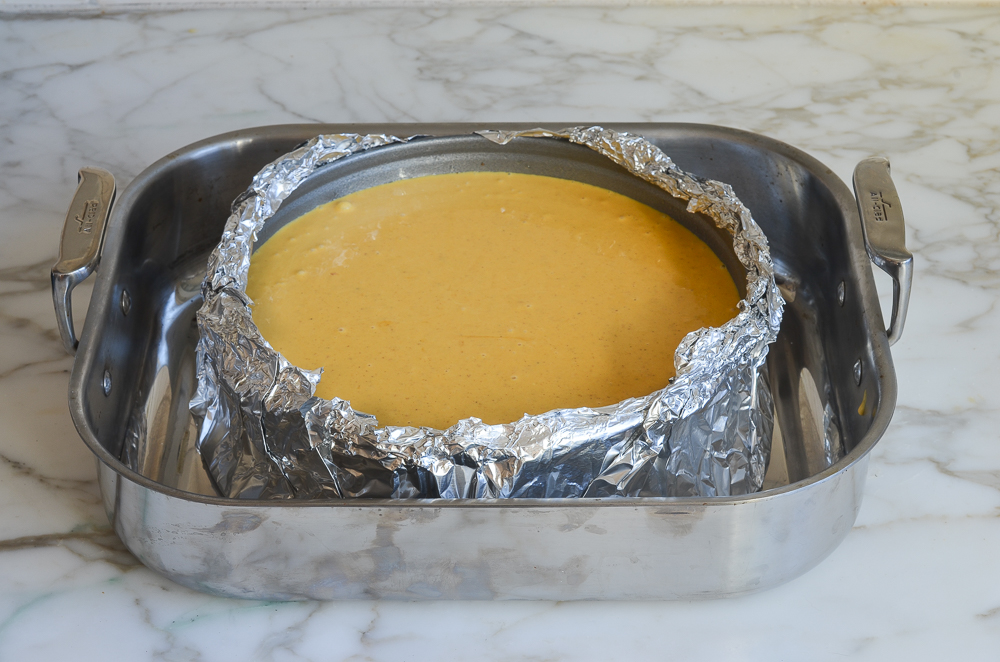
Next, pour hot water into the roasting pan until it reaches about halfway up the side of the springform pan.
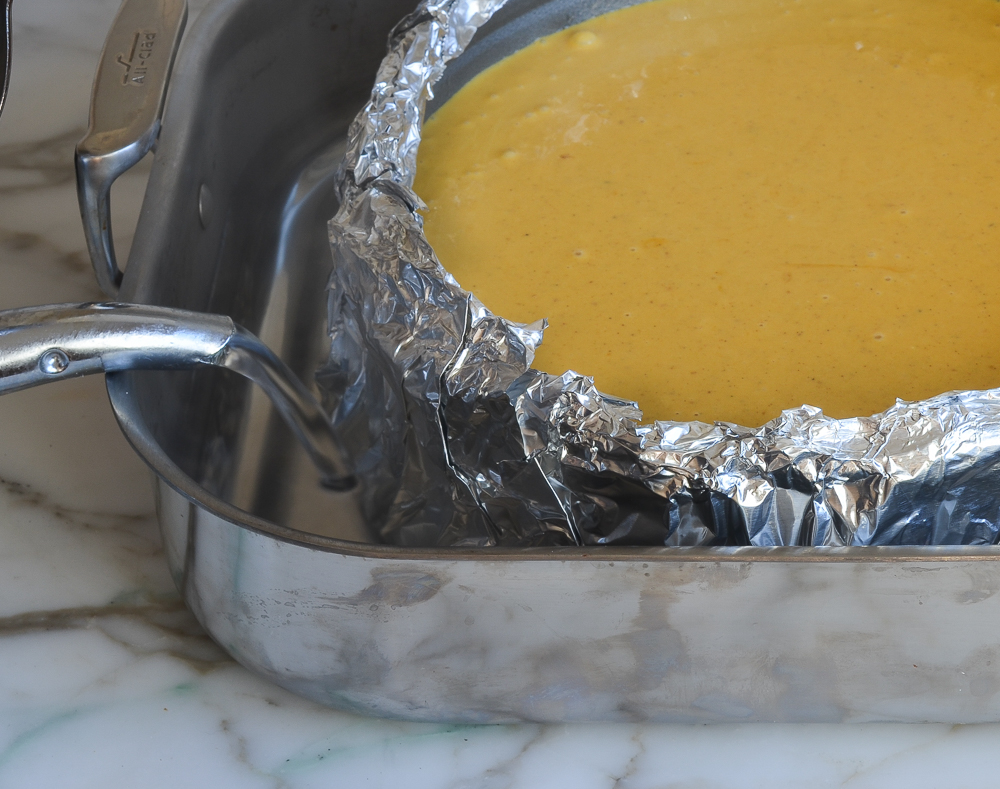
Bake in a 325°F-oven until just set, about 1-1/2 to 1-3/4 hours. A properly cooked cheesecake will jiggle a bit when you nudge the pan, but if the center still seems liquidy, it’s not done.
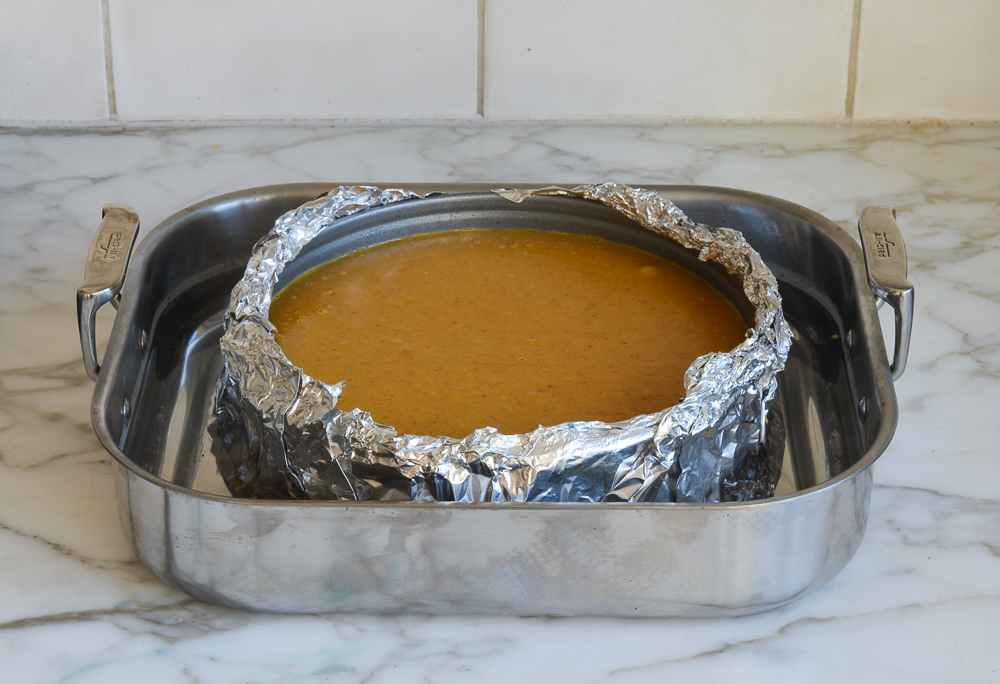
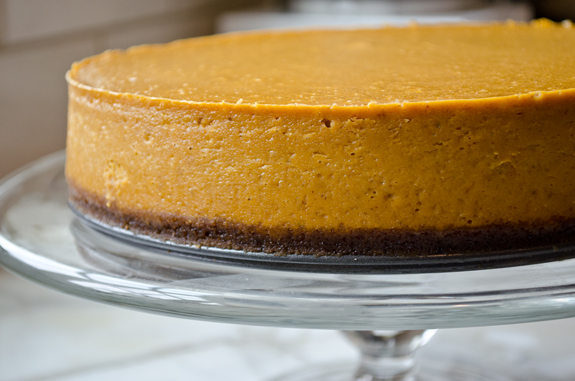
Let the cheesecake cool in the water bath, then leave it out on a rack to cool to room temperature. Finally, cover with plastic wrap and chill in the refrigerator for at least four hours or overnight. On that note, it’s a good idea to bake this pumpkin cheesecake recipe a day ahead of time or early in the morning on the day you plan to serve it.
For the homemade caramel sauce—which is optional yet oh so good—I recommend a very simple recipe from Cooks Illustrated, which takes less than 10 minutes to make in the microwave and requires no fancy equipment or candy thermometers. You can see the step-by-step instructions here.
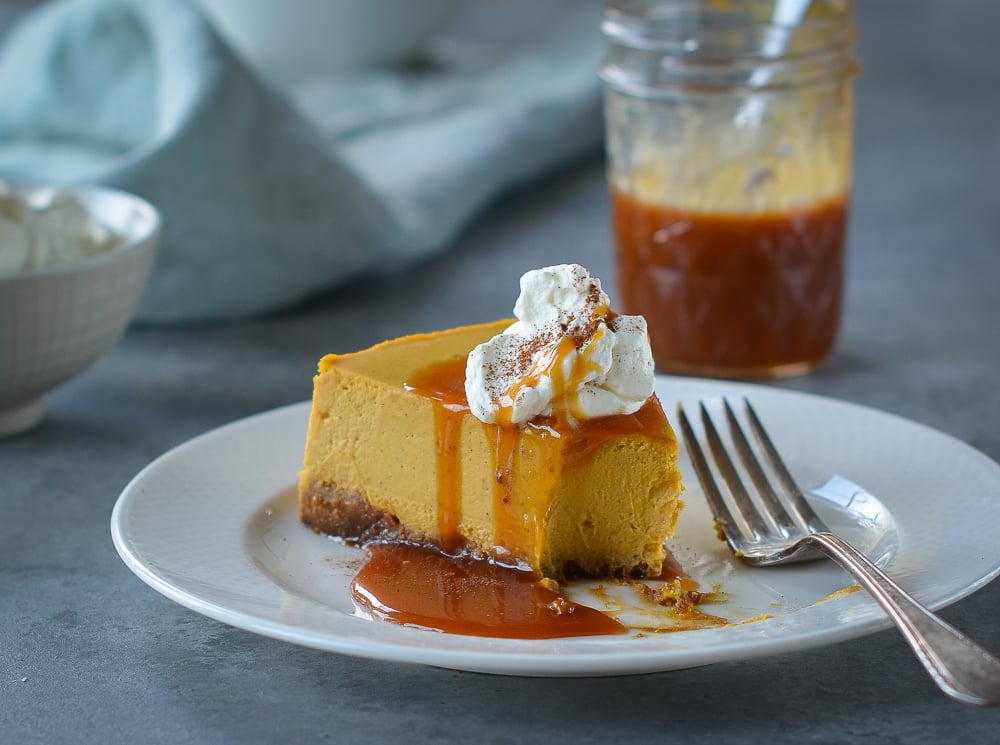
When you’re ready to serve the cheesecake, warm up the caramel sauce, drizzle it over each piece of cheesecake, and top with a dollop of sweetened whipped cream and a light dusting of cinnamon, if desired.
You May Also Like
Pumpkin Cheesecake

This pumpkin cheesecake is the ultimate sweet ending to your Thanksgiving feast—and no one will miss the pumpkin pie!
Ingredients
For the Crust
- 7½ ounces gingersnaps (or 1½ cups finely ground gingersnap crumbs)
- ¼ cup granulated sugar
- 4 tablespoons unsalted butter, melted
For the Filling
- 1 15-ounce can pumpkin (such as Libby's)
- 1⅓ cups granulated sugar
- 1 teaspoon ground cinnamon
- ½ teaspoon ground ginger
- ¼ teaspoon ground nutmeg
- ¼ teaspoon ground cloves
- ½ teaspoon salt
- 1 cup heavy cream, cold
- 1½ pounds (three 8-ounce packages) cream cheese, room temperature
- 5 large eggs, room temperature
- Caramel sauce, for serving
- Special equipment: 9- or 10-inch springform pan; 18-inch heavy-duty aluminum foil
Instructions
For the Crust
- Preheat the oven to 325°F degrees and set a rack in the lower middle position. Wrap a 9- or 10-inch springform pan with with one large piece of heavy-duty aluminum foil, covering the underside and extending all the way to the top so there are no seams on the bottom or sides of the pan. Repeat with another sheet of foil for insurance. Spray the inside of the pan with nonstick cooking spray. Pulse the gingersnaps, sugar, and melted butter in a food processor fitted with the metal blade until finely ground. Transfer the moistened crumbs into the prepared pan and press into an even layer. Bake until fragrant and set, about 15 minutes. Cool on a wire rack while you prepare the filling.
For the Filling
- Set a kettle of water to boil (this will be used for the water bath). In a small, heavy saucepan, stir together the pumpkin, sugar, cinnamon, ginger, nutmeg, cloves, and salt. Over medium heat, bring the mixture to a sputter, stirring constantly. Reduce the heat to medium-low and cook, stirring constantly, for 5 minutes, until thick, bronzed and shiny. Scrape the mixture into a large food processor fitted with the metal blade and process for 1 minute with the feed tube open.
- With the motor running, add the cold cream. Add the cream cheese (cut into chunks) and process for about 30 seconds, scraping the sides if necessary, or until smoothly incorporated. Add the eggs and process for about 5 seconds or just until incorporated (do not overmix!).
- Set the cake pan in a large roasting pan. Pour the batter into the cooled crust, and then pour enough boiling water into the large roasting pan to come about halfway up side of the cake pan. Bake until the cake is just set, 1½ to 1¾ hours. A properly cooked cheesecake will jiggle a bit when you nudge the pan, but if the center seems at all liquidy, it's not done. CAREFULLY remove the roasting pan from the oven and set on a wire rack. Run a sharp paring knife around the edges to loosen the cake from the sides of the pan. Cool until the water is just warm, about 45 minutes. Remove the springform pan from the water bath, discard the foil and set on a wire rack. Continue to cool at room temperature until barely warm, about 3 hours. Cover with plastic wrap and refrigerate until chilled, at least 4 hours or overnight.
For Serving
- Remove the outer ring from the springform pan. Slide a thin metal spatula between the crust and pan bottom to loosen, then slide the cheesecake onto a serving platter. (Alternatively, you can keep it on the pan bottom.) If there is condensation on the top of the cheesecake, blot it gently with a flat paper towel. Let the cheesecake stand at room temperature for about 30 minutes, then cut it into wedges. Warm up the caramel sauce in the microwave (it stiffens in the fridge). If it's too thick, add more heavy cream to thin it out. Drizzle the caramel sauce over each piece of cheesecake and top with a dollop of sweetened whipped cream if desired.
- Note: You'll need a large food processor -- preferably with a 14-cup capacity -- to make the filling (you can also use an 11-cup, but you may have a bit of leakage). If you don't have one, it's fine to use a Kitchenaid Mixer or electric beaters for the filling and a small food processor for the crust.
- Freezer-Friendly Instructions: The cheesecake can be frozen for up to 3 months. To freeze: place the cake in the freezer briefly, unwrapped, to firm it up. Then double-wrap it tightly with aluminum foil or plastic freezer wrap, or place it in heavy-duty freezer bag. Thaw in the refrigerator the night before you plan to eat it.
Nutrition Information
Powered by ![]()
- Per serving (12 servings)
- Serving size: 1 slice
- Calories: 643
- Fat: 40g
- Saturated fat: 23g
- Carbohydrates: 66g
- Sugar: 54g
- Fiber: 1g
- Protein: 8g
- Sodium: 397mg
- Cholesterol: 196mg
This website is written and produced for informational purposes only. I am not a certified nutritionist and the nutritional data on this site has not been evaluated or approved by a nutritionist or the Food and Drug Administration. Nutritional information is offered as a courtesy and should not be construed as a guarantee. The data is calculated through an online nutritional calculator, Edamam.com. Although I do my best to provide accurate nutritional information, these figures should be considered estimates only. Varying factors such as product types or brands purchased, natural fluctuations in fresh produce, and the way ingredients are processed change the effective nutritional information in any given recipe. Furthermore, different online calculators provide different results depending on their own nutrition fact sources and algorithms. To obtain the most accurate nutritional information in a given recipe, you should calculate the nutritional information with the actual ingredients used in your recipe, using your preferred nutrition calculator.
See more recipes:
Comments
Add a Comment Cancel reply
This site uses Akismet to reduce spam. Learn how your comment data is processed.

Just gave a review, then went over the recipe again to refresh my memory as I’m making it again. The detailed description says I can use a 9 or 10″ pan. I always used a 9″ but would like to use the 10″. If I do, should I adjust the baking time?
Hi Lynn, if there is any difference in timing, it will be negligible. You’ll know it’s done when the center of the cheesecake jiggles just a little when you nudge the pan.
Thanksgiving is coming around again in Canada and I have, for many years, been charged with making the desserts for our family gatherings. I made your cheesecake many, many years ago and it got rave reviews. And the caramel sauce was a HUGE bonus to it! Now, nobody wants pumpkin pie anymore and once again, next week I will be creating this addition to the dinner. Thank you, for this awesome recipe, it’s amazing and I haven’t changed a thing in it! They also love the gingersnap crust, such a nice change from graham crumb crust.
I had a craving for NY cheesecake and living in the west there aren’t any bakeries that make true NY cheesecake like I had as a kid growing up in NY. So, I took to looking up recipes that had good ingredients and easy to make. When I landed on Jenn’s basic recipe I could tell it was a winner, so I made her plain NY Cheesecake. It was a family winner! When Thanksgiving came around I came back to Jenn’s website to see if there was a Pumpkin Cheesecake and sure enough there it was! OMG!!!! It was a winner too. The only thing I changed was the crust, I used Lotus Biscoff cookies which have a caramel flavor and I didn’t pre-bake the crust. I always find that pre-baking cheesecake crust makes it too hard in the end. The crust came out soft and slightly crisp and complemented the cheesecake so well. Thanks Jenn!
I made this for an early family Thanksgiving gathering a week ago and it was so good that one family member asked me to make it again for their belated Thanksgiving dinner with their son, which I did. Both times, it came out perfectly and everyone raved about how delicious and beautiful it was! The flavors are perfect for the season and the recipe is was so well written and illustrated that it was a breeze to prepare. Thank you!
I have made this cheesecake for the last two Thanksgivings to rave reviews. I absolutely love it and comes out perfect each time. Usually I make it a few weeks in advance and follow your freezer directions. This year I couldn’t do that and I made it today. My question to you, will it be ok in the refrigerator until Thursday? Or should I freeze it and let it thaw in the fridge overnight for Thanksgiving? Thank you for your great recipes! I’ve made many.
Hi Susan, Glad this has been a hit on Thanksgiving! At this point, I’d just refrigerate it — it should be fine.