Blueberry Pie


This post may contain affiliate links. Read my full disclosure policy.
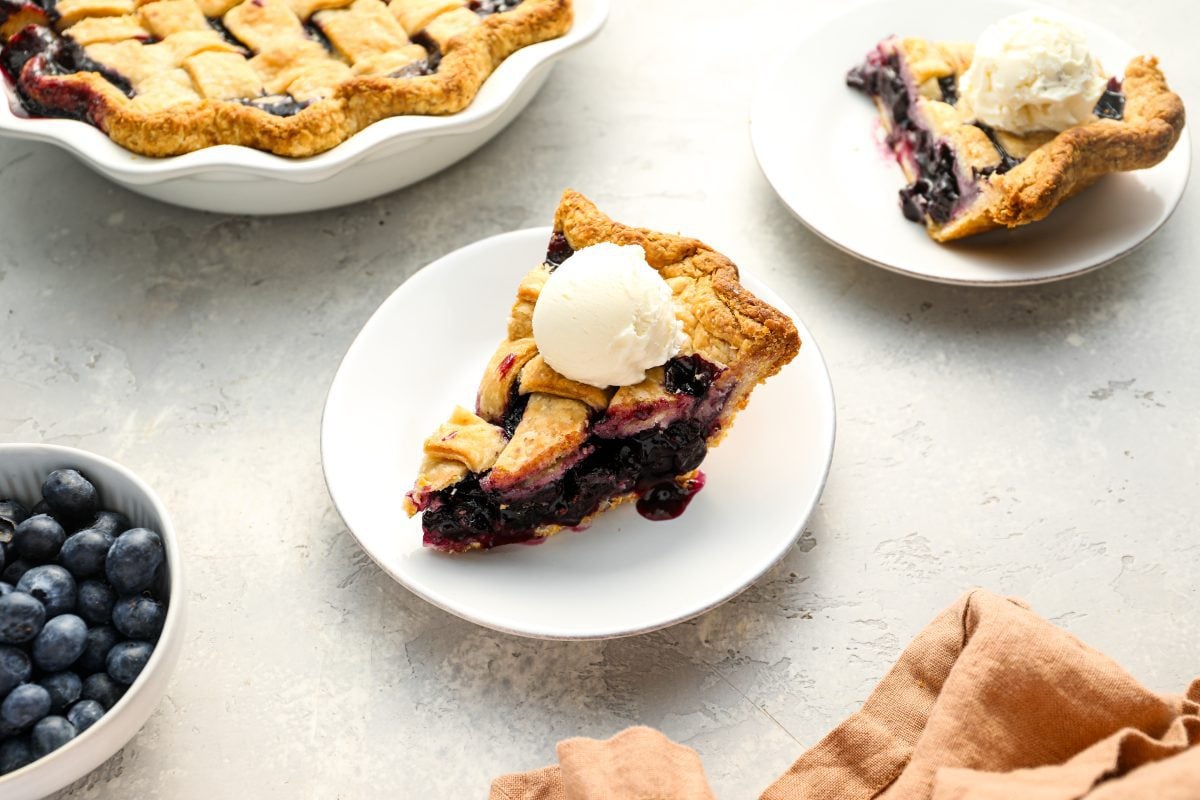
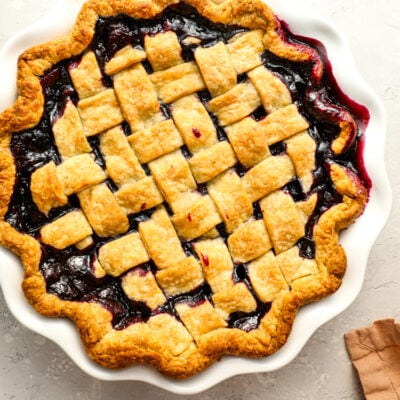
Celebrate summer with a homemade blueberry pie that’s loaded with juicy blueberries and topped with a buttery, flaky lattice crust.
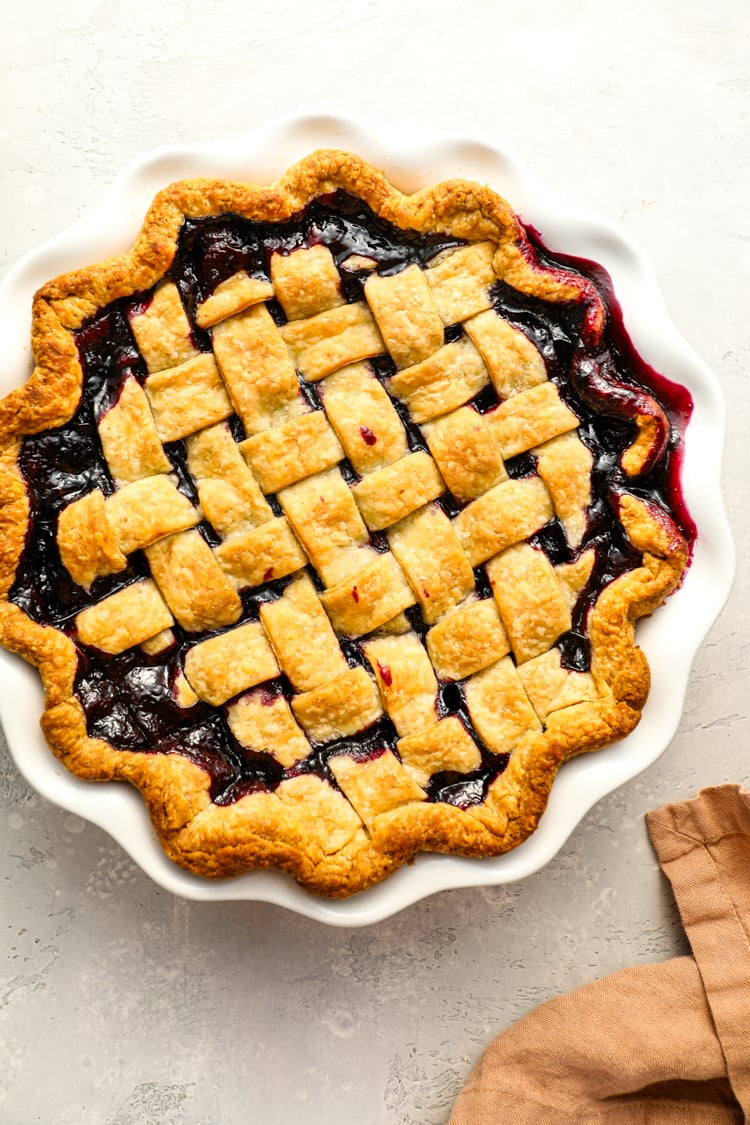
Is there any dessert that screams summer quite like homemade blueberry pie? This version, adapted from pastry chef Stella Parks, has it all: a buttery, flaky crust with a pretty lattice top and a filling that’s the perfect balance of tart and sweet.
Blueberry pies can be a bit tricky, with common pitfalls like a soupy filling or an underbaked crust. This recipe is designed to avoid both. The filling is packed with fresh (or frozen) blueberries, brightened with a hint of lemon, and thickened with tapioca flour so it sets beautifully.
A few tips for success: Bake the pie until the center is bubbling, and let it cool completely before slicing—this helps the crust stay crisp and the slices hold together. To get a head start, you can make the crust in advance or freeze the whole pie to bake later. Serve with vanilla ice cream, whipped cream, or simply a cup of coffee.
“I made this pie using fresh picked blueberries and it is the best blueberry pie I’ve ever tasted!”
What You’ll Need To Make The Best Blueberry Pie

- For the crust: All-purpose flour, sugar, baking powder, butter, and ice-cold water come together to make a tender, flaky crust. The sugar adds a touch of sweetness, baking powder keeps the texture light, butter creates rich, flaky layers, and ice-cold water brings the dough together while keeping the butter cold—essential for a perfectly flaky crust. Be sure to spoon and level the flour for accuracy.
- For the filling: Blueberries, lemon zest and juice, and tapioca flour create a juicy filling that sets beautifully. The lemon brightens and enhances the flavor of the berries, and the tapioca flour thickens the juices so the pie slices cleanly. Fresh blueberries are ideal, but frozen work well too.
- Jump to the printable recipe for precise measurements
Step-By-Step Instructions
Step 1: Make the crust. In the bowl of a food processor fitted with the metal blade, combine the flour, sugar, salt, and baking powder. Pulse a few times to mix. Add the butter and pulse until the mixture looks crumbly with plenty of pea-size bits of butter throughout. Add the cold water and pulse again until the mixture is evenly moistened and still a bit crumbly.
Pro Tip: No food processor? Just whisk the dry ingredients in a large bowl, cut in the butter with a pastry cutter or two knives, then add the ice water and mix with a fork (and your hands if needed) until the dough comes together.


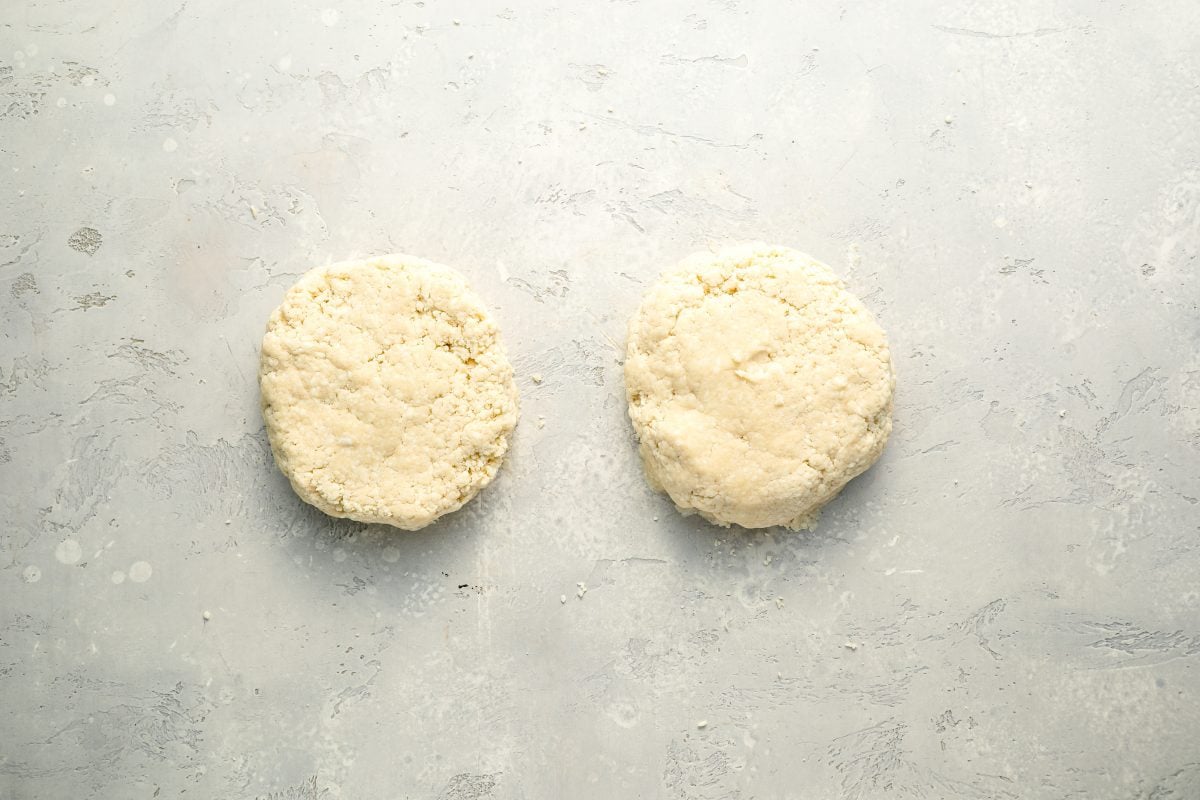
Step 2: Chill the dough. Dump the dough crumbles onto a clean work surface and divide into two even piles. Make two balls of dough and pat each one into a 5-inch disc. Wrap the discs in plastic and refrigerate for at least 45 minutes and up to 3 days.
Step 3: Make the blueberry filling. In a large bowl, combine the blueberries, lemon zest, lemon juice, sugar, salt, and tapioca flour. Toss until combined; don’t worry if the mixture is powdery.

Step 4: Prepare the Bottom Crust. Take one dough disc from the fridge. Lightly flour the top, then knead just until it’s pliable (don’t overdo it). Roll into a 13-inch circle, flouring as needed to prevent sticking. Drape the dough over your rolling pin and transfer it to a 9-inch deep-dish pie pan. Gently press it into the pan without stretching, and trim the edges so there’s about ½ inch overhang.

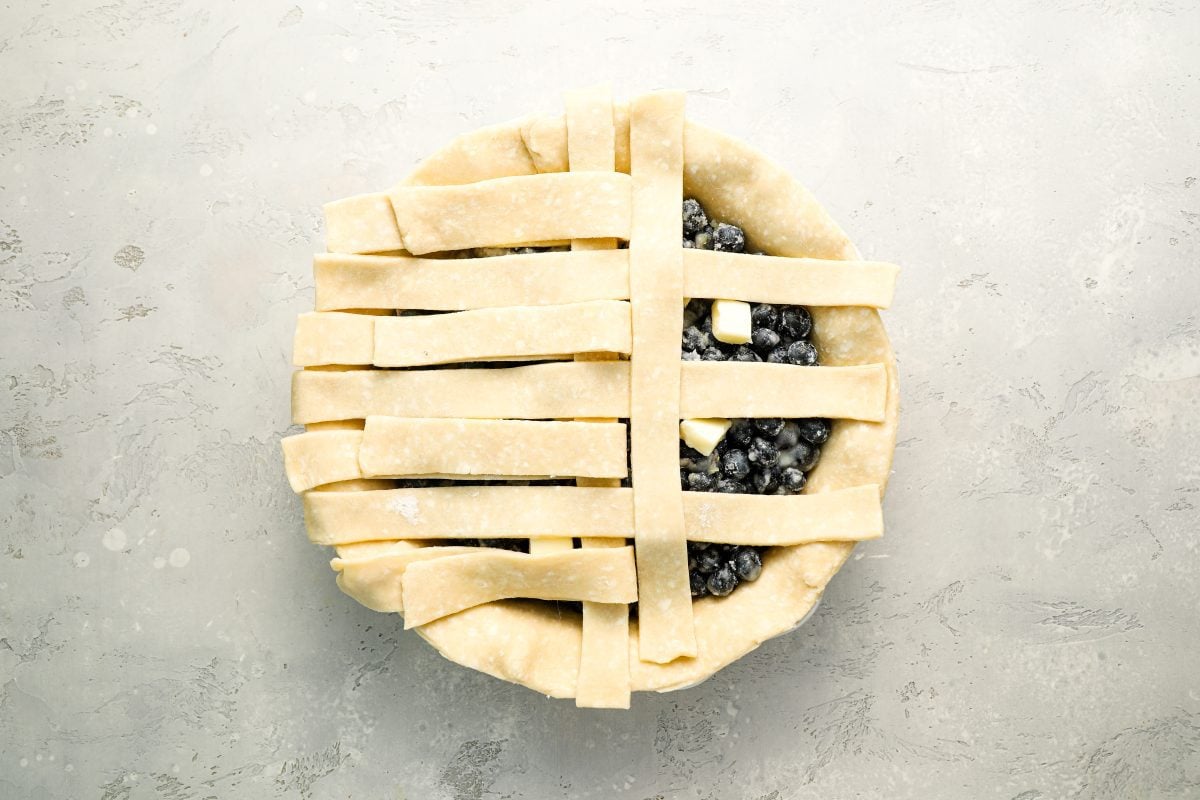
Step 4: Fill the pie. Transfer the filling into the crust and press into an even layer (do not mound). Dot the berries with the butter cubes. Refrigerate while you prepare the top crust.

Step 5: Prepare the lattice top crust. Remove the top disc of dough from the refrigerator and roll it out into a 10×15-inch rectangle. Using a pizza or pastry cutter, trim the edges and then cut the dough into 14 one-inch-wide strips.

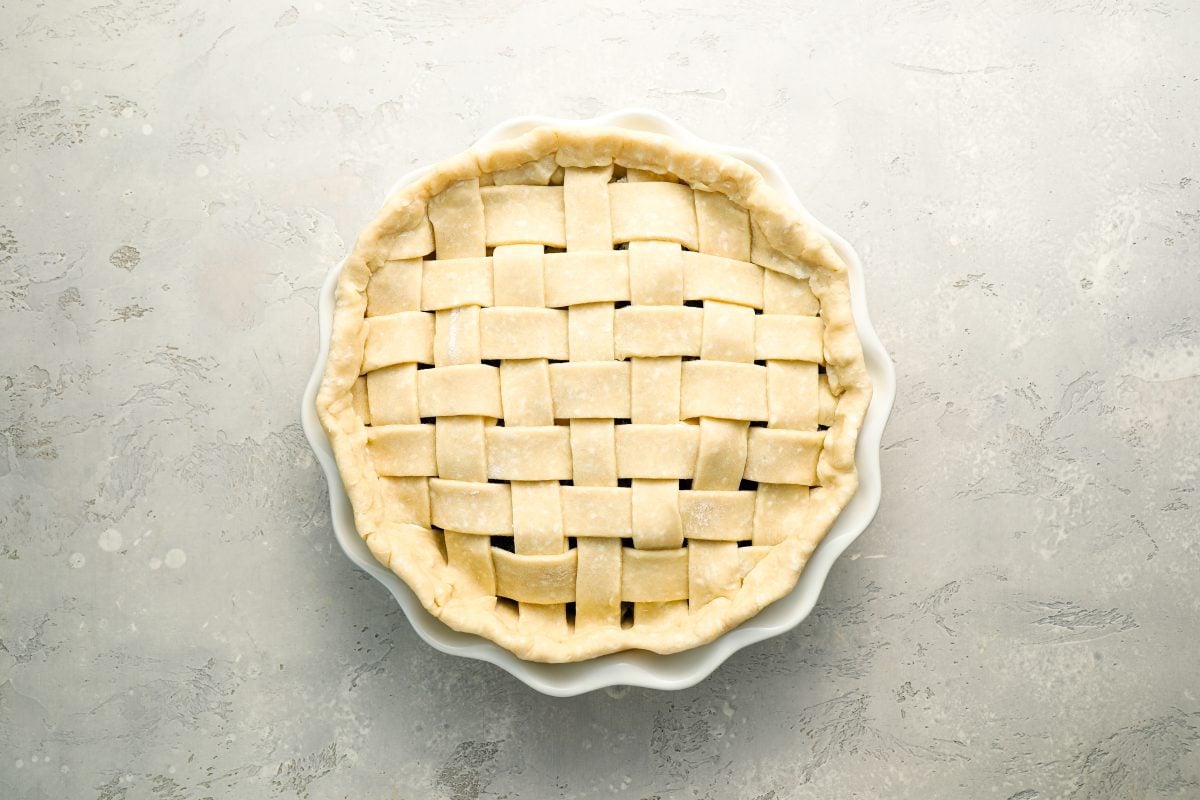
Step 6: Assemble the pie. Lay half the dough strips horizontally across the filling, spaced about ½ inch apart. Fold back every other strip halfway, then lay one vertical strip over the center. Unfold the folded strips over the new strip, then fold back the alternating ones and lay down the next vertical strip. Keep going until the lattice covers the pie. Trim any excess, leaving a slight overhang, then fold the bottom crust over the lattice edges and crimp to seal.


Step 7: Bake. Place the pie on a lined baking sheet to catch any drips. Bake at 425°F for 20 minutes, then reduce the heat to 375°F and bake for another 60 to 70 minutes, until the crust is golden and the filling is bubbling in the center and at the edges (if using a thermometer, the center should read at least 213°F). Keep an eye on it during the second half—if it’s browning too quickly, tent it loosely with foil (I usually do this around the 40-minute mark).

Step 8: Cool the pie. Transfer the hot pie off the foil and onto a heat-proof surface. If any blueberry juice has bubbled over, wipe it away with a damp paper towel before it hardens—it gets super sticky. Let the pie cool completely before slicing, at least 8 hours or overnight. The center should be 78°F or cooler if you’re checking with a thermometer. As tempting as it is, don’t slice too soon or you’ll end up with blueberry soup!

Once cooled, the pie can sit at room temperature for up to 2 days—just cover it loosely with foil to keep it from drying out. For longer storage, cover it with plastic wrap or foil and refrigerate for up to 4 days.
You can also freeze the pie before baking. Chill it in the fridge until firm, then wrap it tightly in plastic wrap followed by a layer of foil. Freeze for up to 3 months. When you’re ready to bake, thaw it overnight in the fridge before popping it in the oven.
Video Tutorial
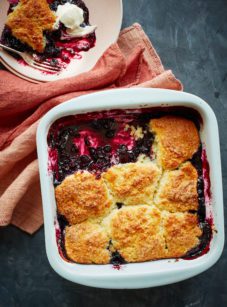
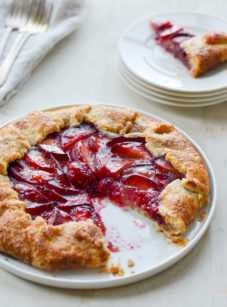
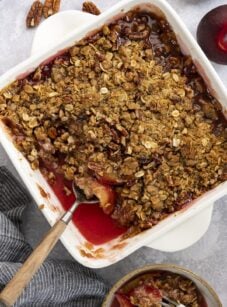
More Fruit Desserts You May Like


Blueberry Pie
Ingredients
For the Crust
- 3 cups all-purpose flour, spooned into measuring cup and leveled-off
- 3 tablespoons sugar
- 1 teaspoon salt
- ¼ teaspoon baking powder
- 2½ sticks (20 tablespoons) cold unsalted butter, sliced into 1-inch pieces
- ½ cup ice cold water
For the Filling
- 5 cups blueberries, fresh or frozen (if frozen, no need to thaw)
- 1 teaspoon lemon zest, from 1 lemon
- 2 tablespoons fresh lemon juice, from 1 lemon
- ¾ cup + 2 tablespoons sugar
- ¼ teaspoon salt
- ⅓ cup tapioca flour (also called tapioca starch), such as Bob’s Red Mill
- 2 tablespoons unsalted butter, cut into small cubes
Instructions
Prepare the Crust
- If using a food processor: Combine the flour, sugar, salt, and baking powder in the bowl of a food processor fitted with the metal blade. Pulse a few times to combine. Add the butter and pulse until the mixture is crumbly with lots of pea-size clumps of butter within. Add the water and pulse until the mixture is evenly moistened and very crumbly. Dump the dough crumbles onto a clean work surface and divide into two even piles. Make two balls of dough and pat each one into a 5-inch disc. Wrap the discs in plastic and refrigerate for at least 45 minutes and up to 3 days. If making by hand: In a large mixing bowl, whisk together the flour, sugar, salt, and baking powder. Add the butter and use a pastry cutter or two knives to cut the butter into the dry ingredients until the mixture resembles coarse crumbs. Gradually add the ice water, mixing with a fork, and then your hands, until the dough comes together into a ball. Divide into two balls of dough and pat each one into a 5-inch disc. Wrap the discs in plastic and refrigerate for at least 45 minutes and up to 3 days.
Prepare the Filling
- In a large bowl, combine the blueberries, lemon zest, lemon juice, sugar, salt, and tapioca flour. Toss until combined; don’t worry if the mixture is powdery.
Assemble & Bake the Pie
- Preheat the oven to 425°F (220℃) and set an oven rack in the lower third position. Line a baking sheet with aluminum foil (the foil will catch the juices that bubble over from the pie, making for easy clean up).
- Prepare the bottom crust: Remove one disc of dough from the refrigerator. Lightly dust a clean work surface with flour and place the dough on it; sprinkle a bit of flour over the dough as well. Gently knead the dough with your hands just until it becomes soft and malleable (avoid overworking it—you want it just supple enough to roll out). Roll the dough out into a 13-inch (33-cm) circle, adding more flour as needed to prevent sticking. Carefully lift the dough by draping it over your rolling pin and transfer it to a 9-inch (23-cm) deep-dish pie pan (it should be 2 inches/5 cm deep). Gently press the dough into the pan, making sure to ease it into place without stretching. Trim the edges of the dough to extend about ½ inch (1.25 cm) beyond the pie pan's lip.
- Fill the pie: Transfer the filling into the crust and press into an even layer (do not mound). Dot the berries with the butter cubes. Refrigerate while you prepare the top crust.
- Prepare the lattice crust: Remove the top disc of dough from the refrigerator and roll it out into a 10x15-inch (25x38-cm) rectangle, following the same process described earlier. Using a pizza or pastry cutter, trim the edges and then cut the dough into 14 one-inch (2.5 cm)-wide strips. Retrieve the filled pie from the refrigerator. Lay half of the strips horizontally over the pie filling, leaving about 1/2 inch (1.25 cm) of space between each strip. Fold back every other strip halfway over itself. Place one strip of dough vertically over the unfolded strips. Unfold the folded strips over the new strip, then fold back the alternating strips that were previously left unfolded. Lay another strip of dough parallel to the first vertical strip, about 1/2 inch (1.25 cm) away from it. Repeat the process, folding back the strips as necessary, until the lattice crust covers the entire pie. Trim any excess dough from the edges of the lattice strips, leaving a slight overhang. Fold the edges of the bottom crust over the lattice strips, then crimp or flute the edges to seal the pie.
- Place the pie on the lined baking sheet and bake at 425°F (220℃) for 20 minutes. Reduce the oven temperature to 375°F (190℃) and continue baking for an additional 60 to 70 minutes, or until the crust is golden brown and the filling is bubbling both on the edges and in the center. If you have a digital thermometer, it should be at least 213°F (100℃) in the center. Keep an eye on the pie during the second half of baking and tent lightly with foil if it’s getting too brown on top (I usually tent it at the 40-minute mark in the second phase).
- Immediately move the hot pie off the foil and place on a heat-proof surface. If necessary, take a wad of wet paper towels and wipe any blueberry juice from the edges (it gets extremely sticky as it dries). Let the pie cool completely before slicing, at least 8 hours or overnight. If you have a digital thermometer, it should be 78°F (26℃) or lower in the center before slicing. Resist the temptation to cut into the pie while it’s even slightly warm, or you will end up with blueberry soup!
- Once cooled, you can keep the pie at room temperature for up to 2 days, covering it loosely with foil to prevent it from drying out. If you need to store the pie for longer than 2 days, place it in the refrigerator, covered with plastic wrap or aluminum foil, and store for up to 4 days.
Notes
Nutrition Information
This website is written and produced for informational purposes only. I am not a certified nutritionist and the nutritional data on this site has not been evaluated or approved by a nutritionist or the Food and Drug Administration. Nutritional information is offered as a courtesy and should not be construed as a guarantee. The data is calculated through an online nutritional calculator, Edamam.com. Although I do my best to provide accurate nutritional information, these figures should be considered estimates only. Varying factors such as product types or brands purchased, natural fluctuations in fresh produce, and the way ingredients are processed change the effective nutritional information in any given recipe. Furthermore, different online calculators provide different results depending on their own nutrition fact sources and algorithms. To obtain the most accurate nutritional information in a given recipe, you should calculate the nutritional information with the actual ingredients used in your recipe, using your preferred nutrition calculator.
Made this for July 4th and it was fantastic, the best blueberry pie recipe I have tried. Had to tent the crust perimeter 10 minutes in and then the entire pie quite early. Also, we are at 5400 ft elevation and at this altitude the pie filling won’t reach 213F. Went by visual cues of bubbling filling instead and it turned out wonderfully. Thank you, Jenn!
Hi Jenn! I learned how to make successful pie crust from your recipe Perfect Pie Crust. I am so afraid of trying this crust with all butter since the other recipe comes out perfect every time. Can I use the Perfect Pie Crust for this pie, or should I venture out and try this all butter crust?
Sure, just keep in mind that the mixture may require a few more minutes of cooking time.
I definitely think this crust is worth a try, but if you prefer to stick with one that you’ve done before, it’s fine to use the version from the pie crust recipe.
Hi Jenn, can wild huckleberries be substituted in this recipe? If so, would anything else need to be adjusted?
Thanks so much, I love sooo many of your recipes!
Hi Nancy, I haven’t tried it myself, but I think it should work with no modifications. Please LMK how it turns out if you try it!
If I use a store bought refrigerated pie crust will the baking time/temperature change?
Nope!