


This post may contain affiliate links. Read my full disclosure policy.
All the flavor of a Reese’s peanut butter cup—only fancier. This chocolate peanut butter tart comes together with minimal effort but feels special.
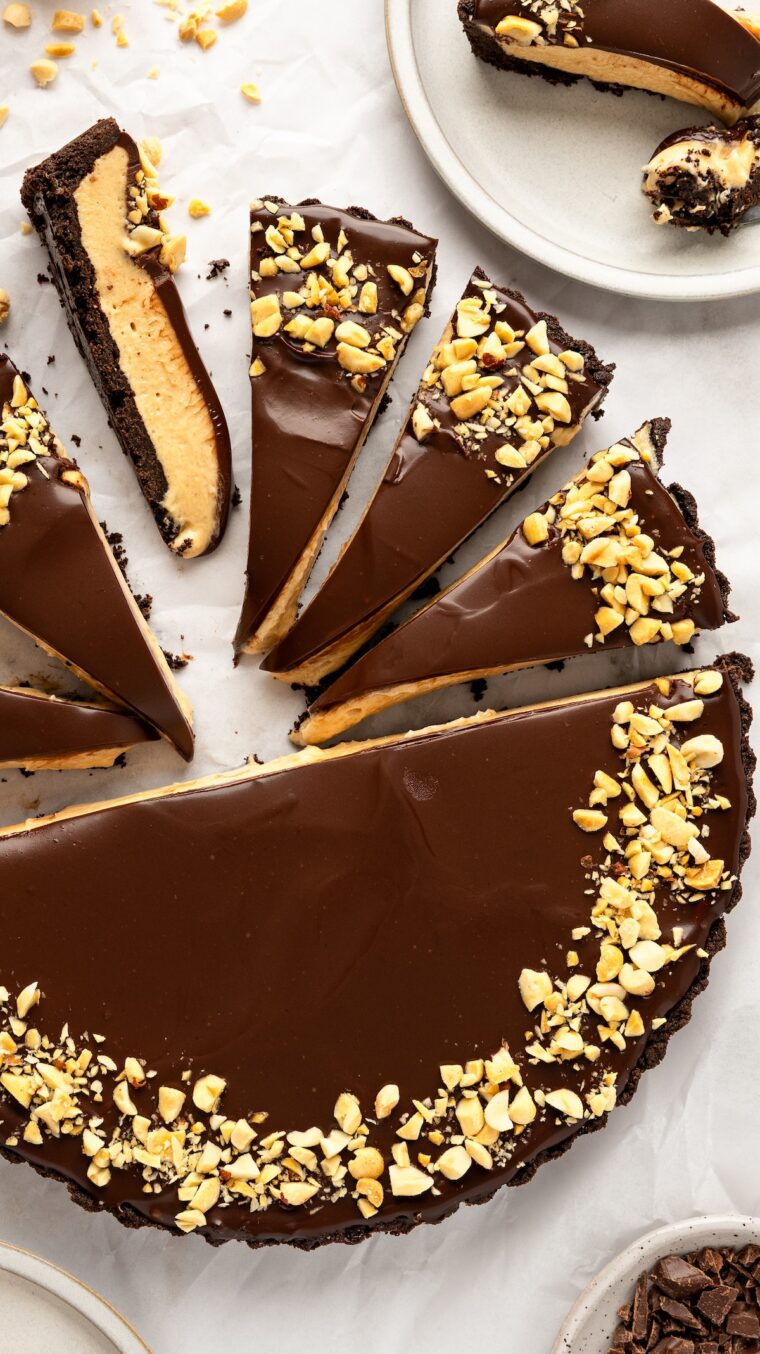
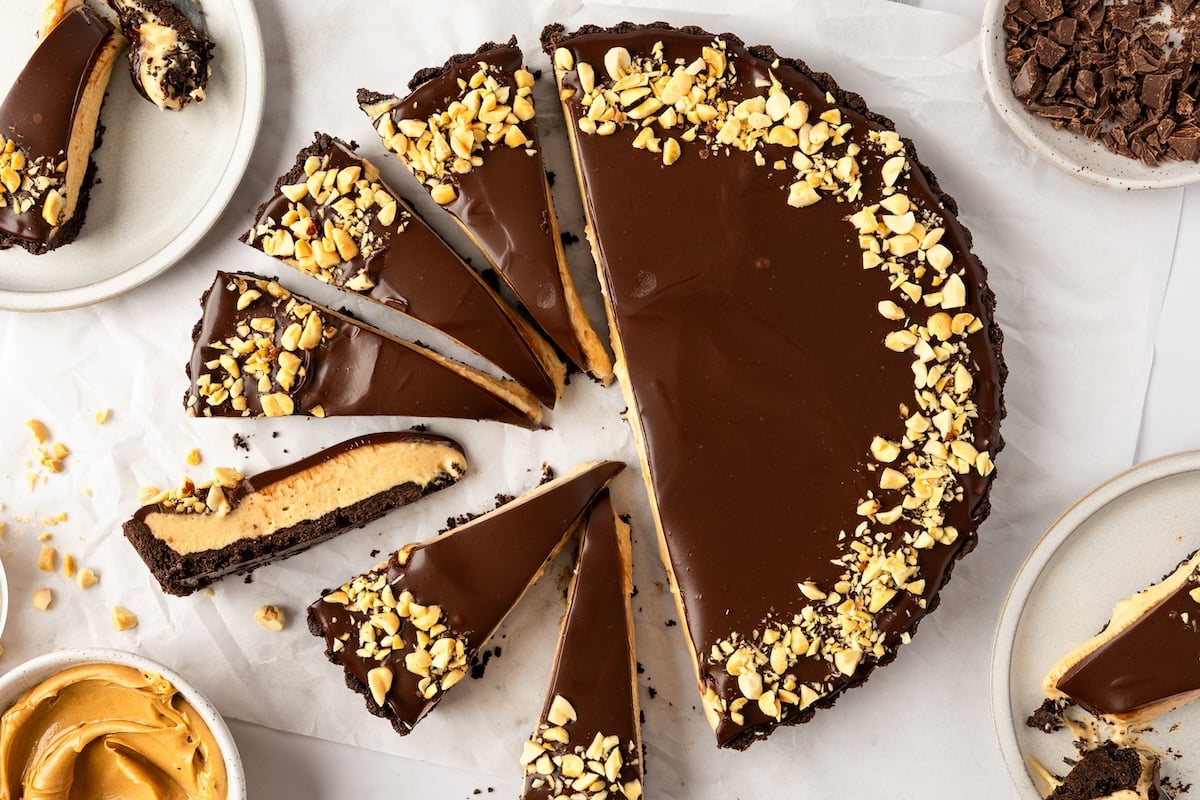
Whenever I need a decadent, crowd-pleasing dessert, I turn to this quick-bake chocolate peanut butter tart, adapted from Food & Wine. With a chocolate wafer crust, creamy peanut butter center, and silky ganache topping, it’s like a fancier Reese’s Peanut Butter Cup. It needs a few hours in the fridge to set up, and you can even make it a day ahead—just cover and refrigerate until you’re ready to serve.
To get the pretty fluted edges, you’ll need a tart pan with a removable bottom, which you can find at any kitchen store or online (my local hardware store even sells them). If you don’t have one, you can also use a springform pan.
“You knocked it out of the park. My husband and son both say that this is the BEST DESSERT EVER!”
What you’ll need to make a chocolate peanut butter tart
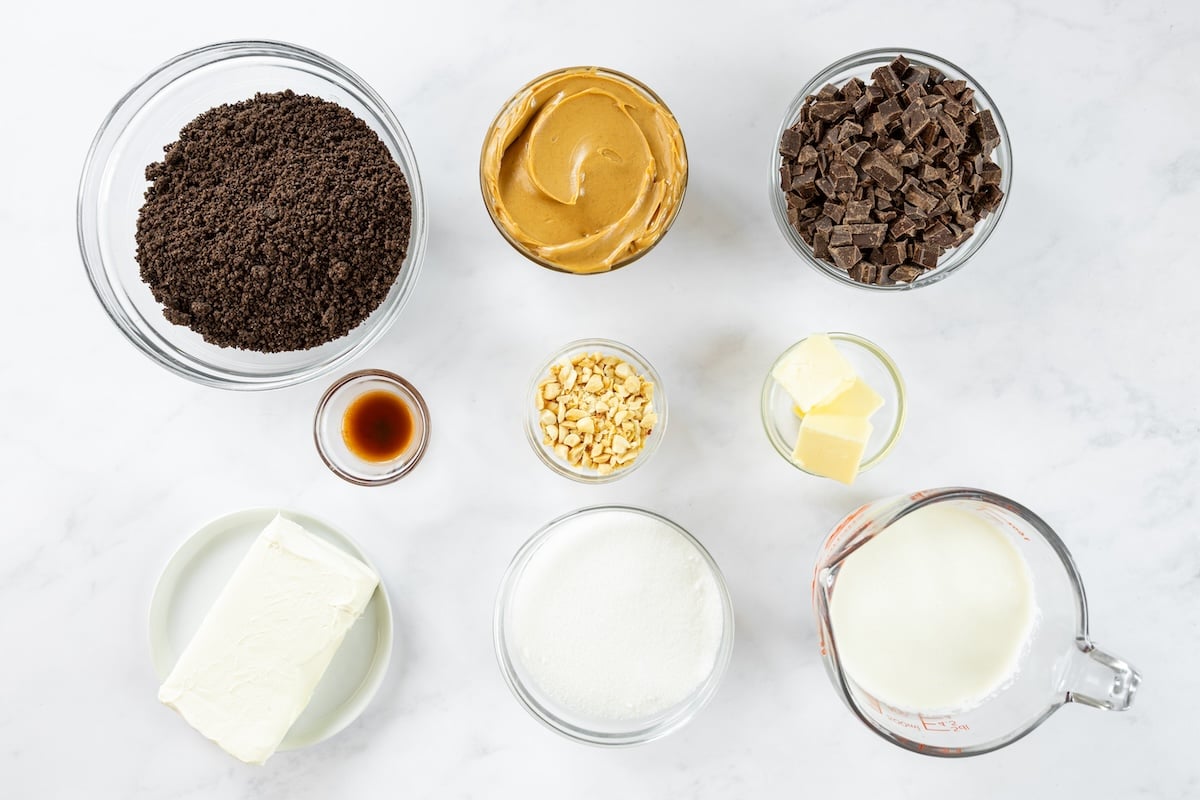
- Crust (semisweet chocolate, butter & cookie crumbs): Melted chocolate and butter bind the crumbs and add richness, while the cookie base—whether Oreo baking crumbs or Oreo thins—provides deep cocoa flavor and a crisp, chocolatey foundation for the filling.
- Filling (cream cheese, peanut butter, sugar, vanilla & heavy cream): The filling gets its rich, creamy texture from the cream cheese and peanut butter, while sugar sweetens the mix and vanilla adds depth. Cold whipped cream lightens it all into a mousse-like consistency.
- Topping (semisweet chocolate, heavy cream & roasted peanuts): Cream and chocolate combine into a smooth ganache that sets into a glossy top layer, while chopped salted peanuts add crunch and classic peanut butter pie flavor.
- Jump to the printable recipe for precise measurements
Step-by-Step Instructions
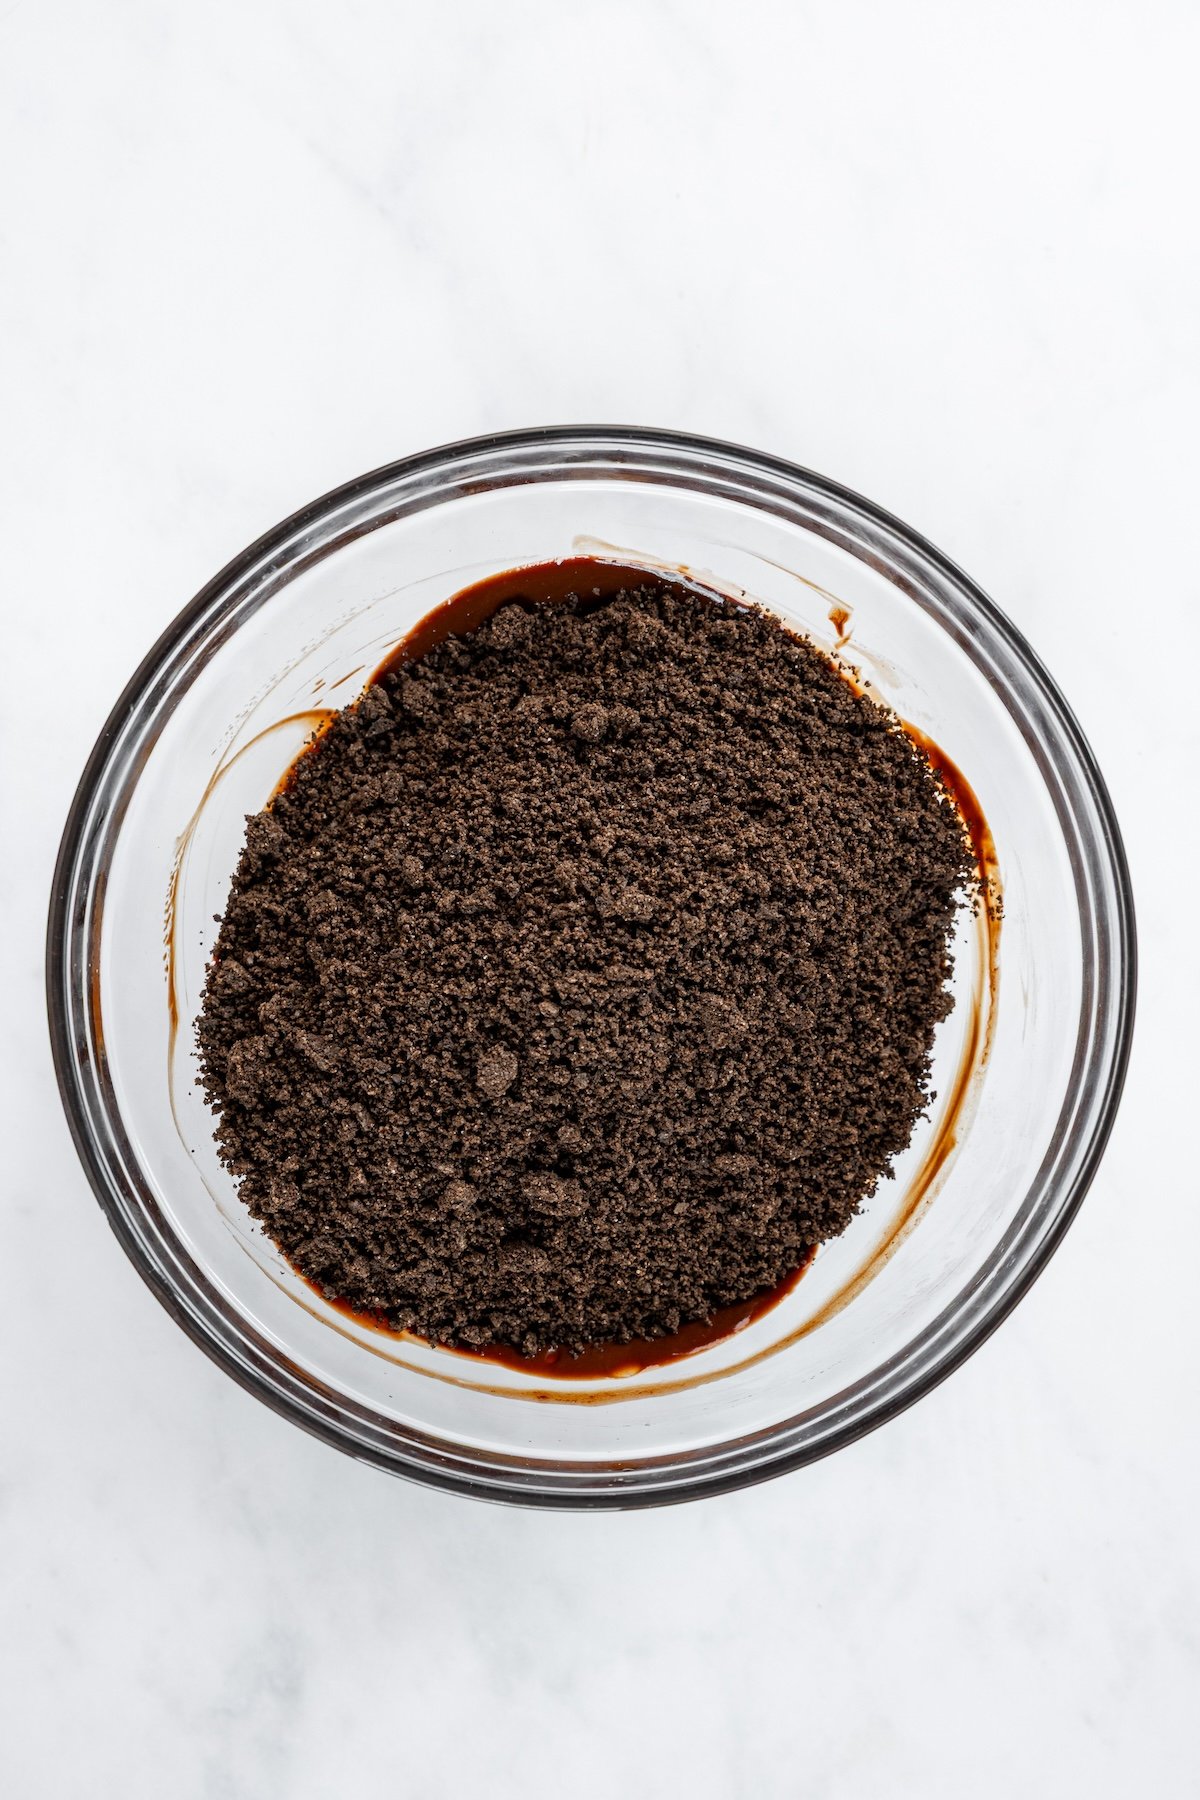
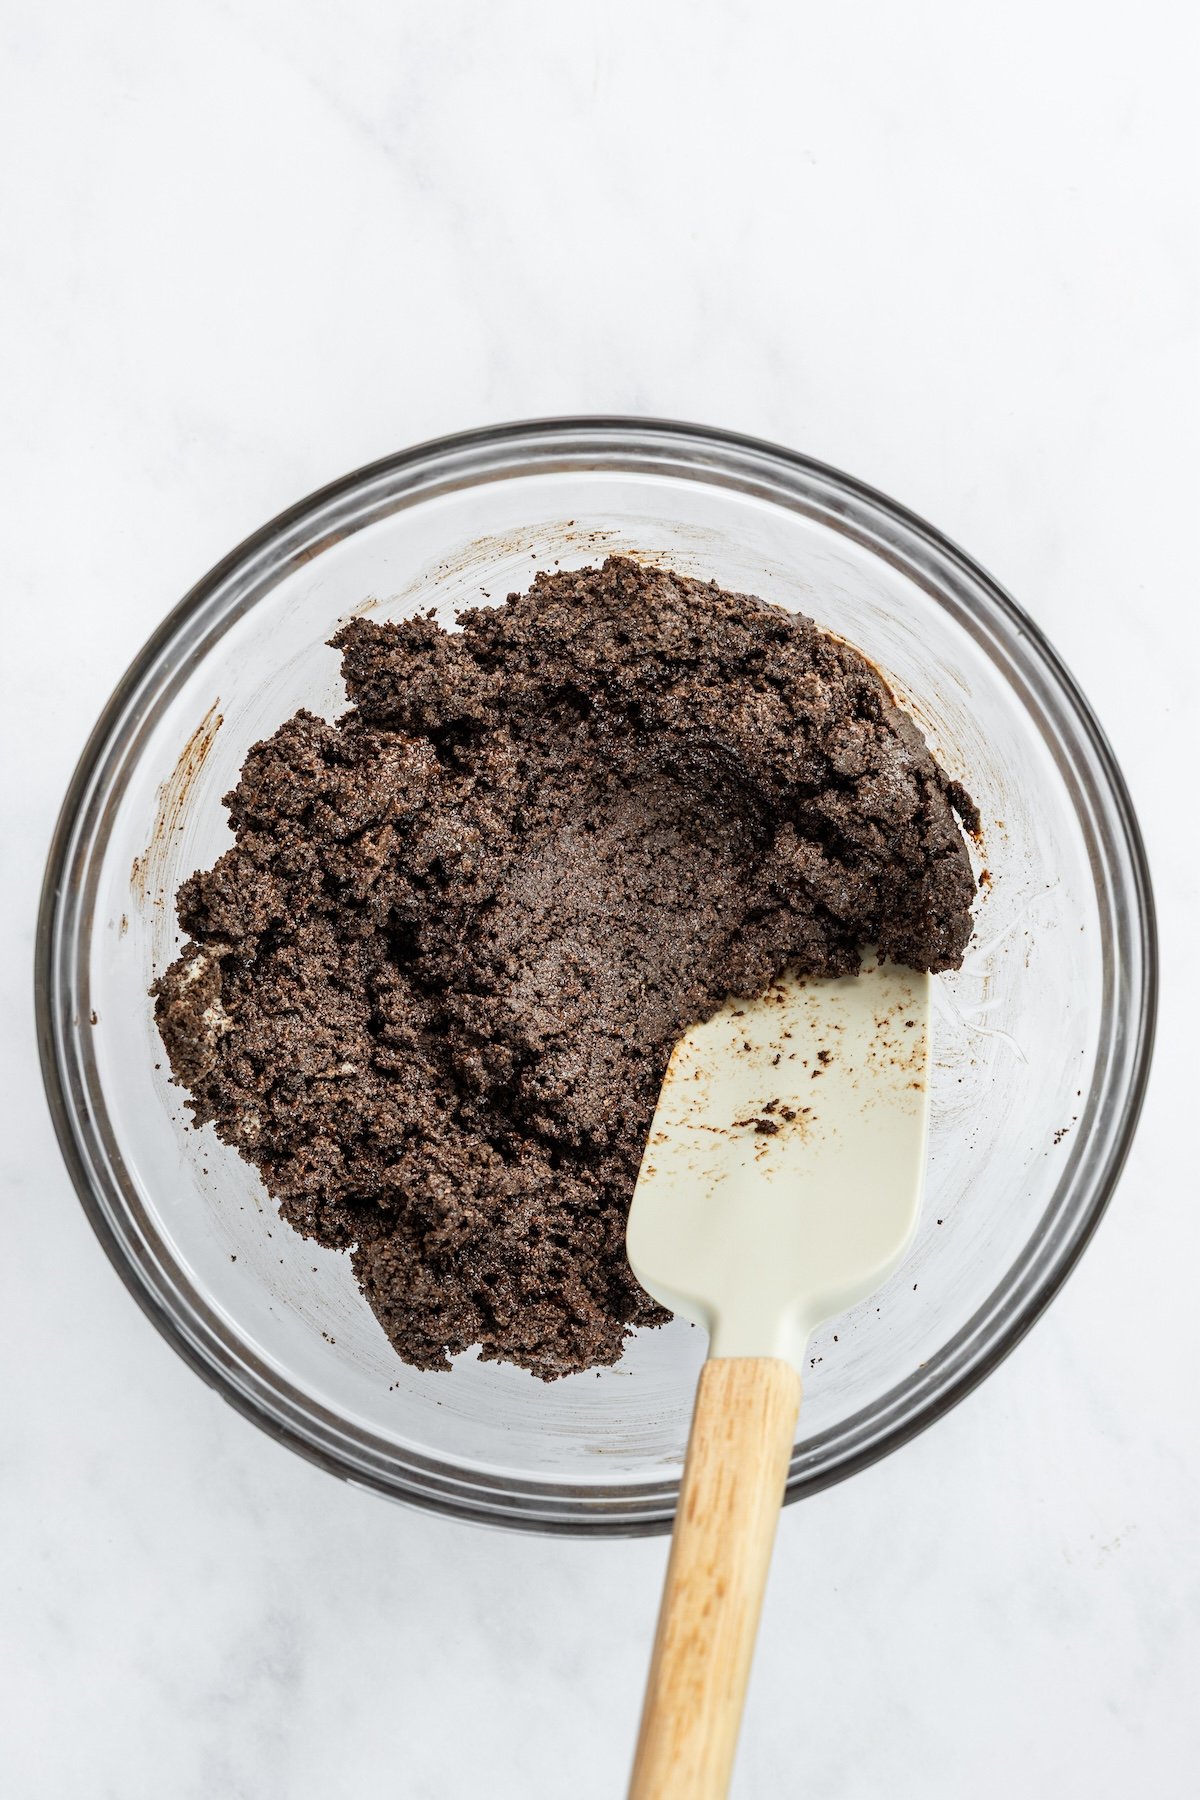
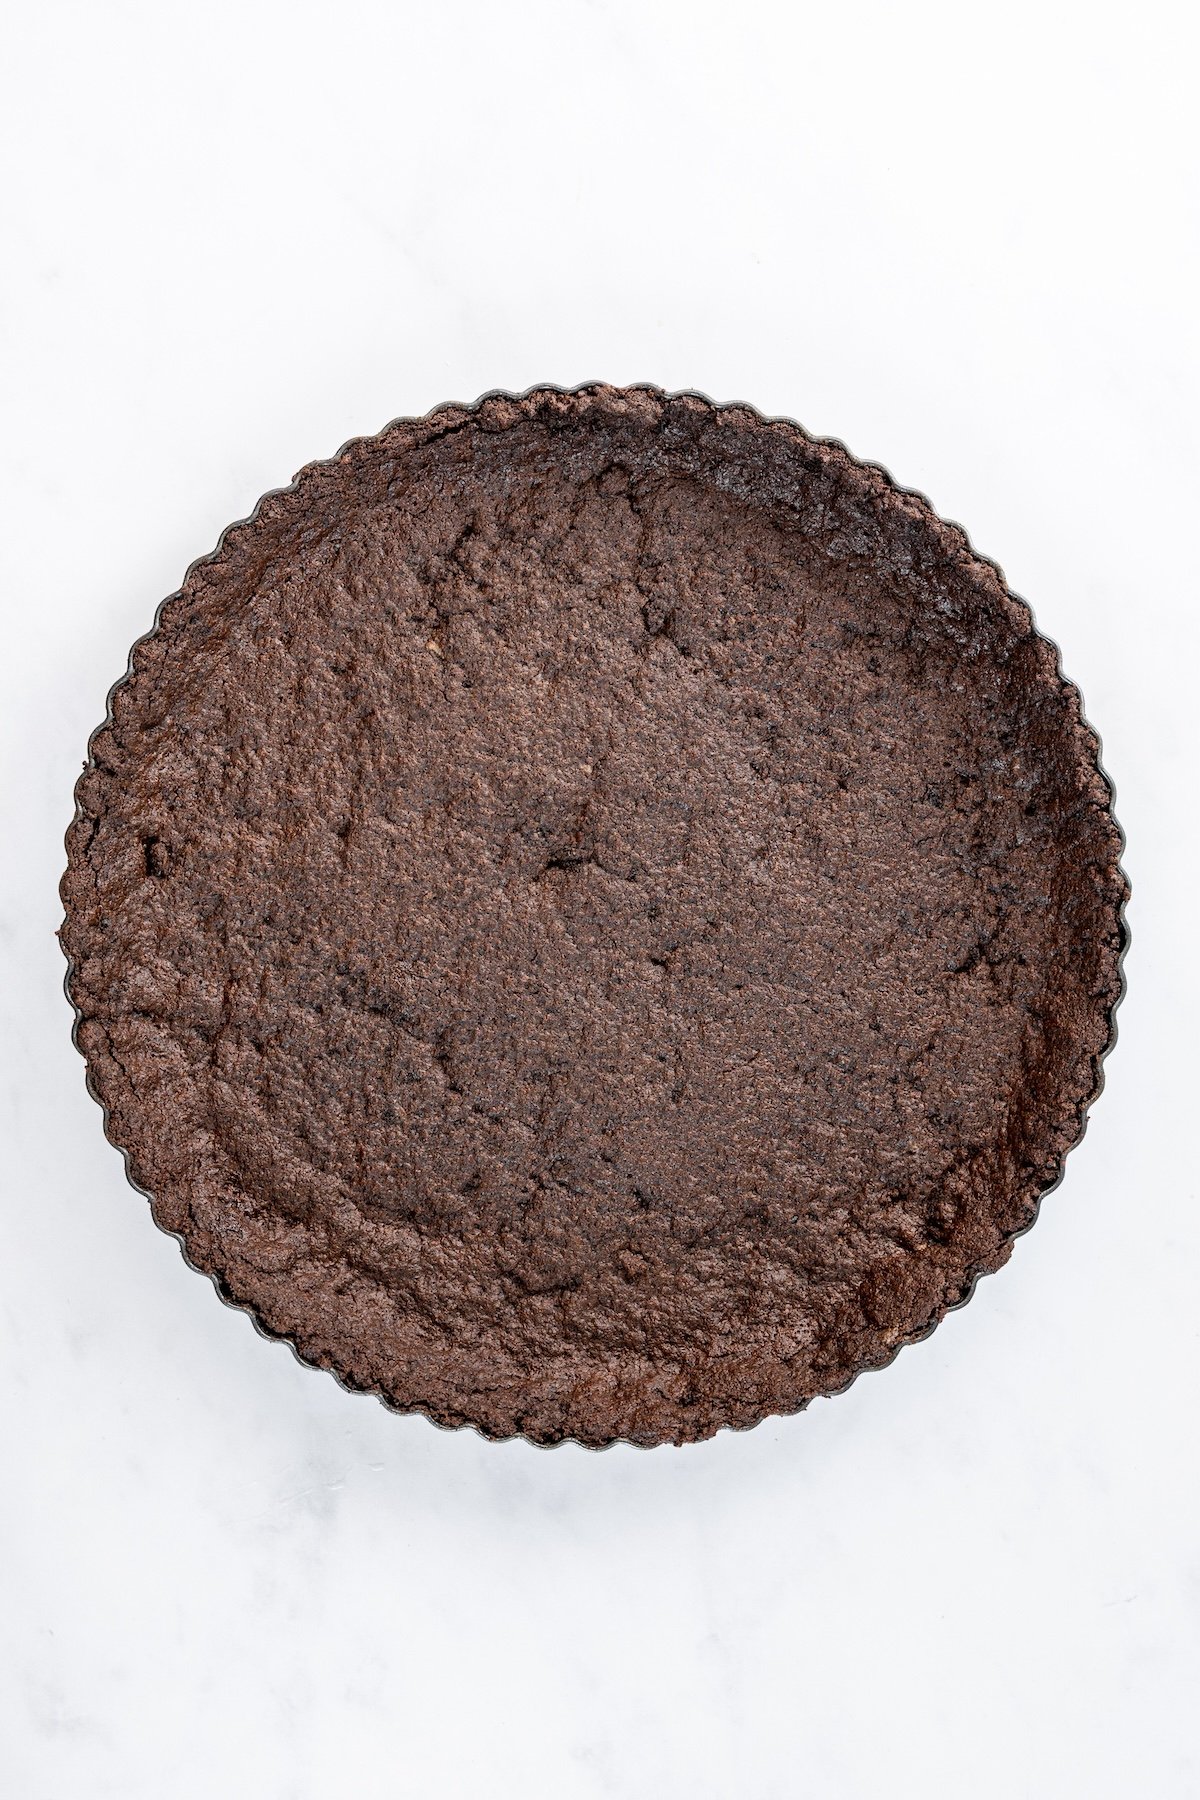
Step 1. Make and bake the crust. Preheat the oven to 375°F. In a medium microwave-safe bowl, melt the butter. Add the chocolate and stir until melted (microwave again for 20 to 30 seconds if needed). Stir in the cookie crumbs until evenly combined. Press the mixture evenly into the bottom and up the sides of a 10-inch tart pan with a removable bottom. Bake the tart shell for 10 minutes, then cool on a rack.
Pro Tip: A flat-bottomed measuring cup is your best friend for pressing crumb crusts—press firmly so it holds together, but don’t compact it into concrete; you want it set yet still tender when sliced.

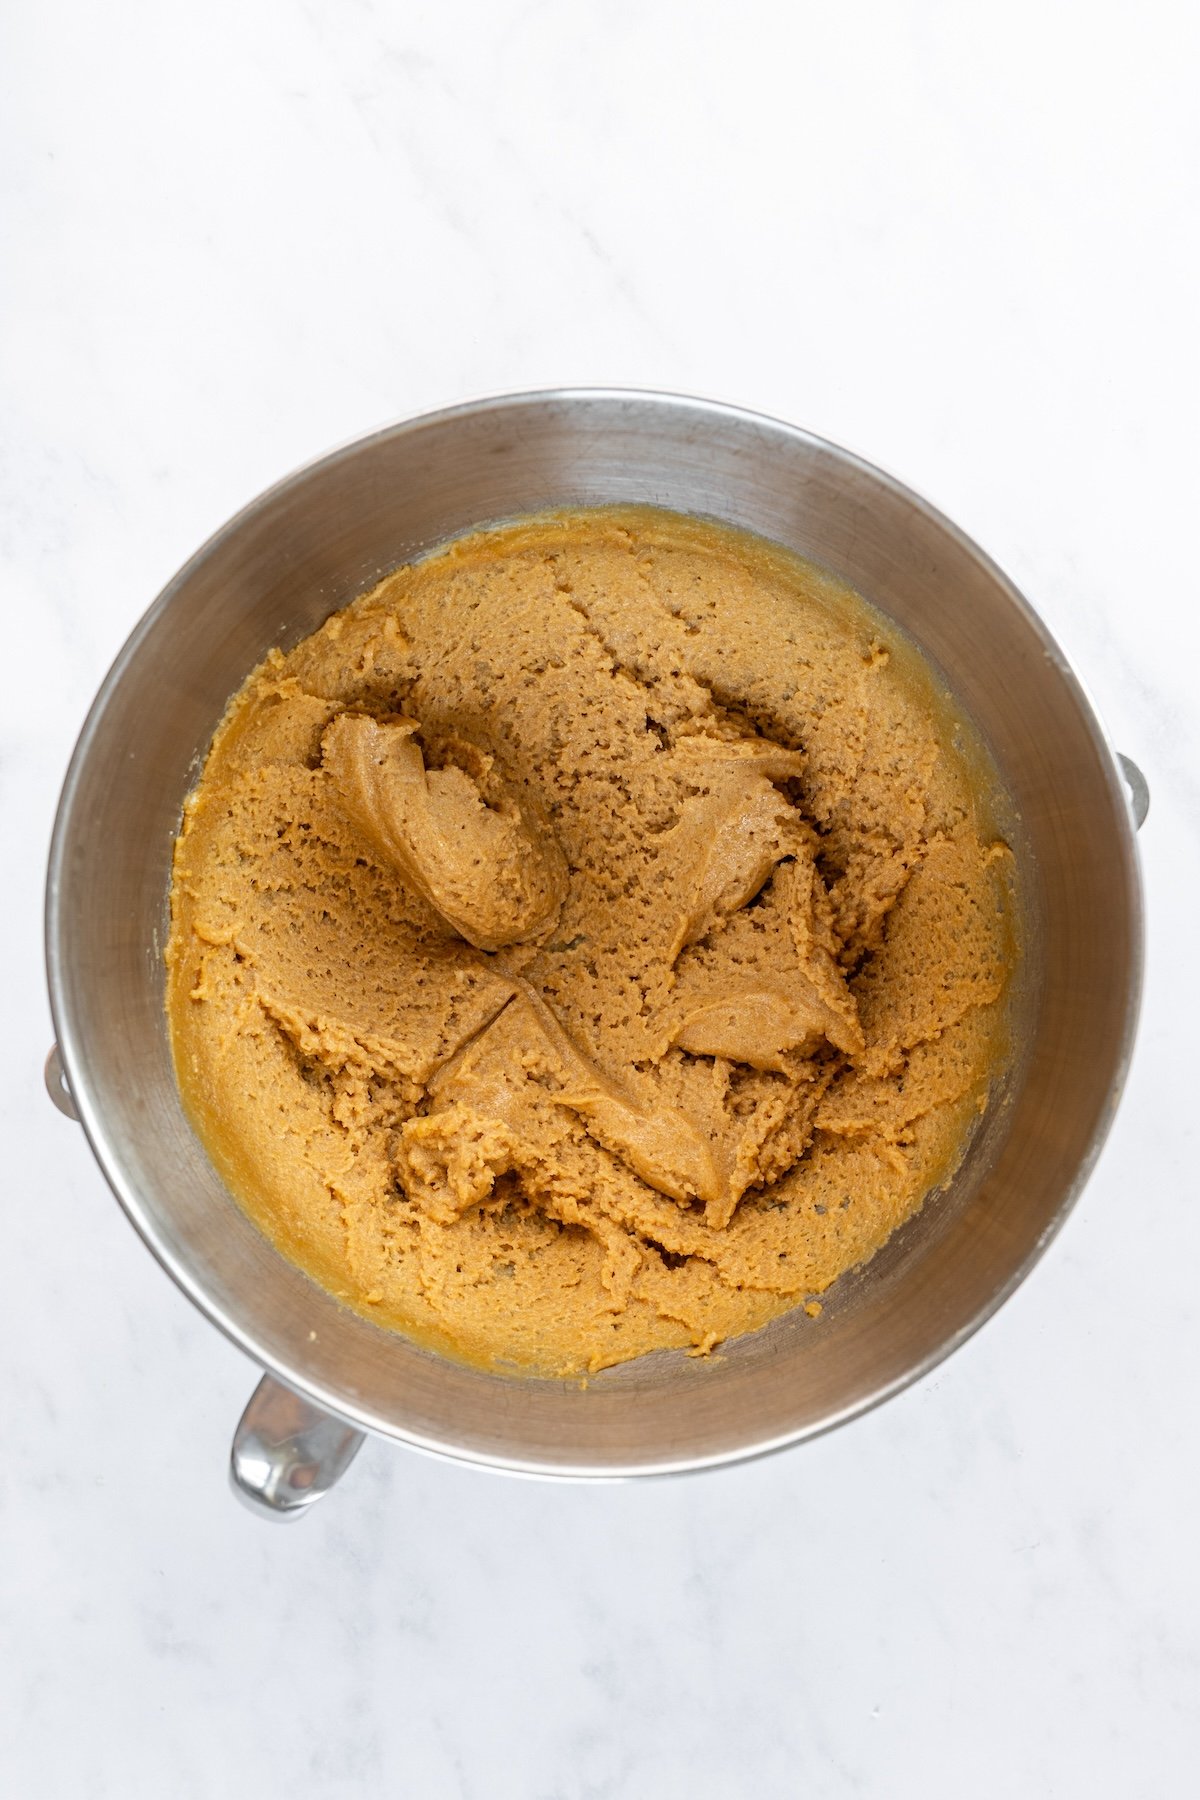
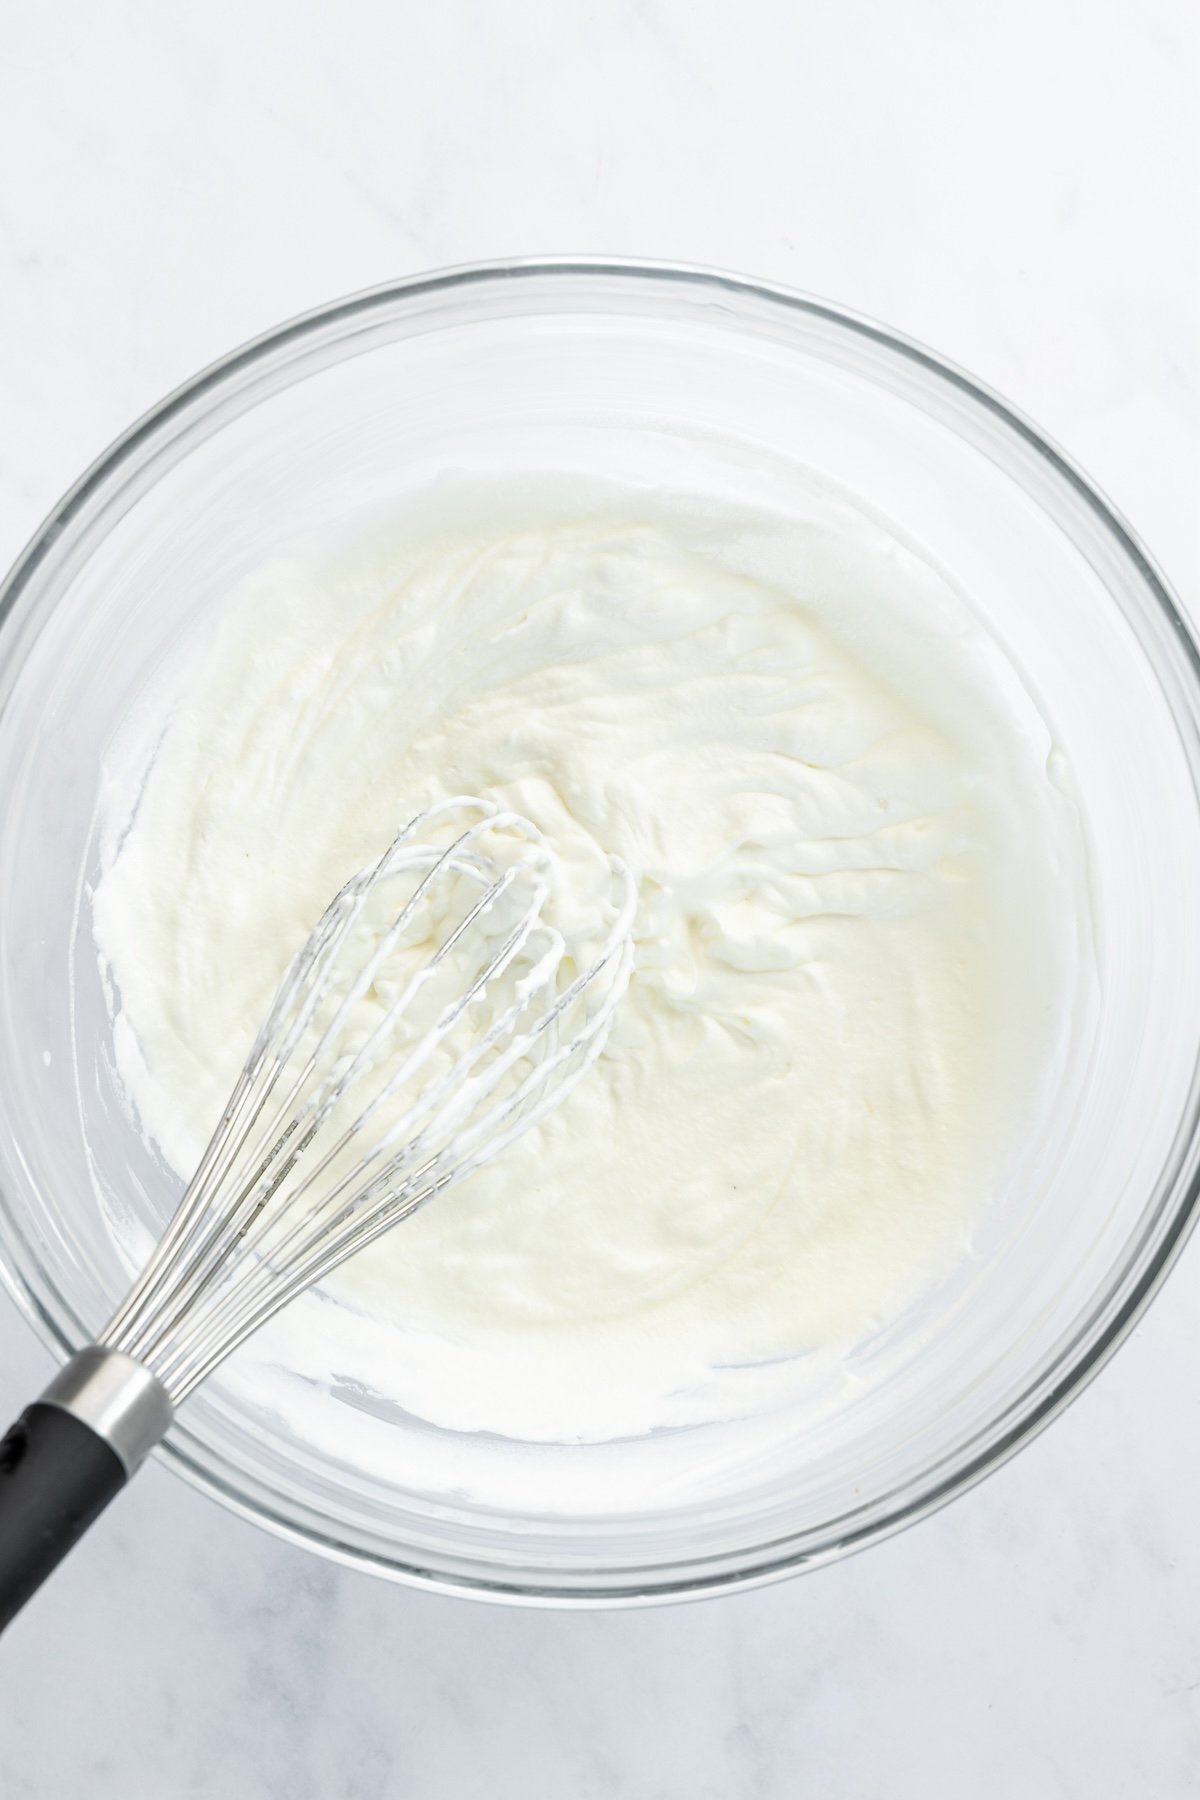
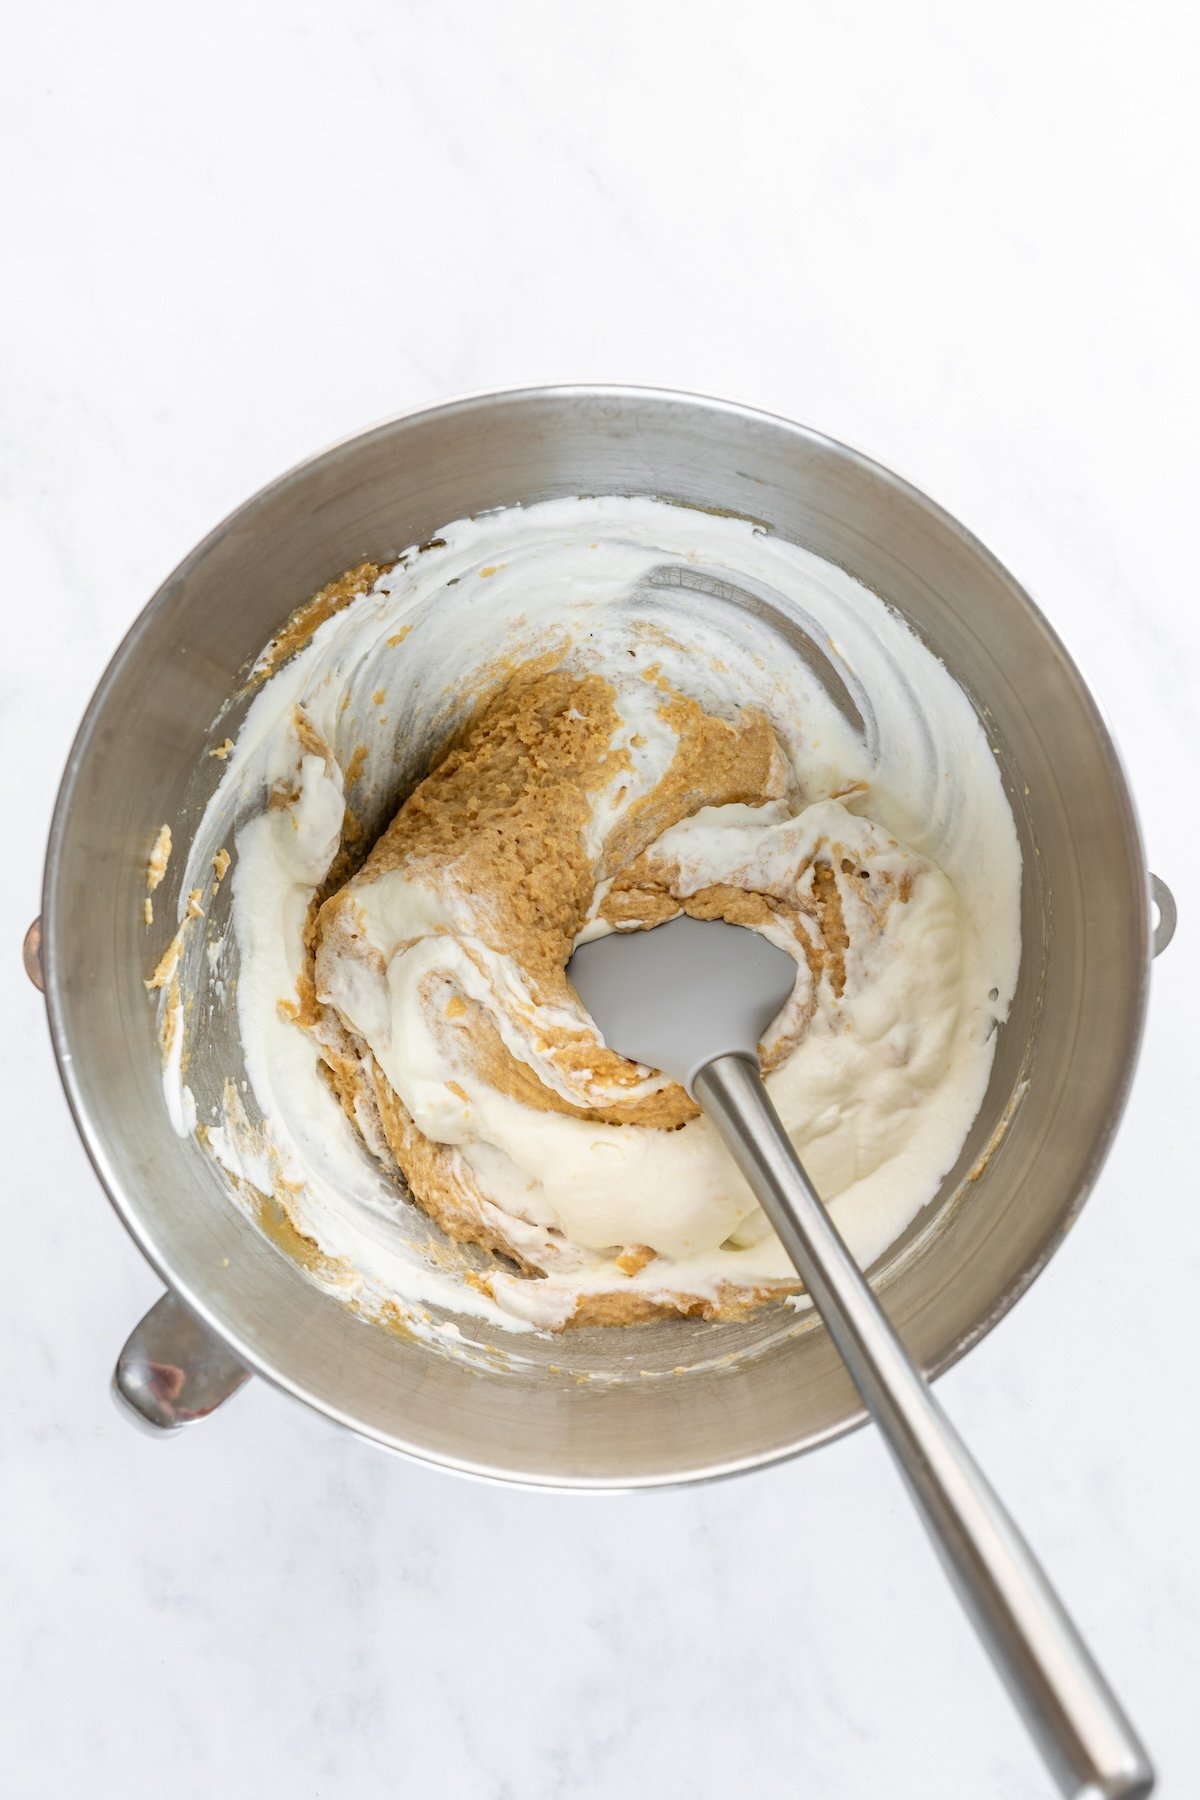
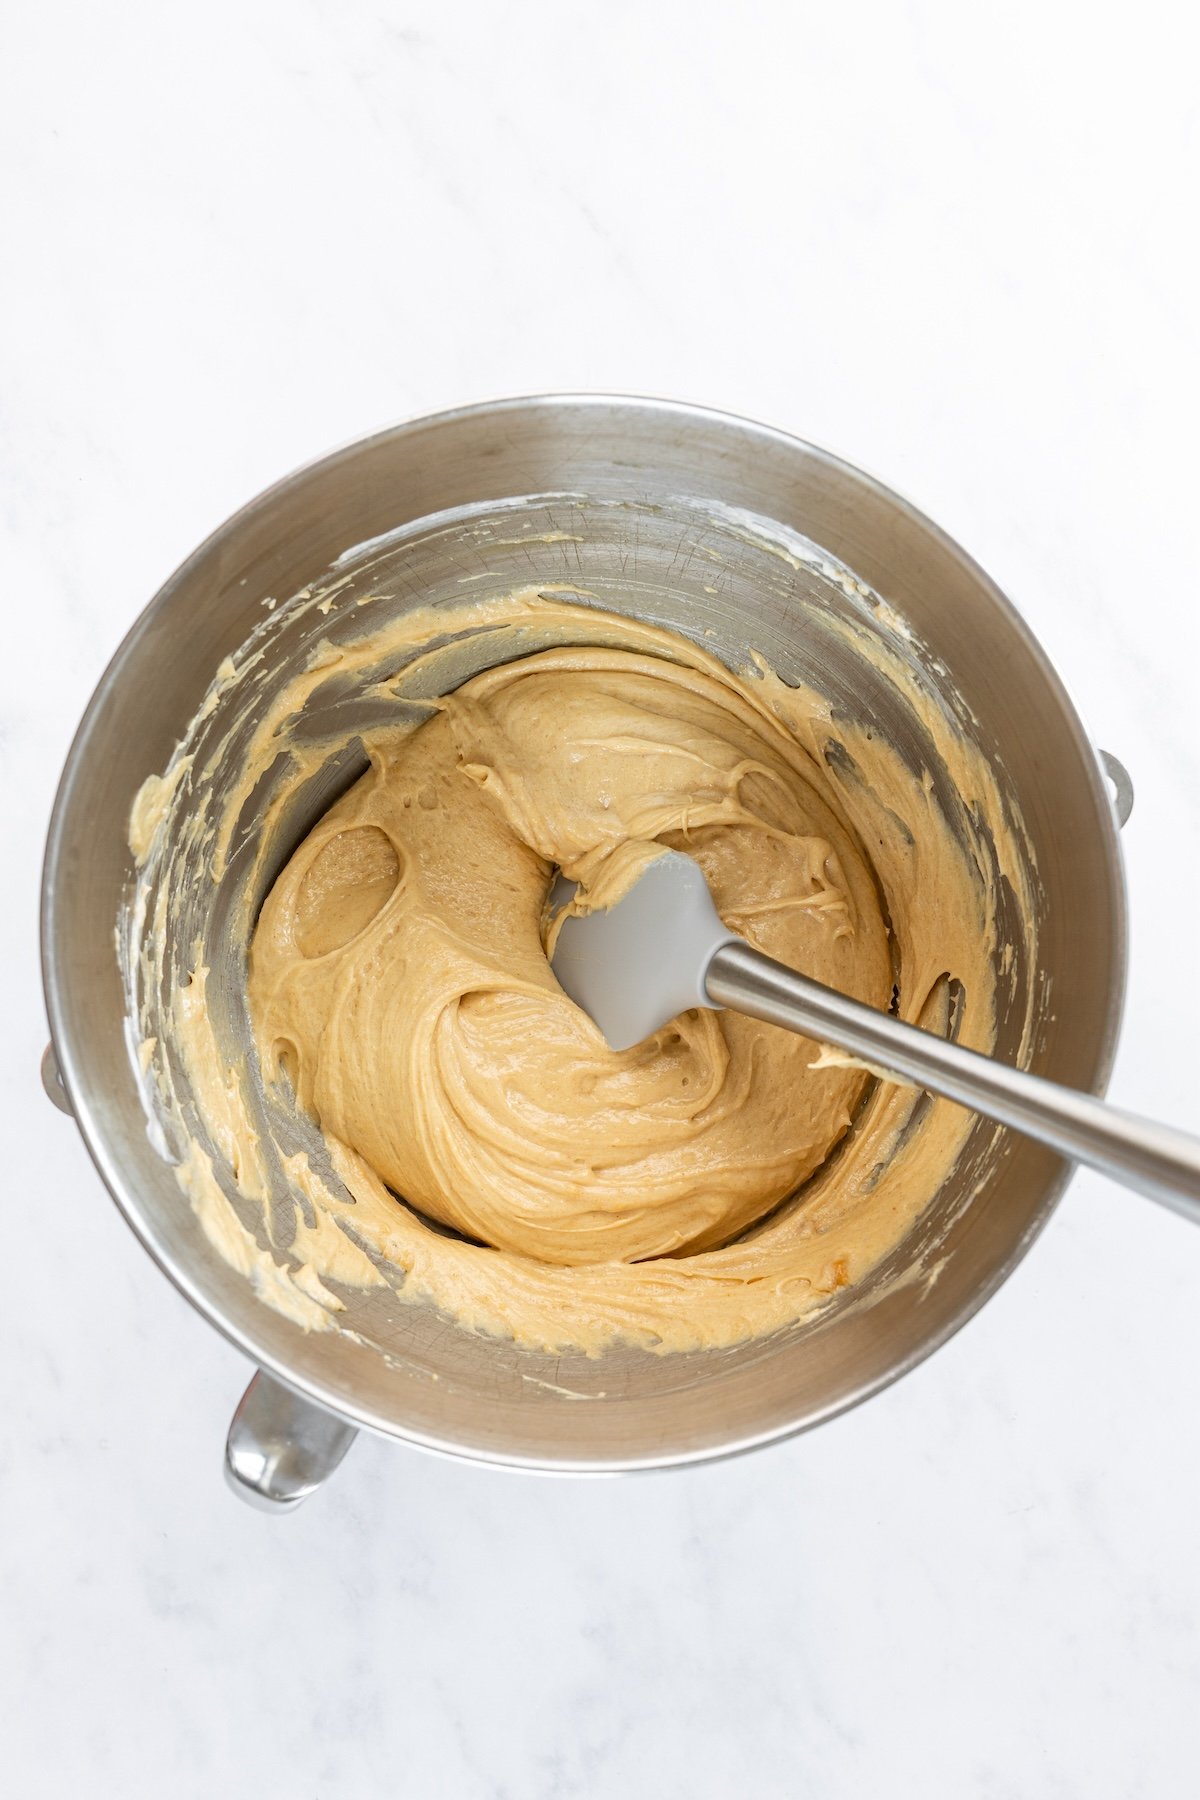
Step 2. Make the peanut butter filling. In a stand mixer, beat the cream cheese, peanut butter, sugar, and vanilla until smooth. In a separate bowl, whip the cream to stiff peaks. Beat in a third of the whipped cream to lighten the peanut butter mixture, then gently fold in the rest with a spatula until light and mousse-like. (Use wide, sweeping motions so the filling stays airy.)
Pro Tip: Make sure your cream cheese is fully softened before mixing—cold cream cheese can cause a lumpy filling.
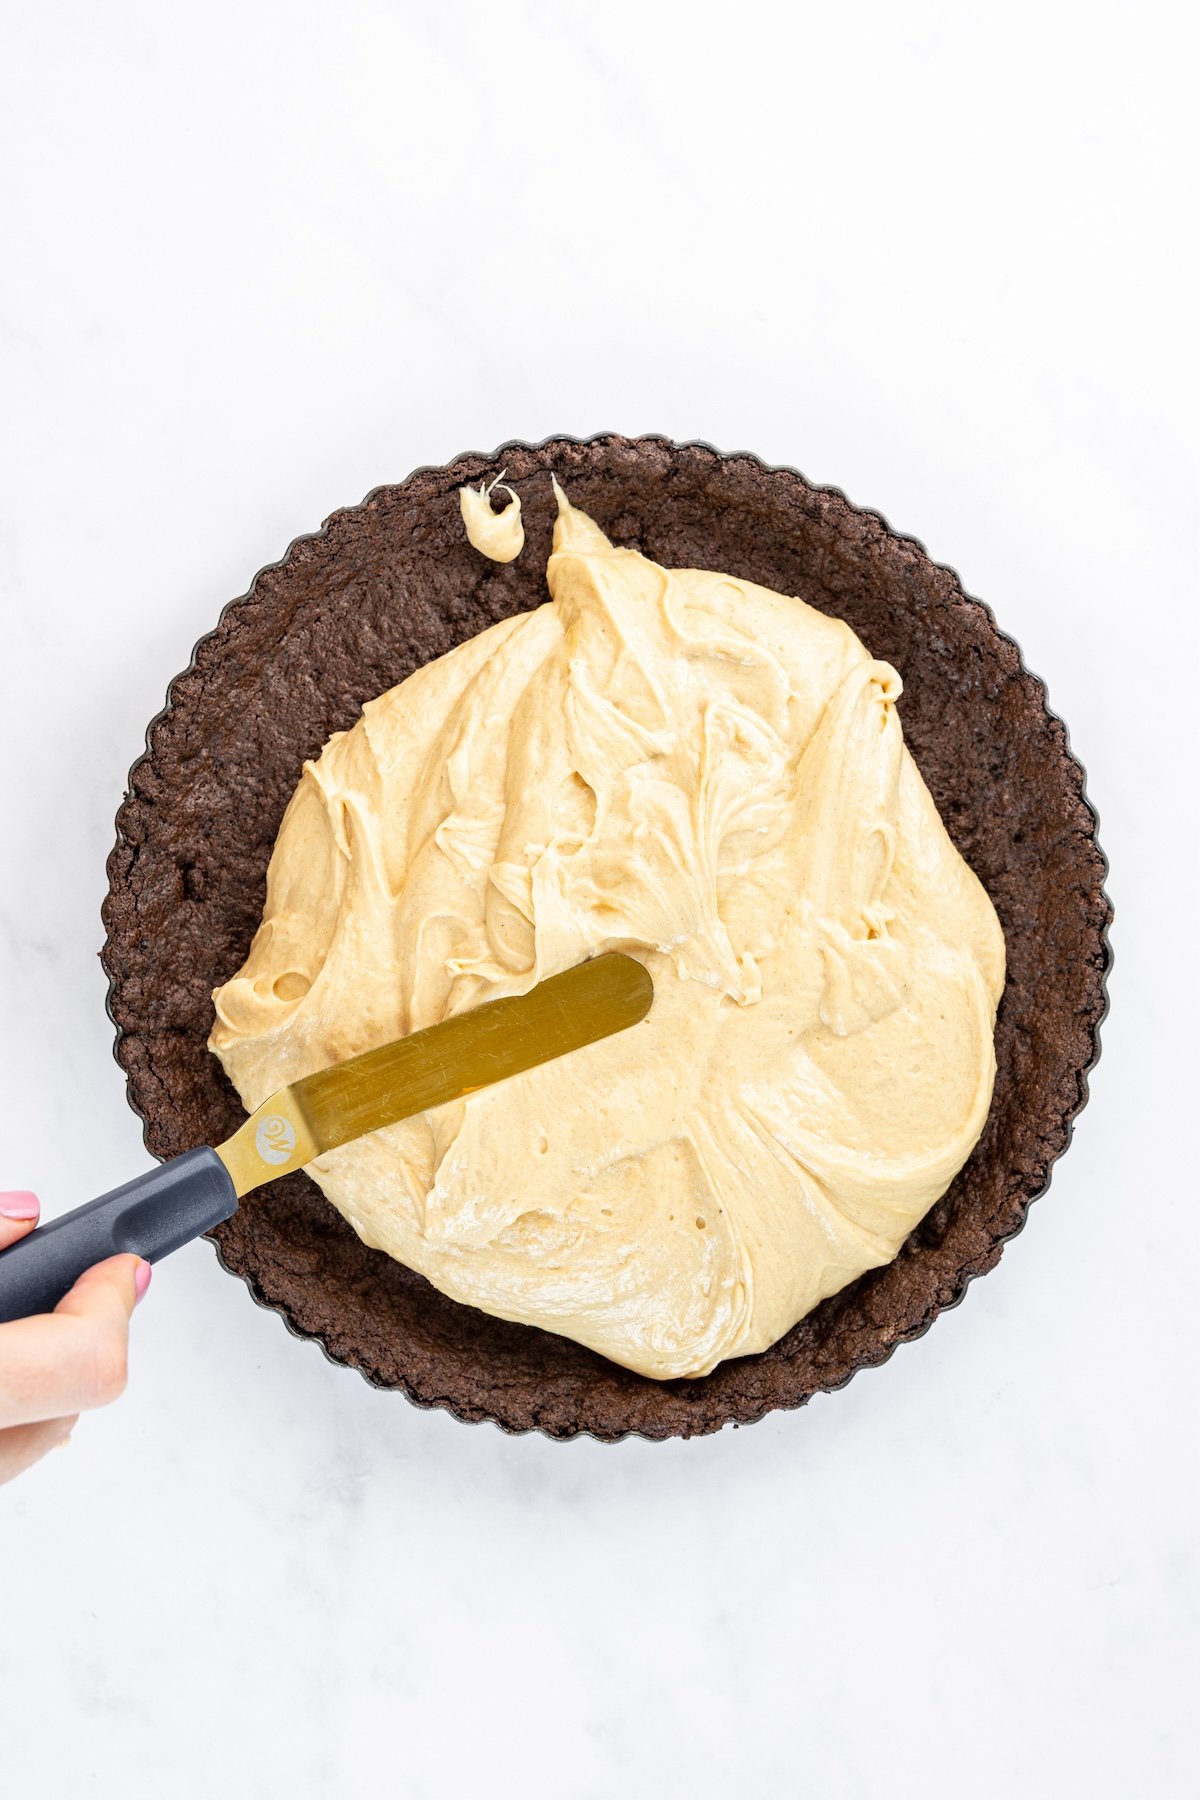
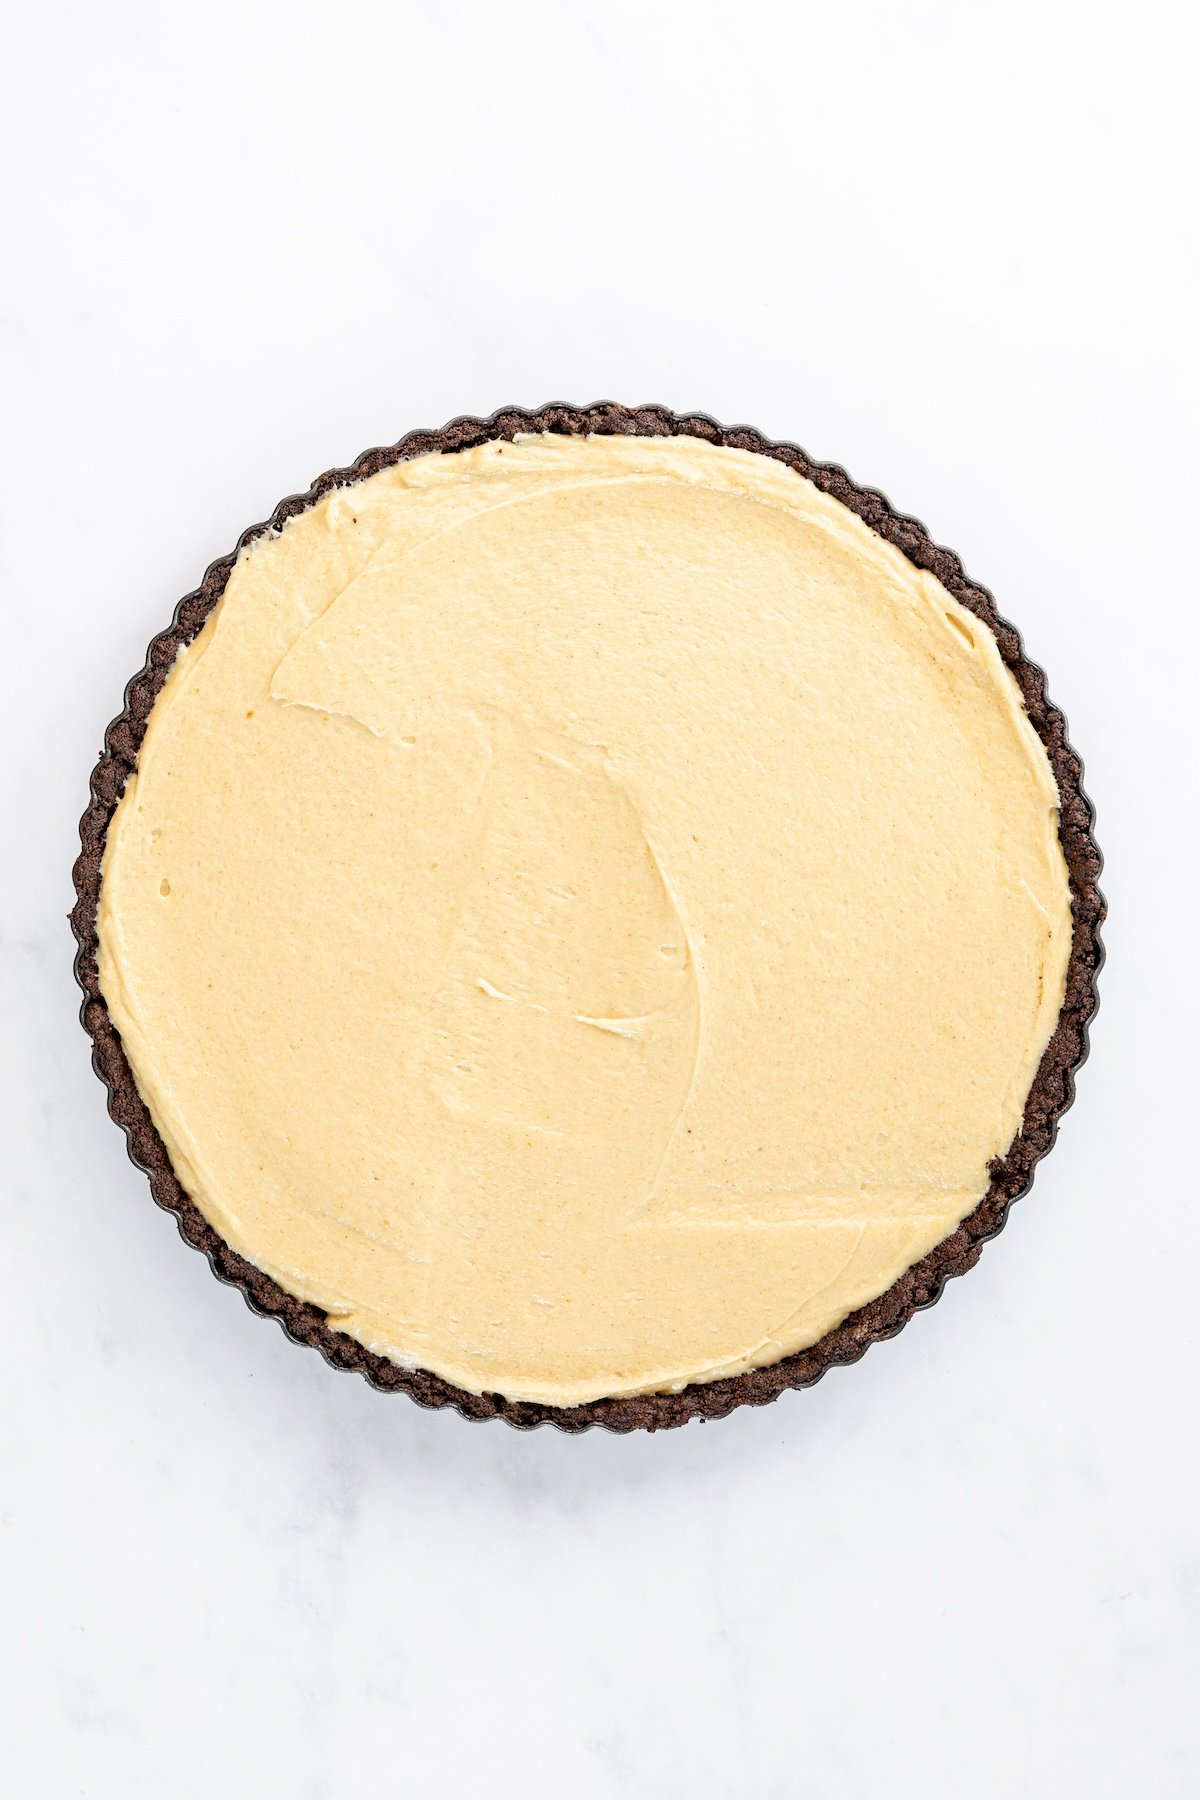
Step 3. Fill and chill. Spoon the peanut butter filling into the cooled crust and smooth the surface. Refrigerate, uncovered, for about 1 hour.
Pro Tip: An offset spatula works well for smoothing out the top (if you don’t have one, the back of a large spoon works nicely too). Having a smooth top will make it easier to spread the chocolate layer.
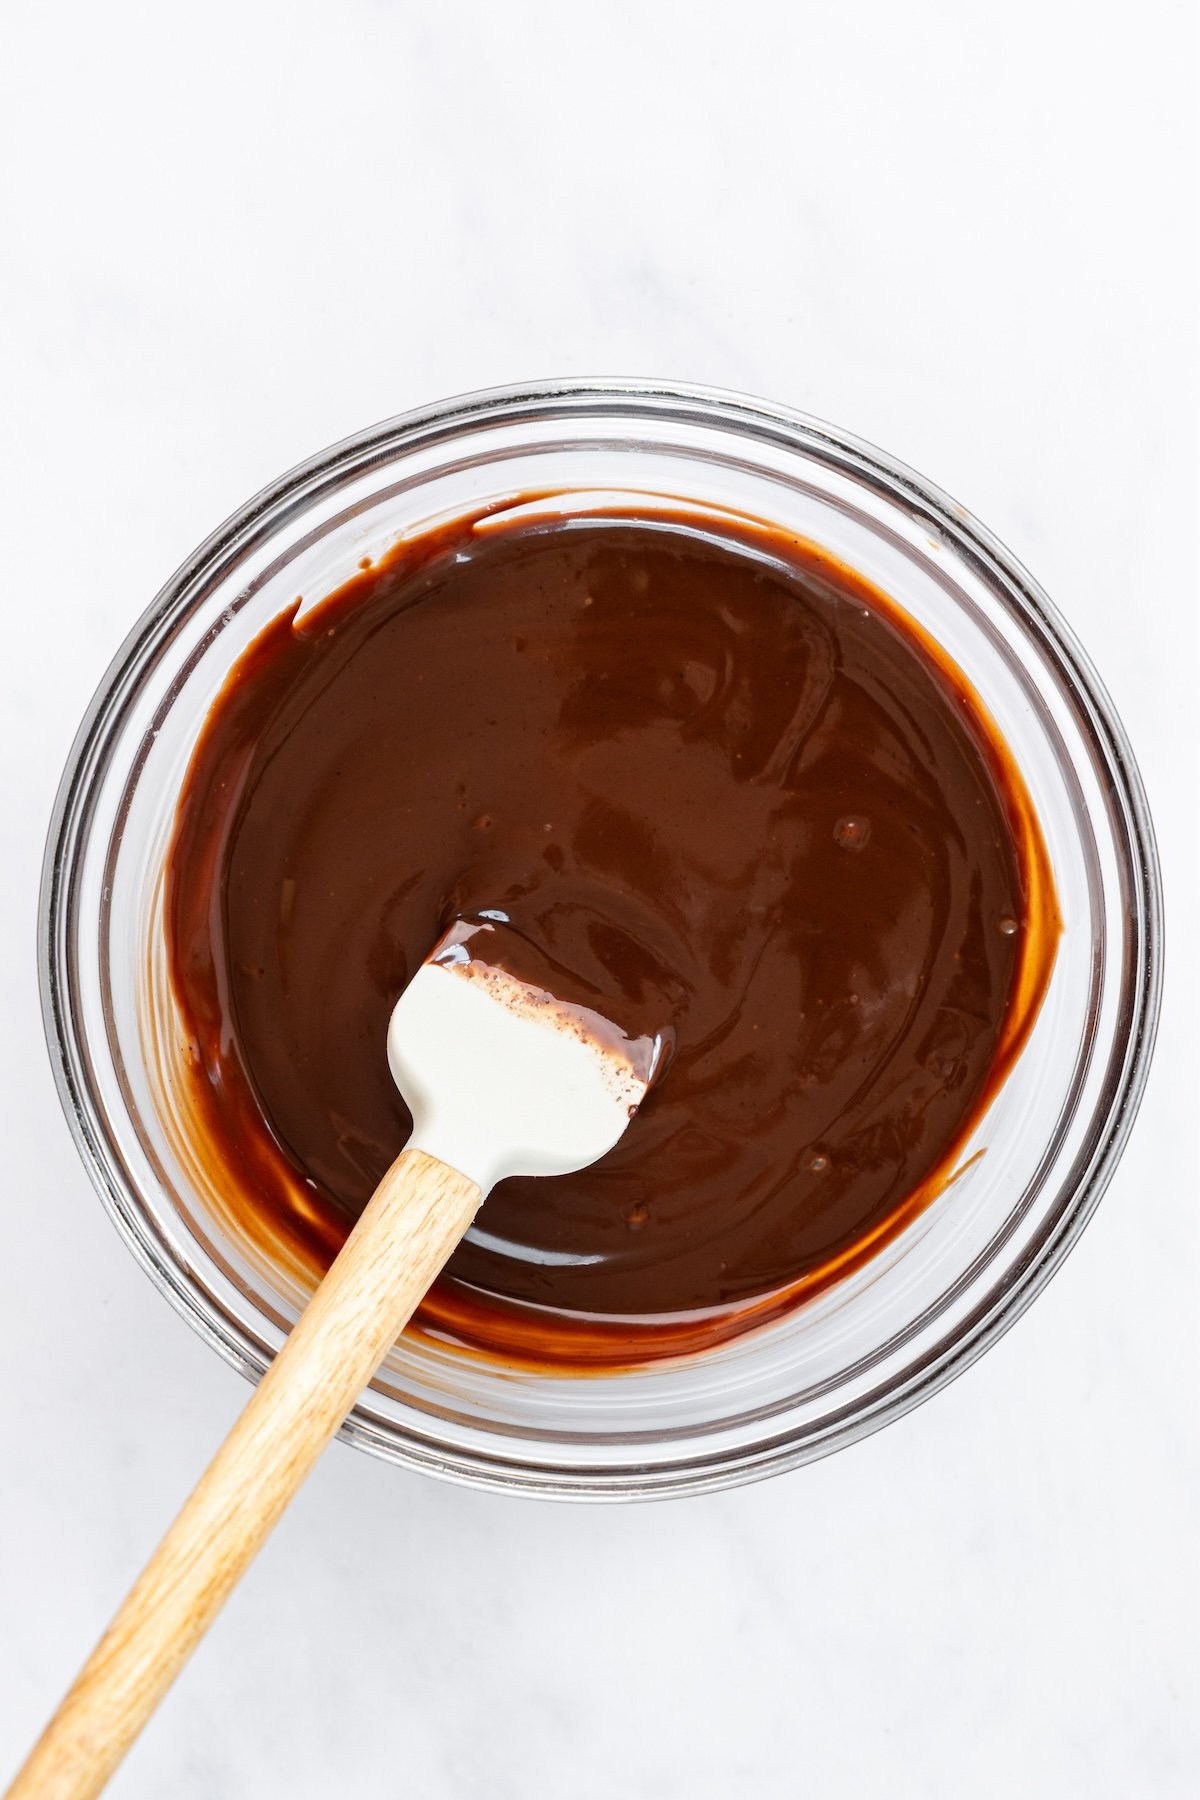
Step 4. Make the chocolate topping. After the pie has cooled, in a microwave-safe bowl, combine the chocolate and heavy cream. Microwave in 20-second bursts until the chocolate is melted and the cream is hot. Stir until smooth, then let cool until just warm, stirring occasionally. (You want the mixture warm enough to pour, but not hot enough to melt the peanut layer; when you can comfortably touch the bottom of the bowl, it’s ready.) Spread the chocolate over the chilled peanut butter layer.
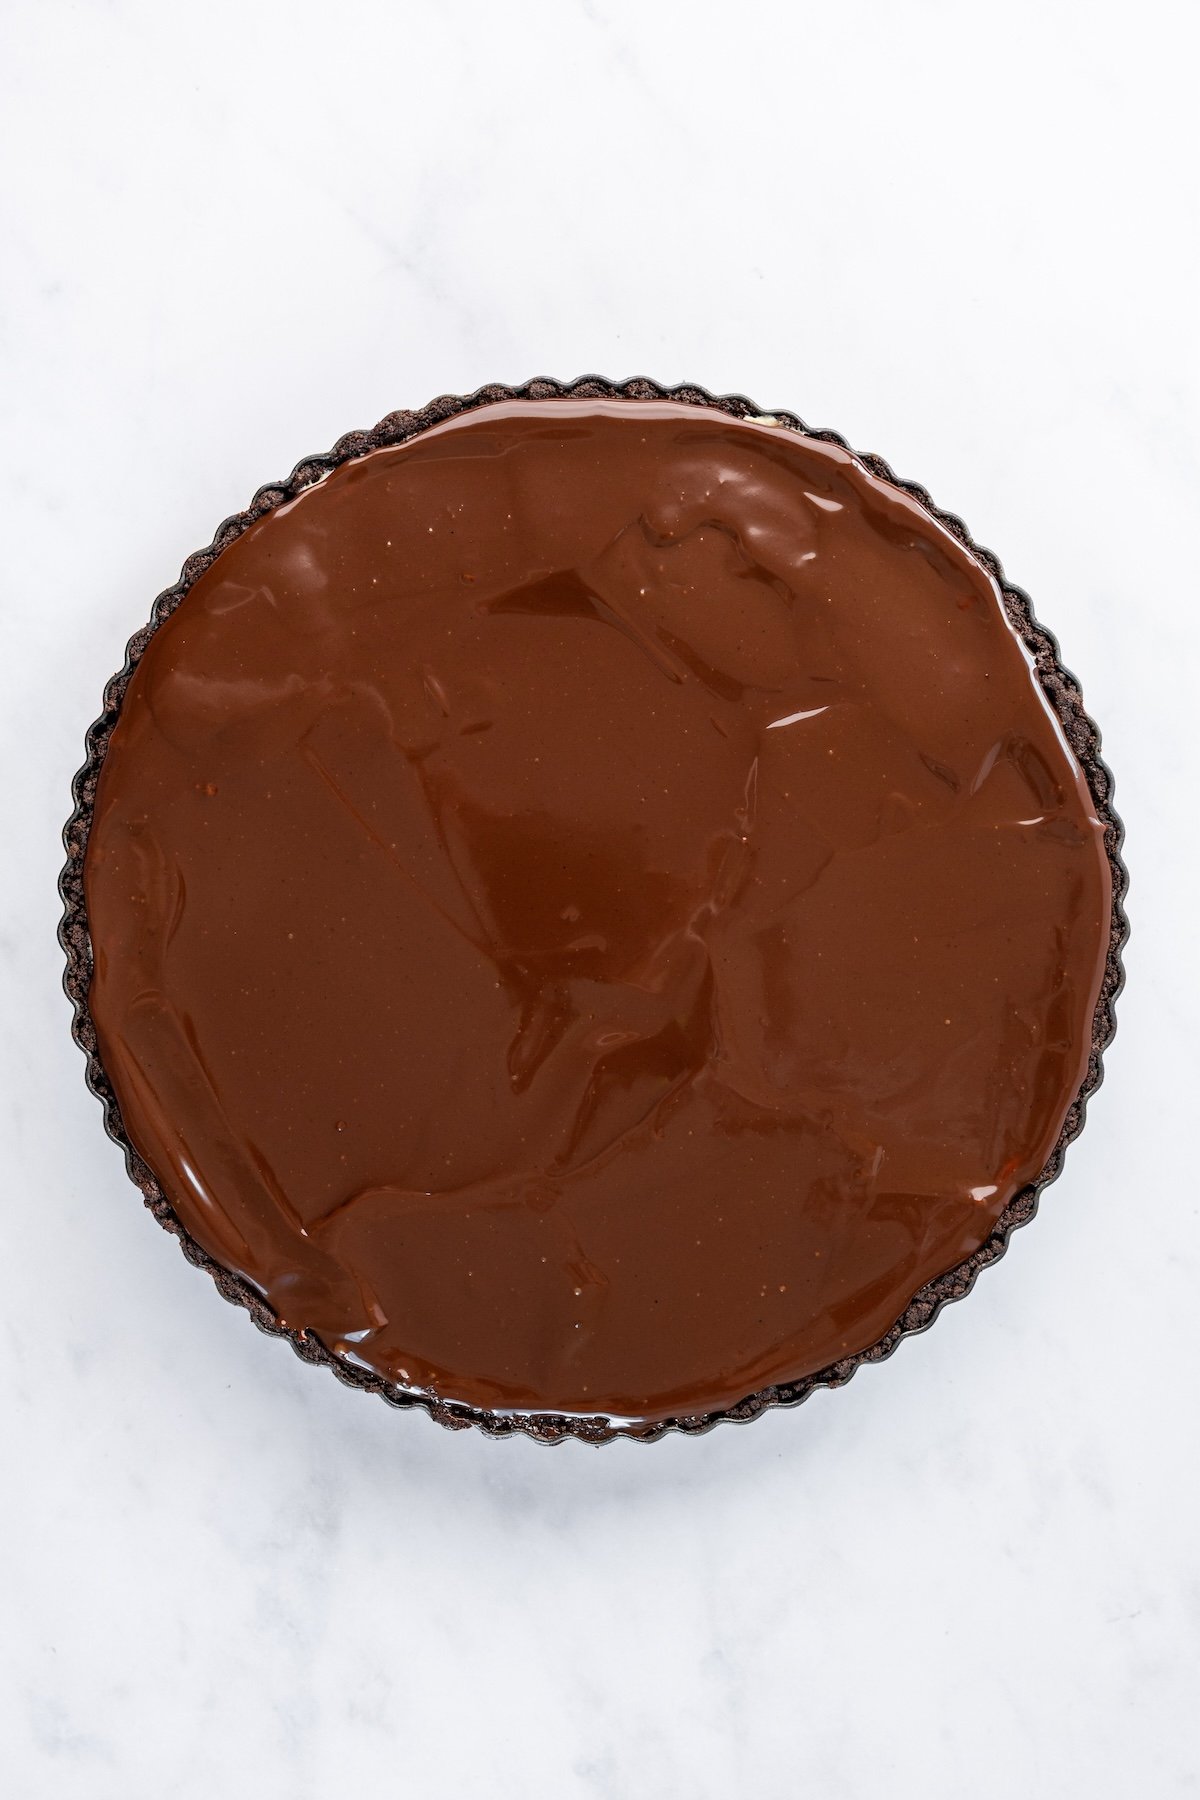
Step 6. Finish and serve. Sprinkle chopped peanuts around the edges of the tart. Chill uncovered for 3 more hours. To serve, carefully remove the tart ring by pressing up on the bottom while holding the rim in place. Slice with a sharp knife, wiping clean between cuts. Grab a fork and enjoy!
The tart can be made up to a day ahead and stored in the fridge, covered with plastic wrap or foil.
More Sweet Ways to Combine Chocolate and Peanut Butter




Chocolate Peanut Butter Tart
Ingredients
For the Crust
- 4 oz semisweet chocolate, chopped (best quality, such as Ghirardelli)
- 4 tablespoons unsalted butter, cut into tablespoons
- 2 cups cookie crumbs from Oreo baking crumbs, Dewey’s Brownie Crisp Cookies, or Oreo Thins (no need to remove the cream)
For the Peanut Butter Filling
- 8 oz cream cheese, at room temperature
- 1 cup smooth peanut butter (I use Skippy All Natural, No Need To Stir)
- 1 cup sugar
- 2 teaspoons vanilla extract
- 1 cup cold heavy cream
For the Topping
- 4 oz semisweet chocolate, best quality such as Ghirardelli, chopped
- ½ cup heavy cream
- ¼ cup salted roasted peanuts, chopped
Instructions
- Make the chocolate crust: Preheat the oven to 375°F (190°C). In a medium microwave-safe bowl, melt the butter. Add the chocolate and stir until melted. (If necessary, place the bowl back in the microwave for 20 to 30 seconds.) Add the cookie crumbs and stir until evenly combined. Press the cookie crumbs evenly over the bottom and up the rim of a 10-in (25-cm) tart pan with a removable bottom (see note below). Bake the crust for 10 minutes, then cool on a rack.
- Meanwhile, make the peanut butter filling: In a large bowl of an electric mixer, beat the cream cheese with the peanut butter, sugar and vanilla extract on medium speed until well-blended, a few minutes. In another large bowl, using an electric mixer, whip the cream until stiff peaks form. Add one-third of the whipped cream to the peanut butter mixture and beat on low speed to combine. Add the remaining cream and, using a large rubber spatula, fold until evenly combined. Spoon the filling into the crust, smoothing the surface. Refrigerate, uncovered, for about 1 hour.
- Make the chocolate topping: In a medium microwave-safe bowl, combine the chocolate with the heavy cream and microwave at high power in 20-second intervals until the chocolate is just melted and the cream is hot. Stir until well blended, then let cool to barely warm, stirring occasionally. Spread the chocolate topping over the chilled peanut butter filling and sprinkle the chopped peanuts around the edges of the pie. Chill, uncovered, in the refrigerator for 3 more hours.
- To serve: Carefully remove the rim from the pan by gently pressing upwards on the bottom while holding the rim in place. (If using a springform pan, run a thin knife around the crust to loosen it, then remove the springform ring.) Use a sharp knife to cut the pie into wedges. Wipe the knife clean between each cut. Serve chilled.
Notes
- You can find a tart pan with a removable bottom at any kitchen shop or online. However, if you can’t your hands on one, you can also use a 10-in (25-cm) springform pan and bring the crust about 1 in (2.5 cm) up the rim (or for a 9-in/23-cm springform pan, bring the crust about 1½ in/4 cm up the rim).
- Make-Ahead Instructions: This pie can be made a day ahead, then covered and refrigerated until ready to serve.
Nutrition Information
This website is written and produced for informational purposes only. I am not a certified nutritionist and the nutritional data on this site has not been evaluated or approved by a nutritionist or the Food and Drug Administration. Nutritional information is offered as a courtesy and should not be construed as a guarantee. The data is calculated through an online nutritional calculator, Edamam.com. Although I do my best to provide accurate nutritional information, these figures should be considered estimates only. Varying factors such as product types or brands purchased, natural fluctuations in fresh produce, and the way ingredients are processed change the effective nutritional information in any given recipe. Furthermore, different online calculators provide different results depending on their own nutrition fact sources and algorithms. To obtain the most accurate nutritional information in a given recipe, you should calculate the nutritional information with the actual ingredients used in your recipe, using your preferred nutrition calculator.
Hello! My grocery store doesn’t have the chocolate wafers. Can I use oreos with the filling scraped out? Any idea how many of the wafers I’d need?
Hi Liz, yes Oreos will work. You’ll need about 32 cookies (or 8 ounces). Hope you enjoy!
Awesome thank you! I can’t wait to serve this at girl’s night tonight!
I decided to pulse a container of Trader Joe’s chocolate cat cookies in the food processor. I will make this recipe tomorrow. I’m sure it should work fine.
Great recipe! It looks and tastes great. I will be making it again soon.
Delicious! Thanks so much for the recipe! People were fighting over the last slice, it is that good! The only change I made was to garnish the crusts edge with chopped up Reese’s miniature peanut butter cups instead of peanuts.
I followed directions exactly & don’t know why but as pieces were sliced the crust tended to crumble, but no one cared 🙂
Hi Jen,
I had high hopes for this recipe. And it delivered far beyond any expectations. Thank you so much. In twenty plus years cooking, this was one of the best desserts to come out of my kitchen.
Hi Jenn,
Can I substitute Nabisco Chocolate Wafers? I am in Canada and I can’t seem find these in the stores.
Thank you
Hi Nargiza, if you can’t find the wafers, Oreos would work (remove the filling). If you’re feeling ambitious, Smitten Kitchen has a recipe for chocolate wafers.
Thanks a lot Jenn, love your recipes:)
Is it ok to bake the pie crust in 11 inch tart pan instead of 10? thanks
Hi Nargiza, It will work but it will quite thin.
Hi Jenn –
I saw that this can be made in advance, but how far in advance…. a couple of days (e.g., Wednesday/Thursday for a Saturday party?)
Thanks, Emily
Hi Emily, a day ahead is best. You could get away with two days– the crust might get a little soft, but it’ll still be good.
Can this be made in a tart pan that doesn’t have a removable bottom? If so should I grease the pan since it will already be difficult to get out because of the scalloped edges? Making this tomorrow and trying not to go out and buy something.
Yes that will work (and yes lightly grease the pan) – the first piece might be a challenge to remove but after that it should be easier :).
Thanks so much for the quick reply! Made the crust with chocolate graham crackers because the store was out of the wafers. Based on the filling alone I know this pie will be AMAZING!!! 75% of my weekly cooking comes from your blog! It has never disappointed!!
I love this recipe! Looks like a lot of work, but really simple. I used my Vitamix since I didn’t have a food processor and it turn out great. Next time I will spend more time making sure the crust was even. I kind of rushed that part. This will now be my go-to dessert for parties and holidays!
I made this Saturday night for a dinner party and we all giggled over such an indulgent finish to an already decadent dinner! It WOWed this New Orleans crowd!
Jennifer – how can I post a photo?
Glad you and your company enjoyed it! If you’re wondering how to post a recipe to this site, unfortunately it’s not set up for that, but feel free to email it to me if you’d like!
I have made this twice now for different functions. I am not an experienced cook but this is always one of the first to go, even though it is usually one of the largest offerings and my wife thinks it is a bit rich. To me that is a plus! Thanks for the recipe. I love it.