
Deviled Eggs


This post may contain affiliate links. Read my full disclosure policy.
This classic deviled eggs recipe has a creamy, fluffy filling with just the right amount of tang—and a simple trick makes it especially smooth.
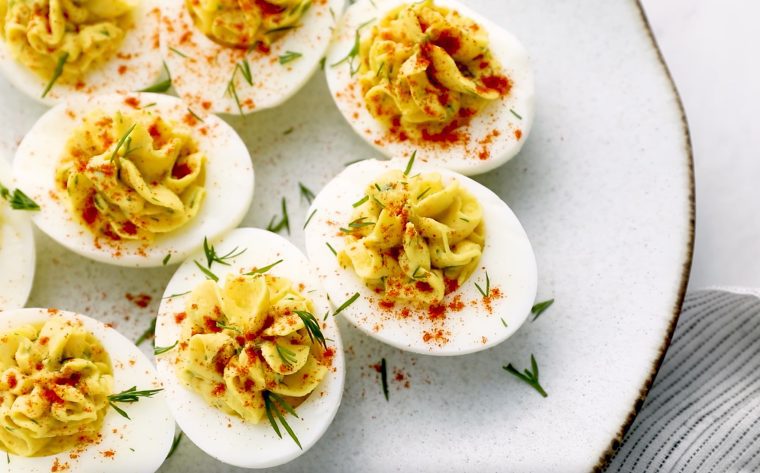
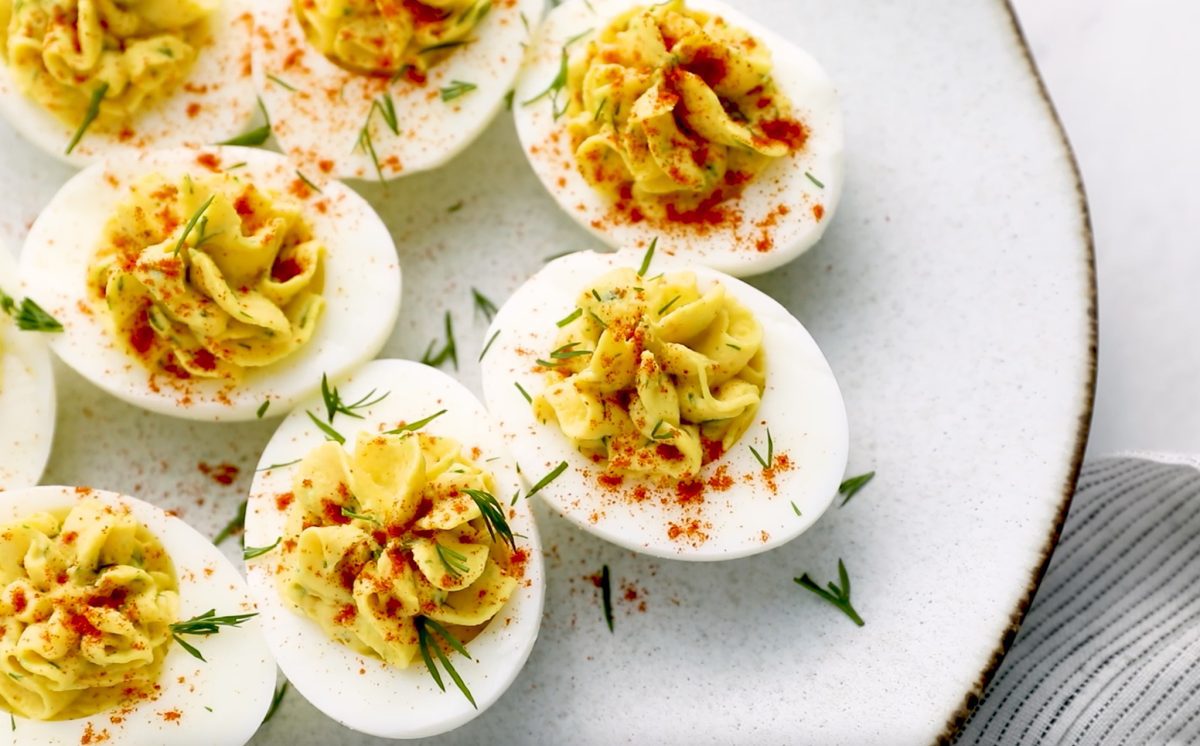
Deviled eggs are one of those appetizers that always seem to disappear first, whether you’re serving them for Easter, a summer cookout, or a holiday party. This deviled eggs recipe sticks pretty close to the classic, with a creamy, tangy filling and a few little touches that give it extra flavor.
My trick for an especially smooth, fluffy filling is to push the cooked yolks through a fine sieve before mixing in the other ingredients. It only takes a minute, and it really does make the filling noticeably creamier. The recipe also includes my foolproof method for hard-boiling the eggs, so the yolks come out perfectly cooked and the whites stay tender. You can pipe the filling for a finished look or simply spoon it in—and because deviled eggs can be made ahead, they’re especially handy for entertaining.
“What a great technique for making deviled eggs! The filling is delicious and smooth. I used smoked paprika on top and the results were outstanding.”
What You’ll Need To Make Deviled Eggs
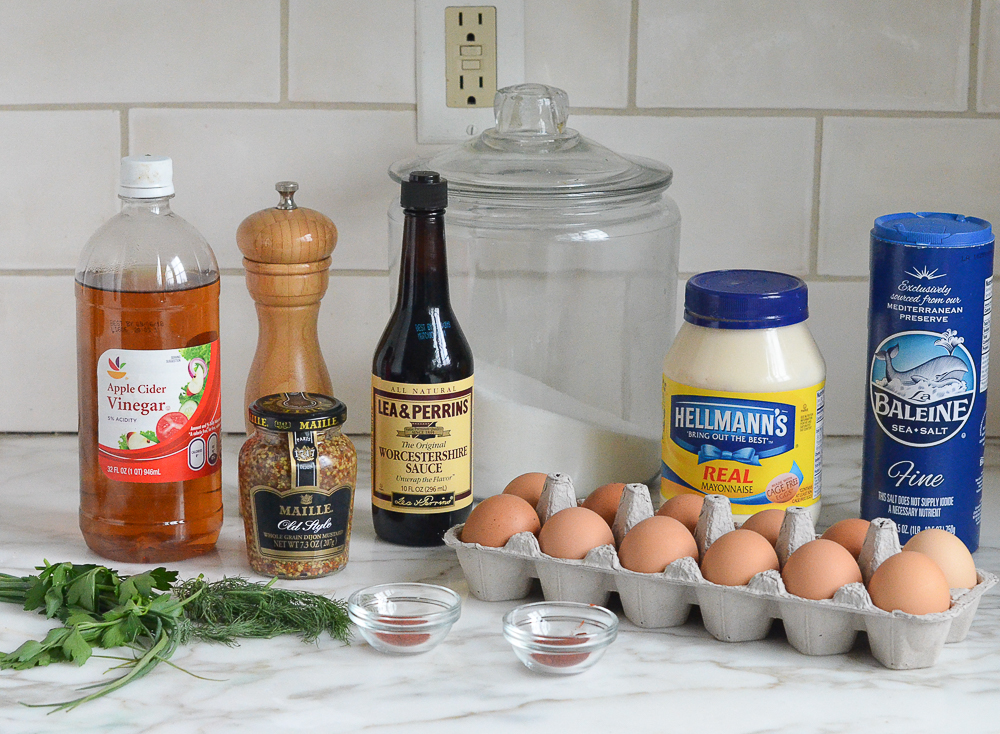
- Eggs: Large eggs work best here. For the neatest presentation, choose eggs without cracks and cook them using the hard-boiled egg method linked above.
- Mayonnaise: Gives the filling its creamy texture and richness. Always use a high-quality brand, like Hellmann’s or Duke’s.
- Whole grain mustard and cider vinegar: Add the tang that keeps the filling from tasting too rich. Dijon mustard also works; avoid yellow mustard, which doesn’t pack the same flavor punch.
- Worcestershire sauce and cayenne: Small amounts add savory depth and a subtle kick without making the eggs noticeably spicy.
- Fresh herbs: Chives and parsley add freshness and color to the filling. A little extra chive on top makes a simple garnish.
- Paprika: A light dusting is the classic finishing touch and adds color as well as a hint of flavor.
- Jump to the printable recipe for precise measurements
How To Make Deviled Eggs
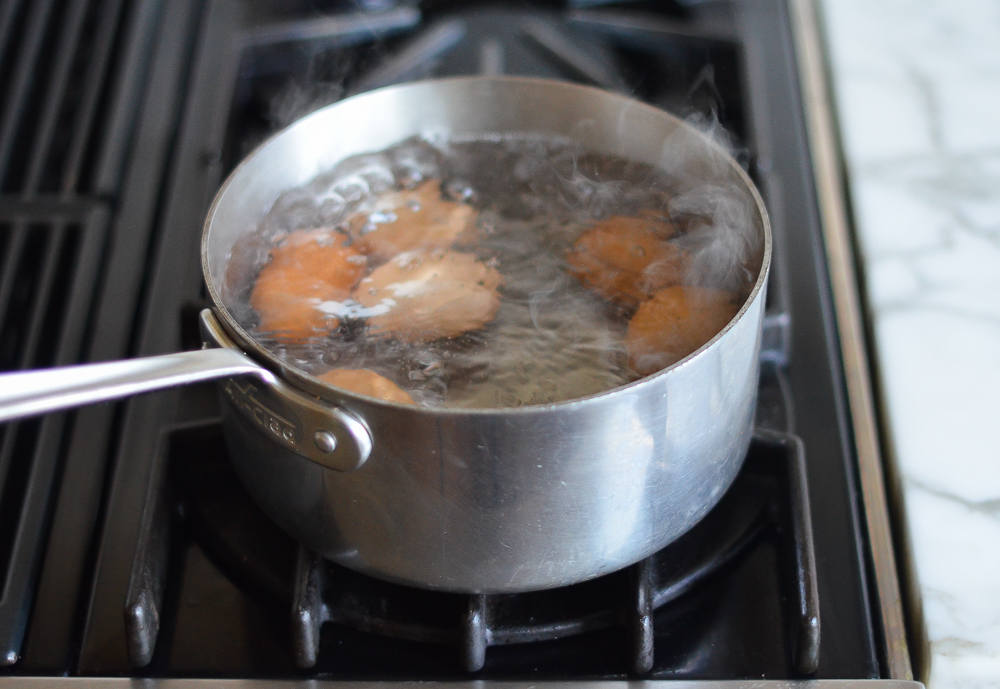
Cook and peel the eggs: Gently lower the eggs into boiling water and cook until the yolks are fully set. Transfer them to an ice bath to cool, then crack and peel under cool running water.

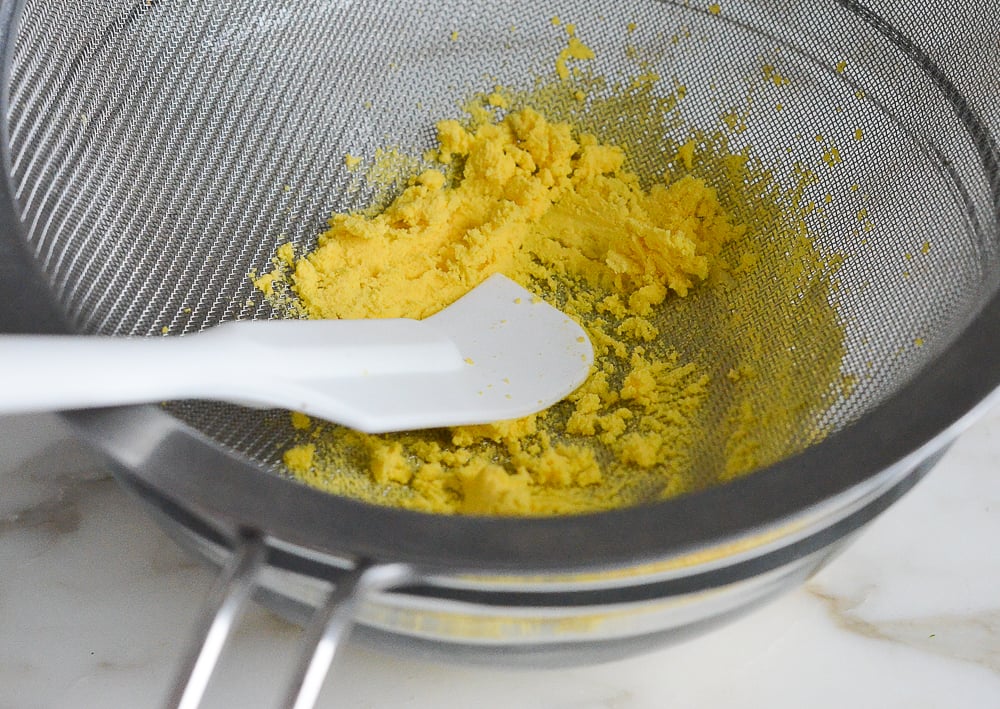
Prepare the yolks: Slice the eggs in half and gently remove the yolks. Push the yolks through a fine-mesh sieve—this simple extra step gets rid of any lumps and makes the filling especially smooth.
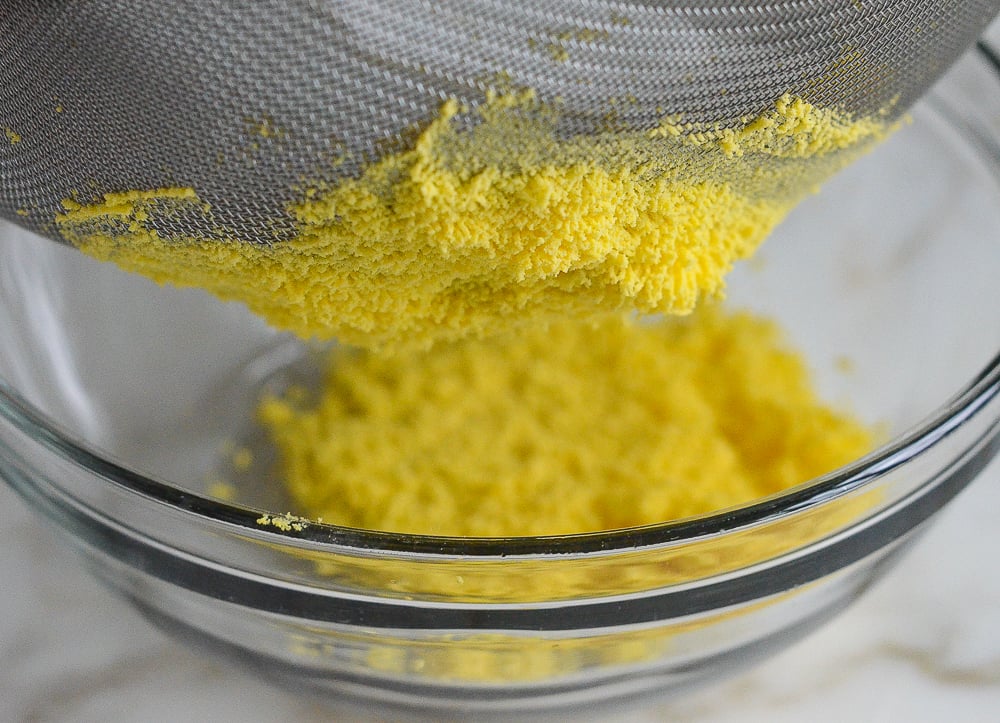
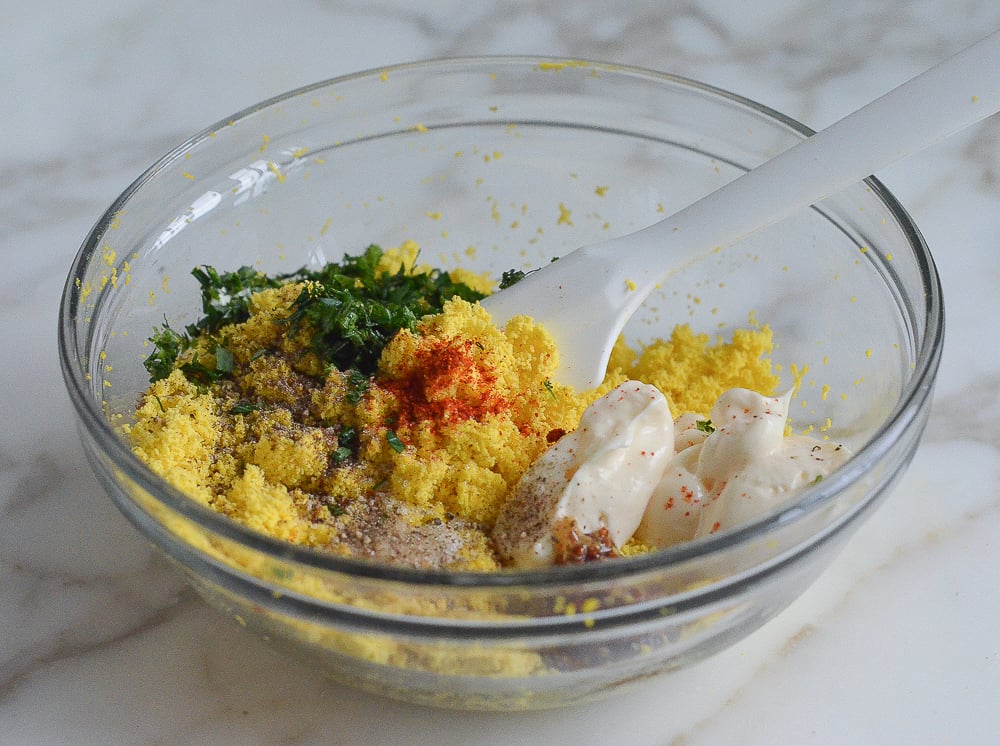
Make the filling: Mix the yolks with the mayonnaise, vinegar, mustard, Worcestershire sauce, seasonings, and herbs until creamy. Give the filling a taste and adjust the seasoning if needed.
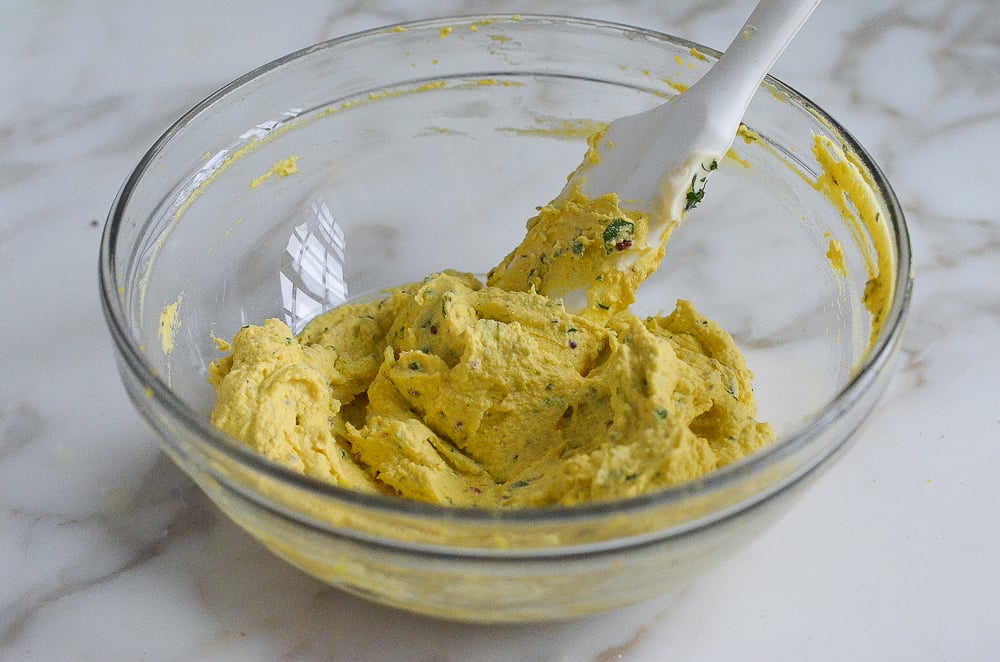
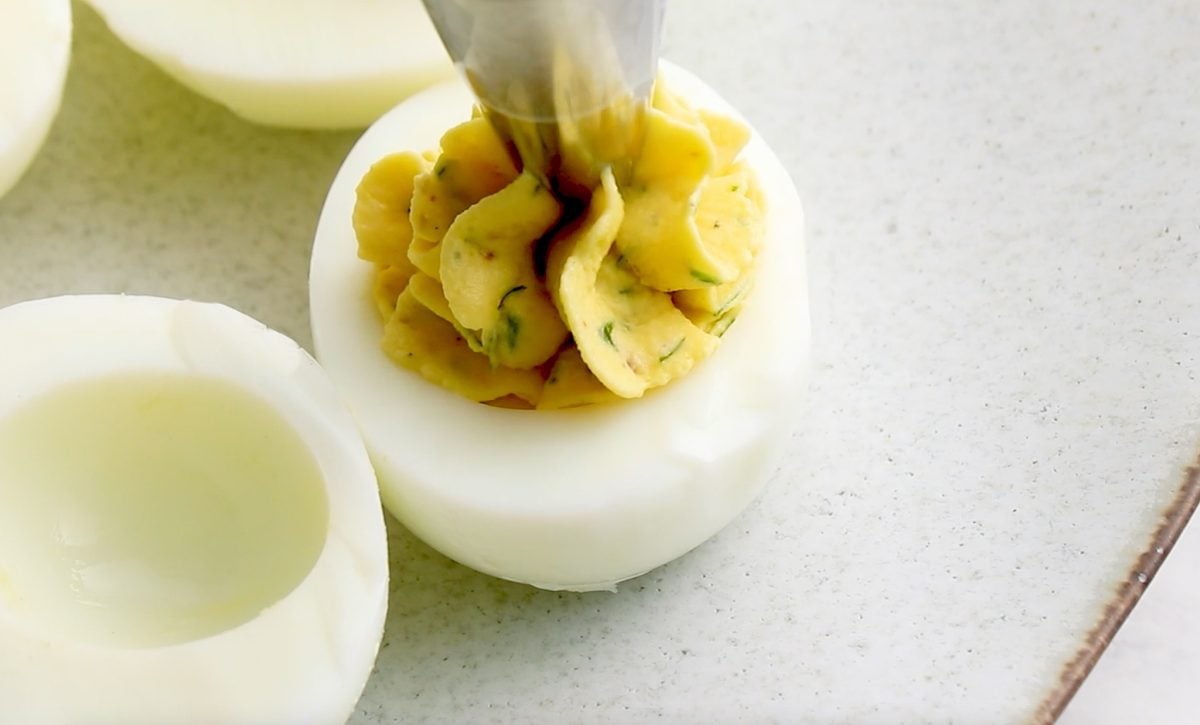
Fill and garnish: Pipe the filling into the egg whites for a fancier look, or simply spoon it in. Finish with a sprinkle of paprika and fresh herbs.
Making them ahead? For the best results, refrigerate the whites and filling separately and assemble the eggs close to serving time. See the recipe card below for complete make-ahead instructions.
Deviled Egg Variations
The classic version is hard to beat, but deviled eggs are easy to customize. Try topping them with crumbled cooked bacon, swapping in different fresh herbs, adding a little extra cayenne or another favorite seasoning, or topping them with crabmeat for something a little more special. If you’re using a seasoning blend that contains salt, reduce the added salt as needed.
Video Tutorial
More Easy appetizer recipes you may like




Deviled Eggs
Ingredients
- 6 large eggs
- 3 tablespoons mayonnaise, best quality such as Hellman’s or Duke’s
- 1½ teaspoons cider vinegar
- 1 teaspoon whole grain mustard
- ¼ teaspoon Worcestershire sauce
- ⅛ teaspoon salt
- ⅛ teaspoon freshly ground black pepper
- ⅛ teaspoon sugar
- Pinch cayenne pepper
- 1 tablespoon finely chopped mixed herbs, such as chives, parsley, dill or tarragon, plus more for serving
- Paprika, for serving
Instructions
- Hard-boil the eggs: Fill a medium saucepan with enough water to cover the eggs by about 1 inch and bring to a boil. Using a slotted spoon, gently lower the eggs into the boiling water. Adjust the heat to maintain a gentle boil and cook for 11 minutes.Meanwhile, fill a bowl with ice and cold water. Transfer the cooked eggs to the ice bath and let cool for 10 minutes. Crack the eggs all over, then peel under cool running water, starting at the wide end.
- Make the filling: Slice the eggs in half lengthwise. Using a small spoon, gently remove the yolks and place them in a small bowl. Arrange the whites on a serving platter, gently wiping them clean if necessary. Using a spatula, push the egg yolks through a mesh sieve, then mash with the mayonnaise, vinegar, mustard, Worcestershire sauce, salt, black pepper, sugar, cayenne pepper, and herbs. (Passing the yolks through a sieve makes the filling especially smooth; alternatively, you can blend the yolks with the remaining filling ingredients, except the herbs, in a food processor.) Taste and adjust seasoning, if necessary.
- Assemble: Fill a piping bag fitted with an open star or large plain tip with the yolk mixture. Alternatively, spoon the filling into a sealable plastic bag, push it into one corner, and snip off the tip. Pipe the filling evenly into the egg white halves. For a less fussy presentation, simply spoon the filling into the whites. Sprinkle with paprika and more fresh herbs.
Notes
Nutrition Information
This website is written and produced for informational purposes only. I am not a certified nutritionist and the nutritional data on this site has not been evaluated or approved by a nutritionist or the Food and Drug Administration. Nutritional information is offered as a courtesy and should not be construed as a guarantee. The data is calculated through an online nutritional calculator, Edamam.com. Although I do my best to provide accurate nutritional information, these figures should be considered estimates only. Varying factors such as product types or brands purchased, natural fluctuations in fresh produce, and the way ingredients are processed change the effective nutritional information in any given recipe. Furthermore, different online calculators provide different results depending on their own nutrition fact sources and algorithms. To obtain the most accurate nutritional information in a given recipe, you should calculate the nutritional information with the actual ingredients used in your recipe, using your preferred nutrition calculator.
Thank you for this recipe! It was so easy and delicious! Next time I will use a french star tip or an open star. I didn’t think and just grabbed a closed star tip and some of the herbs “clogged” parts of the tip so it wasn’t as pretty as I had planned. But they all got devoured nonetheless.
Best recipe! Added bacon pieces to top! Perfect recipe. Thank you
I made these for a neighbors birthday party. They were gone in minutes! Delicious! Thanks, Jenn!
These are delicious! I added a little Dijon mustard and a little more salt. The mini food processor worked great — makes the filling really smooth and easy to pipe! To bring them to a friend’s party, I kept everything separate until I got to her house. I brought the filling already in a piping bag with a large star tip, and kept the whites in a plastic container. I brought my own platter, some watercress as a base for the platter, the chopped herbs, and paprika. It was really fast and easy to pipe in the filling and put everything together. That way the eggs were fresh and pretty, and I didn’t have to worry about them getting smushed en route.
These are delicious and the fluffy texture is nice !
Made these for Easter brunch (along with Jenn’s Maple Candied Bacon-highly recommend). They came out really well. I did not use a sieve, rather added everything to a food processor and mixed. By accident, I added the herbs to the food processor but taste-wise it came out great. One problem I encountered was that my food processor is big and it wasn’t mixing well enough. A smaller food processor would have worked. I added a little water and that seemed to do the trick. Many were commenting on the herbs and how tasty they were.
I sure did something wrong. I learned a few things….first, older eggs are not what you use, very hard to peel. I did the boil wait 10 minute gig, and egs were soft boiled and whites marginally cooked. Did that twice, no go, reboiled another 5 min then much more manageable. So I have not really cooked the eggs properly. They were all scarfed in about 5 minutes though.
Any thoughts on why no cook? Maybe let warm to room temp first? The herb mix in was awesome, and your picture has dill in it, try that next time.
Hi Doug, Sorry to hear it took a few attempts to get these cooked to the right level of doneness! I don’t think you need to let them come to room temperature; there’s always some variation in stoves, so if you found that you needed that additional 5 minutes to get them right, I’d just stick with that.
Hi, Jenn. I live at 6500 ft elevation. How long would you let the eggs sit in the hot water at this elevation? I don’t know that 10 minutes will cut it. Thanks!
Hi Kathleen, Thanks for your note. I don’t have experience cooking at high altitudes so, unfortunately, I don’t have any wisdom to share – I’m sorry! You may find these tips helpful though.
Hi, I have a question – I want to make Old Bay deviled eggs – should I just replace maybe the cayenne and black pepper? Or are there other elements of the yolk mixture that would be overwhelming alongside Old Bay or wouldn’t taste right with it?
(I know your recipe will be good – you are a hero in this house because everything we have made from your blog has been amazing.)
Hi Anne, thanks for your nice words–so glad you like the recipes! I think these would be fine with Old Bay and would replace the cayenne and black pepper as well as the salt (as Old Bay contains salt). You can adjust the seasoning and add more salt if necessary before you fill the egg whites. Hope that helps!
I followed your tip and used a sieve for the yolks and it was worth the effort. Halfway through the process I switched from the spatula to a pestle and it was easier and quicker. Thanks for another perfected recipe with the perfect balance of flavors.