
Key Lime Pie


This post may contain affiliate links. Read my full disclosure policy.
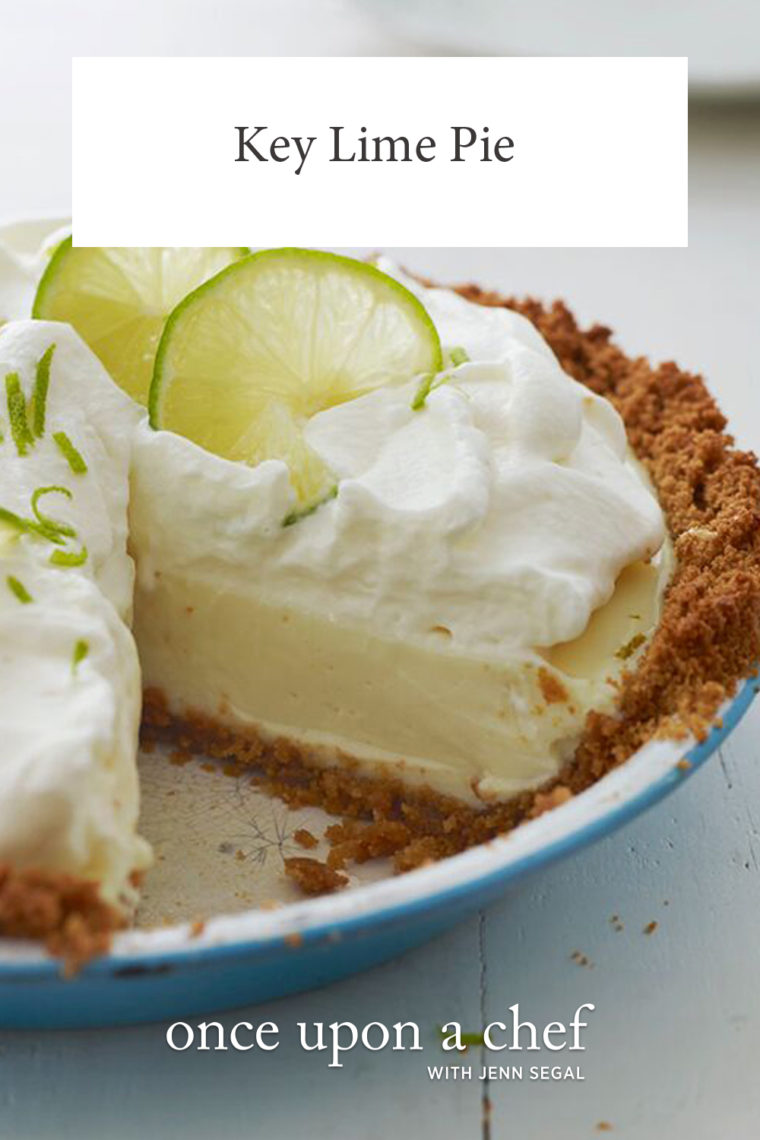
Sweet, tart, and refreshingly creamy, this easy Key lime pie recipe has all the flavor of the classic with a wonderfully simple filling.
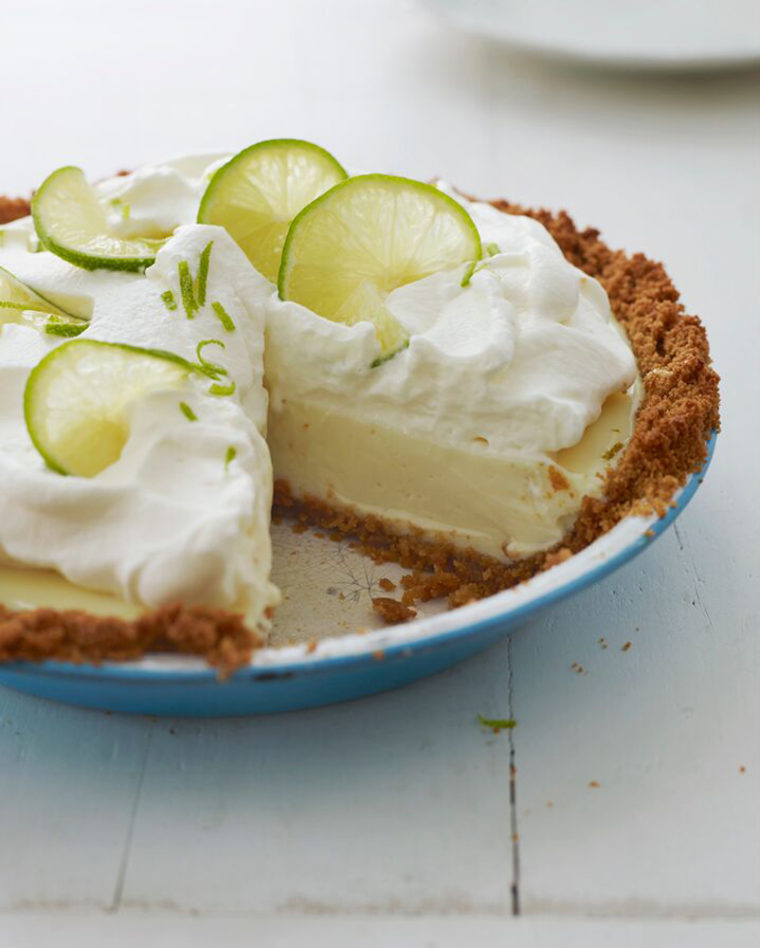
One of the most popular recipes from my first cookbook, this easy Key lime pie recipe has been a reader favorite for years. It has a buttery graham cracker crust and a cool, creamy filling with just the right balance of sweet and tart.
My version is a little different from the classic: I use Greek yogurt instead of egg yolks for the filling. I’ve tested it both ways, and I actually prefer it with yogurt—it sets beautifully and gives the pie a clean, bright lime flavor. And there’s no need to hunt down Key limes; regular grocery-store limes work beautifully here.
“The best key lime pie I’ve ever had!! Tart, sweet, fresh but rich.”
Do yOU Really Need Key Limes?
Despite the name, you don’t need Key limes to make a great Key lime pie. I’ve tested this recipe with fresh Key limes, bottled Key lime juice (such as Nellie & Joe’s), and regular Persian limes from the grocery store, and I actually prefer the regular limes. They’re juicier, easier to work with, and give the pie plenty of bright, tart lime flavor. If you do use Key limes, keep in mind that they’re much smaller, so you’ll need quite a few to get enough juice.
What You’ll Need To Make Key Lime Pie
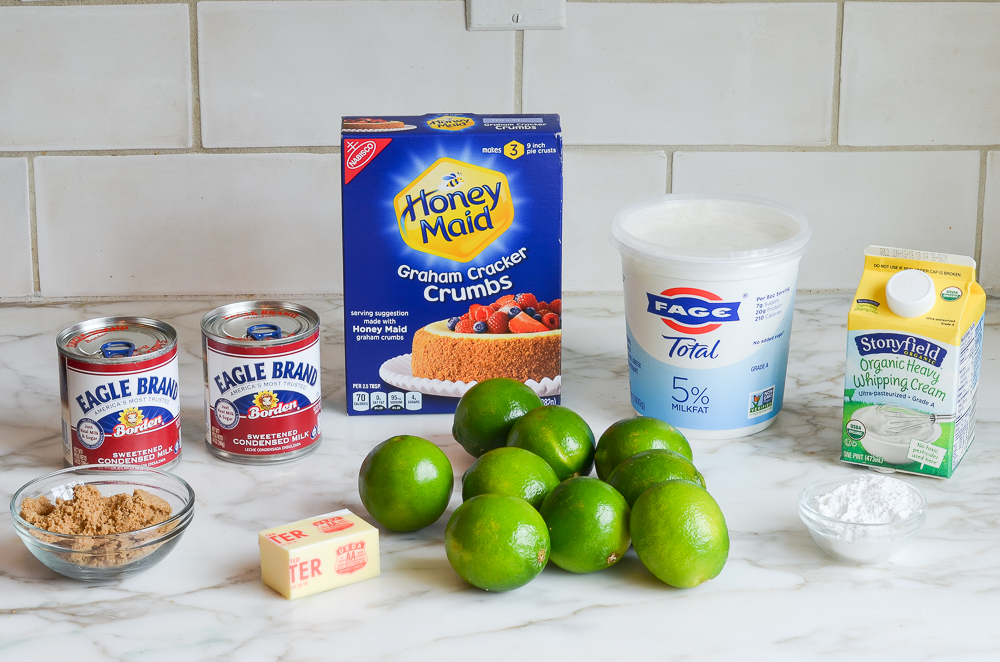
- Graham cracker crumbs, brown sugar & butter: Form the crisp, buttery crust. Brown sugar adds a little caramel flavor and helps the crust hold together.
- Sweetened condensed milk: Provides the sweetness and creamy base for the filling. Be sure you’re using sweetened condensed milk, not evaporated milk.
- Greek yogurt: Gives the filling body and richness without egg yolks. I’ve tested the pie both ways and prefer the cleaner, brighter lime flavor of the yogurt version.
- Fresh lime juice & zest: Provide the pie’s signature tart, citrusy flavor. Regular Persian limes work beautifully, so there’s no need to track down Key limes.
- Heavy cream & confectioners’ sugar: Whip together for the soft, creamy topping that balances the tart filling.
- Jump to the printable recipe for precise measurements
Note: Most traditional Key lime pie recipes call for egg yolks, but they aren’t necessary here. The lime juice reacts with the proteins in the yogurt and sweetened condensed milk, helping the filling thicken and set as it bakes. Leaving out the yolks also gives the pie a cleaner, brighter lime flavor—and makes the recipe even easier.
How To Make Key Lime Pie
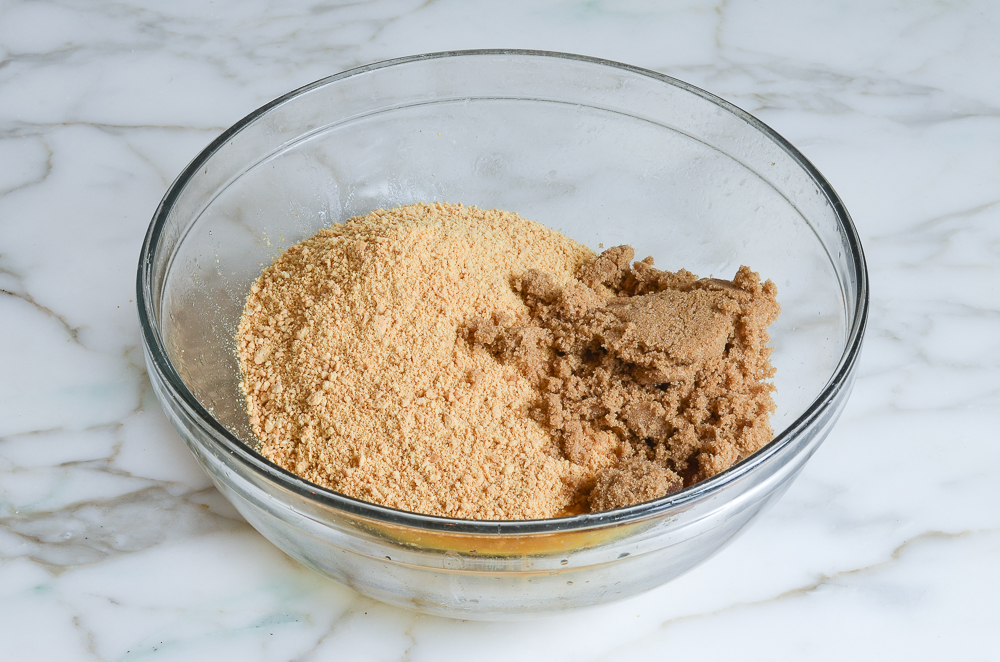
Make the crust: Combine the graham cracker crumbs, brown sugar, and melted butter until the mixture resembles damp sand and holds together when squeezed. Press the crumbs firmly up the sides of the pan first, then over the bottom—this makes it easier to get an even, compact crust. Bake just until the edges darken slightly and the crust smells toasty. This brief bake deepens the flavor and helps keep the crust from getting soggy once the filling goes in.
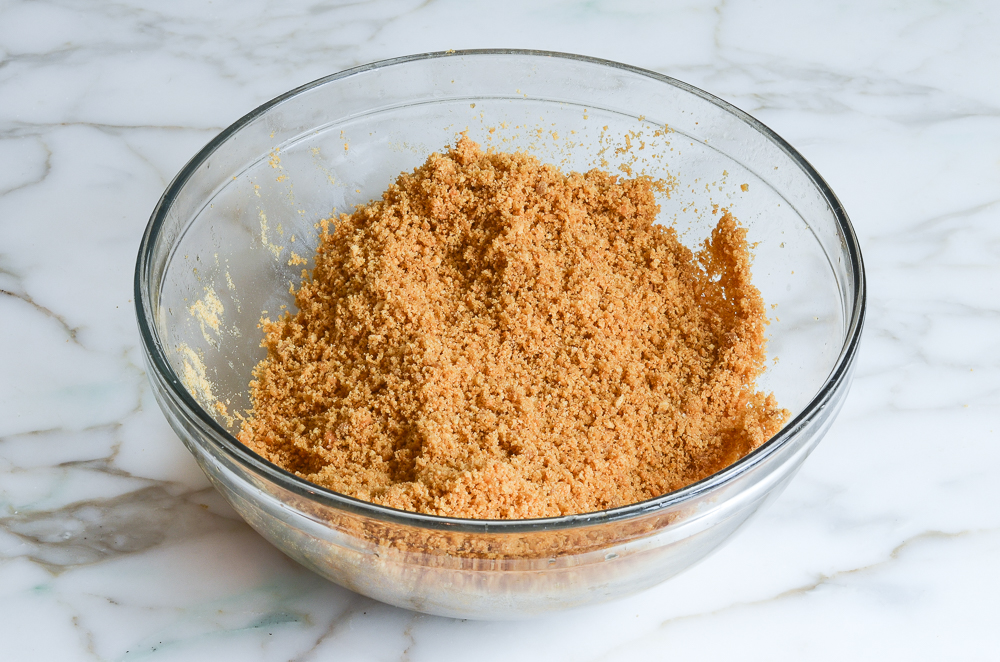
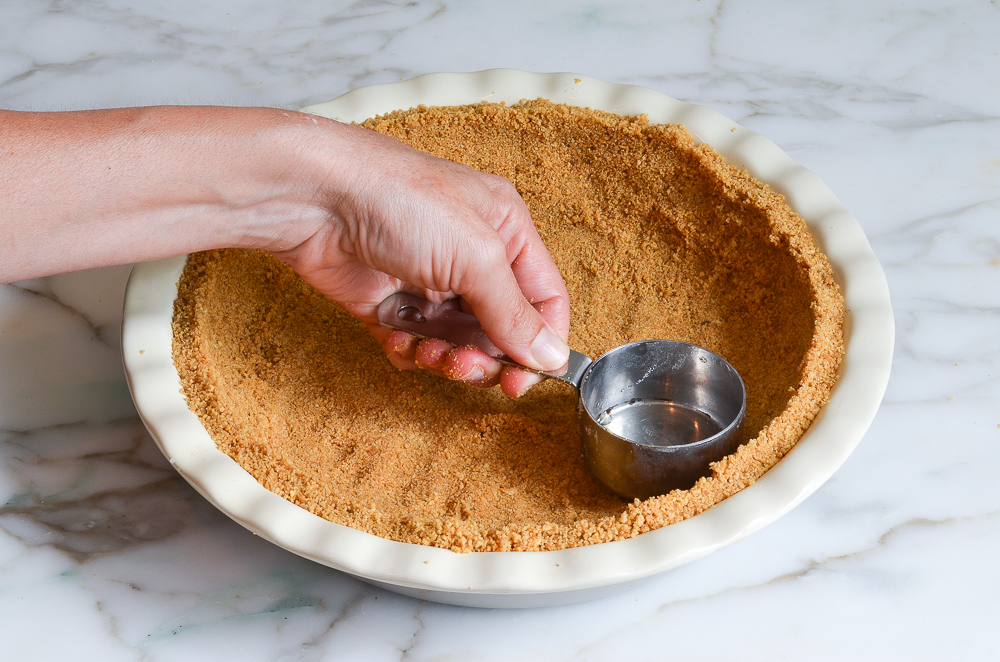
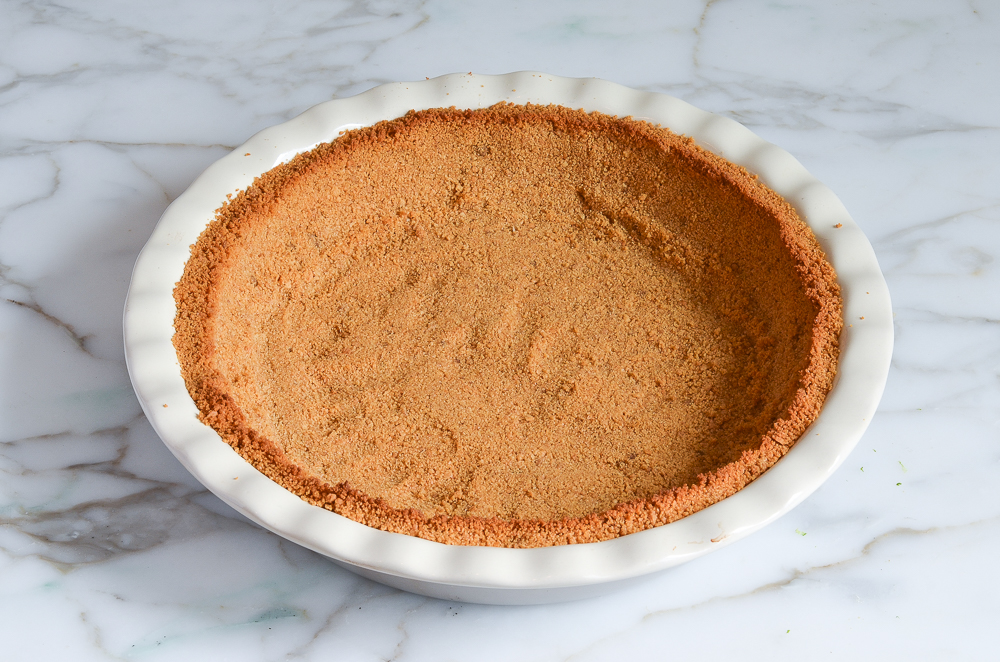
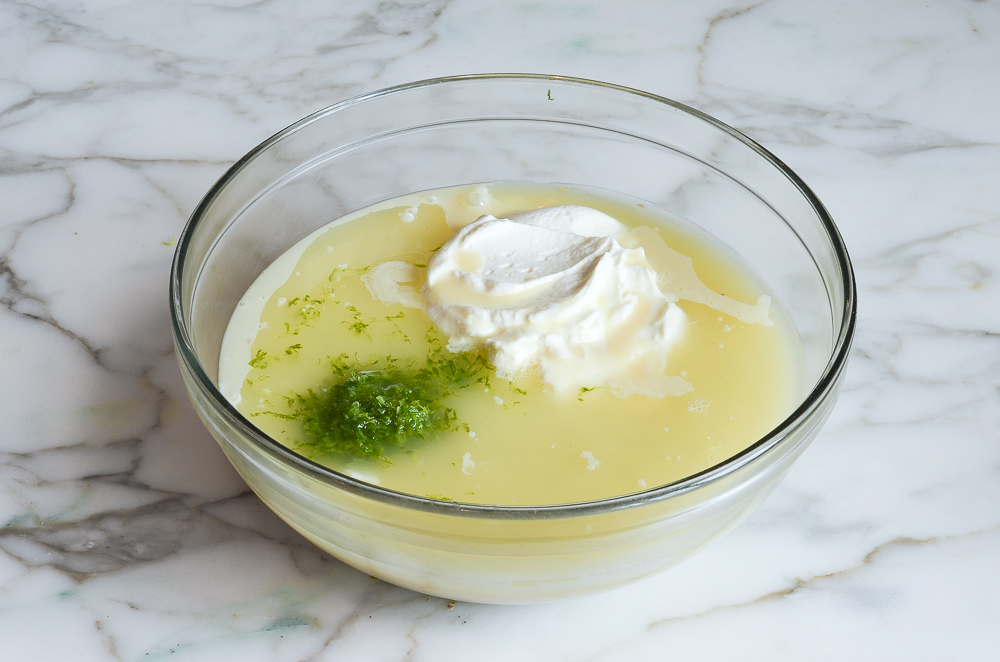
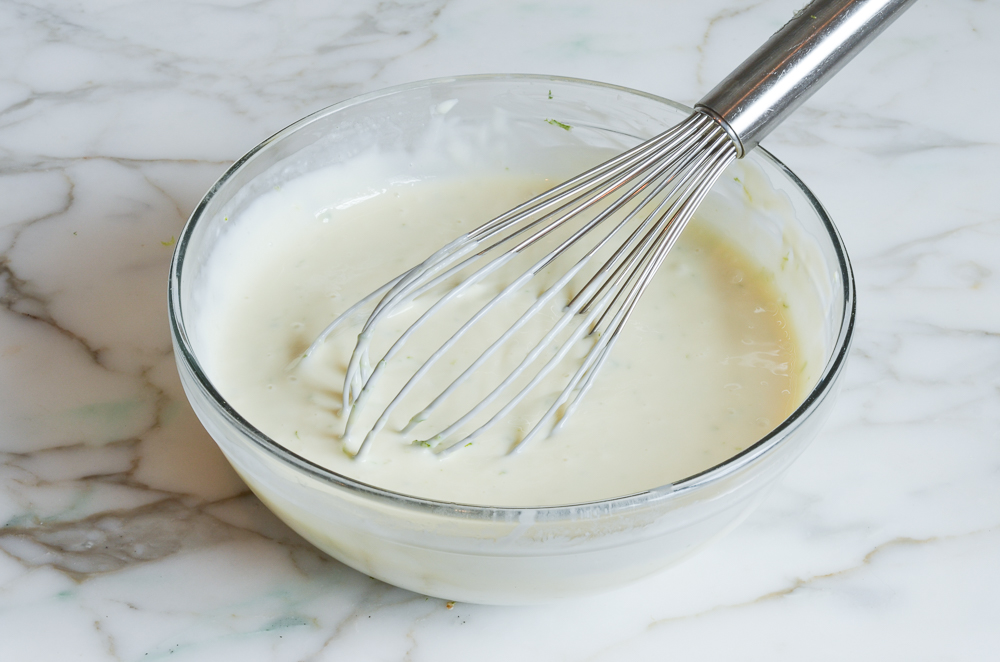
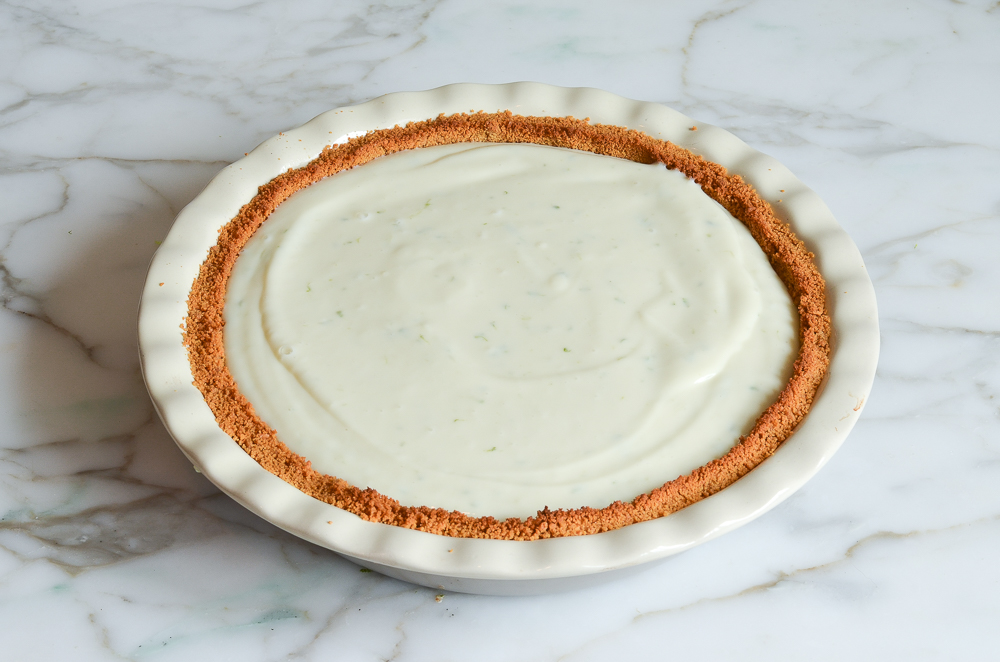
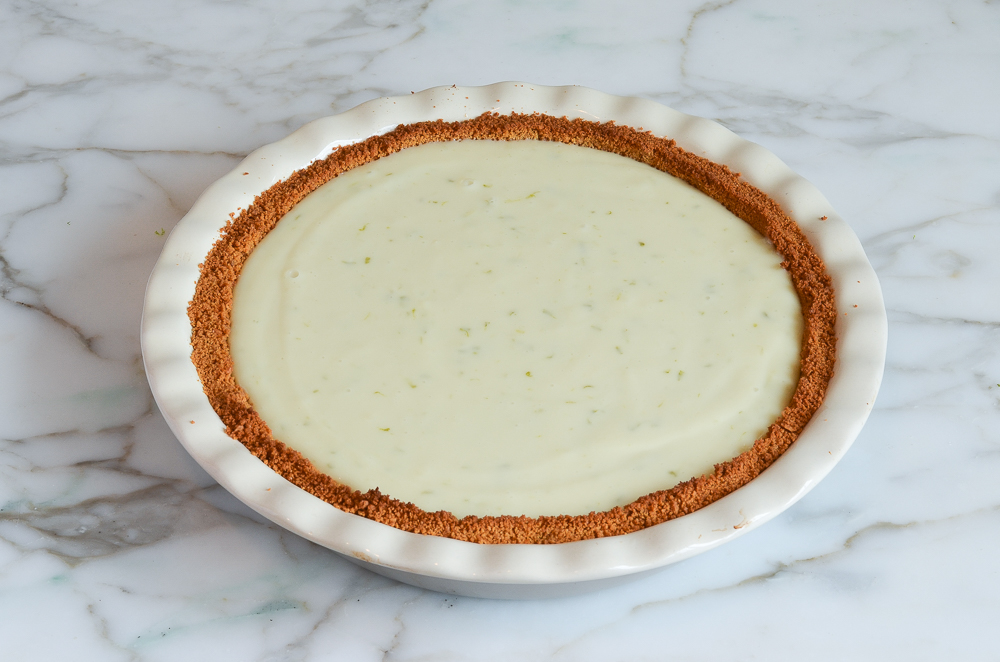
Make and bake the filling: Whisk the sweetened condensed milk, Greek yogurt, lime zest, and lime juice until smooth, then pour the filling into the warm crust. Bake until the filling is just set—it should be firm around the edges with a slight wobble in the center. Let the pie cool, then refrigerate until thoroughly chilled.
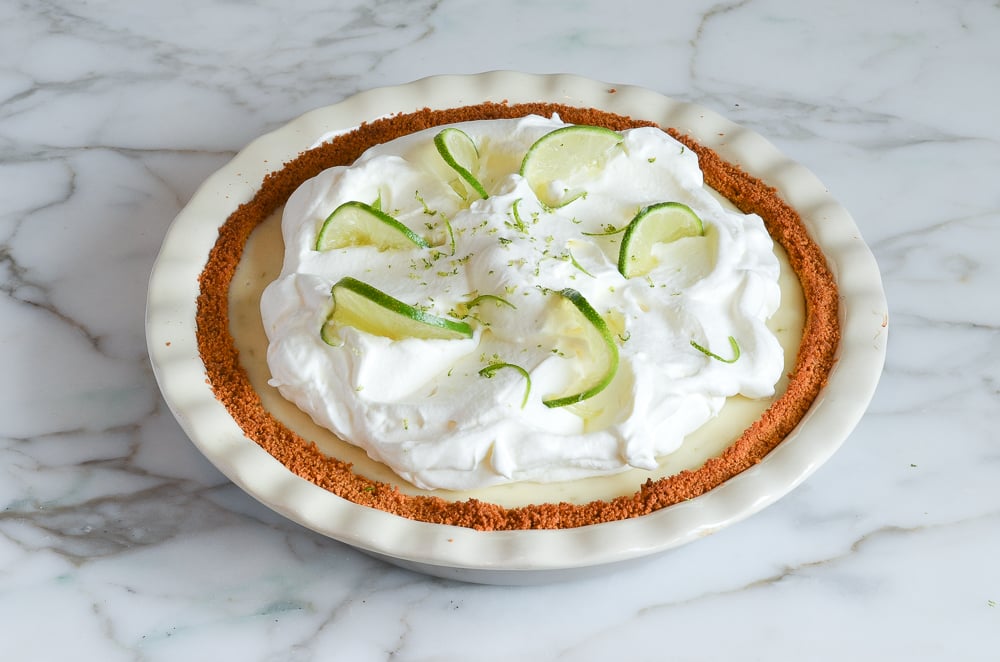
Top the pie: hortly before serving, whip the heavy cream and confectioners’ sugar until it holds its shape, then spoon or pipe it over the chilled pie. Garnish with lime zest and slices, if you like. Return the pie to the refrigerator until you’re ready to slice it.
Key Lime Pie Video Tutorial
More Cool, Creamy Pie Recipes You’ll Love


Key Lime Pie Recipe (No Eggs)

Ingredients
For the Crust
- 1½ cups finely crushed graham cracker crumbs, from about 12 whole graham crackers
- ⅓ cup (packed) light brown sugar
- 4 tablespoons unsalted butter, melted
For the Filling
- Two 14-oz cans sweetened condensed milk
- 1 cup plain Greek yogurt (2% or whole milk)
- 1 tablespoon grated lime zest
- ¾ cup fresh lime juice
For the Topping
- 1 cup cold heavy cream
- 2 tablespoons confectioners’ sugar
- 1 teaspoon grated lime zest
- 8 to 10 thin lime slices
Instructions
- Make the Crust: Preheat oven to 375°F (190°C) and set an oven rack in the middle position.In a medium bowl, combine the graham cracker crumbs, brown sugar, and melted butter; stir with a fork first, and then your hands until the mixture is well combined. Using your fingers and the bottom of a glass or dry measuring cup, press the crumbs firmly into the bottom and up the sides of a 9 x 1½-in (23 x 4-cm) pie pan. The crust should be about ¼-in (6-mm) thick. (Tip: do the sides first.)Bake for 10 minutes, until just slightly browned. Let the crust cool on a wire rack.
- Make the Filling: Lower the oven temperature to 350°F (180°C). In a large bowl, whisk together the sweetened condensed milk, yogurt, lime zest, and lime juice. Pour the thick mixture into the warm graham cracker crust. Bake for 15 minutes, until the filling is almost set; it should wobble a bit. Let cool at room temperature for 30 minutes, then place in the refrigerator to chill thoroughly, about 3 hours.
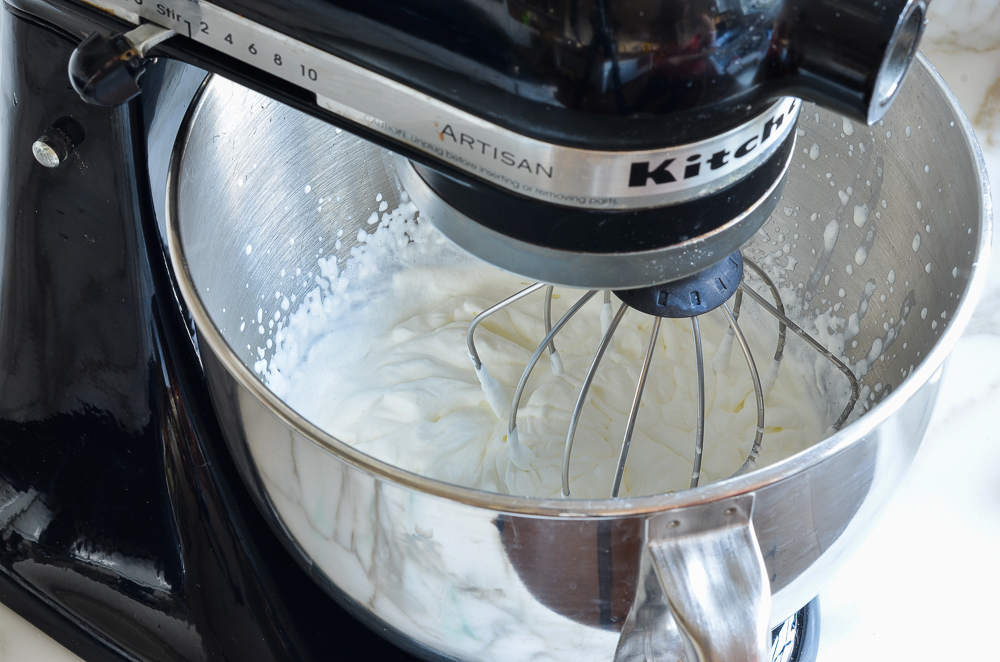
- Make the Topping: In the bowl of an electric mixer, beat the heavy cream until soft peaks form. Add the confectioners’ sugar and beat until medium peaks form. Top the pie with the whipped cream. Decorate with the lime zest and lime slices. Store the pie in the refrigerator until ready to serve. Slice the pie into wedges, wiping your knife clean between slices, and serve cold.
Notes
- Make-Ahead Instructions: You can make the crust a day ahead of time, but the filling should be added on the day of serving, otherwise the crust will get soggy.
- The nutritional information was calculated using 2% Greek yogurt.
Nutrition Information
This website is written and produced for informational purposes only. I am not a certified nutritionist and the nutritional data on this site has not been evaluated or approved by a nutritionist or the Food and Drug Administration. Nutritional information is offered as a courtesy and should not be construed as a guarantee. The data is calculated through an online nutritional calculator, Edamam.com. Although I do my best to provide accurate nutritional information, these figures should be considered estimates only. Varying factors such as product types or brands purchased, natural fluctuations in fresh produce, and the way ingredients are processed change the effective nutritional information in any given recipe. Furthermore, different online calculators provide different results depending on their own nutrition fact sources and algorithms. To obtain the most accurate nutritional information in a given recipe, you should calculate the nutritional information with the actual ingredients used in your recipe, using your preferred nutrition calculator.
Made it last night for Easter lunch today. It turned out perfect. Everyone raved how good it was. Sliced perfectly too.
How are you supposed to store it so that it doesn’t get soggy?
Also, I can’t find this ready crumbs in my country. Is it ok to just use a hand mixer to crush cookies?
Hi Milena, If you plan to make this ahead, just store the filling separately to keep the crust from getting soggy. You can finish it off before serving. And you can try using a hand mixer to crush the cookies. I’m not sure how finely the mixer will get the crumbs, so you may need to crush them a bit more by hand. Hope you enjoy!
This is such an easy recipe and so delicious! I tried it for a “St. Patty’s Day” dessert. No yogurt, so substituted sour cream and OMG was it rich and decadent! Also, I didn’t have time for a home made crust and used a premade graham crust. NOTE: If you do this, it makes enough for 2 small crusts or 1 large size. I actually had the smaller size and so we got two out of this. I made this about 3 times in 2 weeks and used a “half recipe” for just one small size commercial crust. Friends and family love it and it’s now on my “go to” list of desserts! Thank you so much for sharing….one of these days I’ll make the crust from scratch….but a local store was selling sets of 6 crusts for $.99! I couldn’t resist stocking up….we’ll be having key lime pie all Spring and summer!! Yum….
Can you make this the night before??
Sure. I’d recommend storing the filling and crust separately and then putting the filling in the day you’re serving it. 🙂
I did! I made it Saturday night however I didn’t put the topping on until this Morning. The topping takes like 5 minutes to make! delicious!
Hi Jenn, I’m right in the middle of making this recipe and so excited to try out (all your recipes are just divine), but unfortunately I’ve done something wrong and my crust has turned out extremely crumbly. The sides are falling down with a little push and even the base which I pushed down firmly is quite crumbly and probably won’t hold its own when it comes to serving. I haven’t progressed to the filling part yet, and not sure what to do. Do you think I should bake it again for longer, or should I start over if this is not salvageable? Or is this how the crust should be before the filling is added? Thanks so much for your dessert-saving help!
Hi Mel, I would proceed and just be delicate with it. Graham cracker crusts are always a bit crumbly, and the filling will help hold it in place.
Just wanted to feedback that your advice was spot on, thanks for helping us deliver Easter dessert to the table! This recipe was lovely, the lime filling comes together as this smooth creamy filling perfectly balanced by the whipped cream and biscuit base. First time I’ve ever tried a pie, but the instructions here are so trustworthy and helpful, even for inexperienced bakers. Next time I might halve the lime filling and double the cream just because we love cream, but either way can’t wait to finish the leftovers off today, thanks Jenn!
This pie is fantastic! I’ve never made key lime before, but found the directions to be easy to follow. The pie came out perfectly and my entire family raved about it. I will be making it again for Easter!
My boyfriend doesn’t like key lime pie, it’s my favorite so I made this for myself for my birthday…well…HE LOVED IT!!! This recipe was delicious and for my first time making a pie like this, I had no trouble.
Thank you!!
I made it in muffin cups to be individual servings. The filling is 10/10 😍
How long did you bake them for?!
Update: #1 – In my previous post, I said I was going to try it with a little lemon juice along with the lime to try and get the taste of key lime.
It wasn’t as good. (and I’m an absolute lemon junkie!! lol). I only used about 1/4 of a lemon (maybe 1 tbs juice) and it took away from the fragrance of the lime. So it’s 100% lime juice from now on.
#2 – I accidentally over baked my 2nd pie. (no jiggle in the middle) resulting in a firmer texture. My family liked it much better – that’s our preference anyway.
#3 – I didn’t pre-bake the crust & it turned out just as nice. Saves a little step in an already very easy recipe.
Cheers!
Just made this today for dessert tonight and wow, what a delicious pie!! I followed the recipe exactly except used a 9 1/2” glass pie dish instead of 9”. It worked perfectly. This one is a keeper, my entire family loved it – thank you!!!
FABULOUS! My search is over.
Excellent recipe and SO so easy. Even though I don’t have an issue with raw eggs (like most recipes), I think the yogurt added to creaminess and a bit of extra tang. My son, who requested a key lime pie thought it was the very best.
(I tried one with a cooked filling previously, similar to a curd and it was way too sweet and not great texture)
I DID find it difficult to fit it into a 9″ pan.
Little tweaks for me:
– this time and next, I used parchment to line the baking pan
-for a family occasion to make it bigger, I’m going to use 3 cans of condensed milk and adjust the rest of the quantities accordingly.
– because I’m making it bigger, I’ll do it in a spring form pan
– I might not bother making the crust come up the sides (think cheesecake look)
– as I’ve read in many other places, I might sub in about 1/4 the amount of juice with lemon to give it more tang – trying to emulate key lime taste (one day, I might try it with all lemon)
~Great, super easy recipe. *A keeper for sure!*
The only reason I’d hesitate to share the recipe with family, is so they don’t know how little effort there was! (LOL, JK 🙂 )
May I ask…..because I am going to be making this for the first time….can you elaborate on the parchment paper/baking pan….I’m not understanding how that fits in with the recipe.
Thank you 🙂
So sorry for the late reply. I hope this finds you well.
I used a foil cake tin. The sides are straight, unlike a traditional pie plate. The reason I used parchment is so I could lift the pie out right out of the pan, then cut into servicing slices. It would’ve been messy and difficult to cut slices without it becoming a mess.
By the way, I have made it since and did just make the crust on the bottom and we like it better. (It looks just like a cheesecake
Hope that helps.